Cómo usar Aspose.CAD en JavaScript
Contents
[
Hide
]Requisitos previos
- Visual Code + Live Server
- Node.js
Convertir imagen dgn a png y mostrar en el navegador
En este ejemplo, crearás un programa de conversión simple que convierte un dibujo y lo guarda como una imagen.
Creando el JavaScript
Crear package.json con las dependencias de aspose-cad
"dependencies": {
    "aspose-cad": "^23.1.0"
  },
 "devDependencies": {
    "live-server": "^1.2.1",
    "typescript": "^3.3.3333",
    "yarn": "^1.22.19"
  }
Crear index.html
<!DOCTYPE html>
Abrir consola (Ctrl+Shift+I) para ver la salida.

<script src="./node_modules/aspose-cad/dotnet.js"></script>
<script type="module" src="./node_modules/aspose-cad/es2015/index-js.js"></script>

<body>
	<input id="file" type="file">
	<img id="image" />
</body>

<script>
window.onload = async function () {
	document.querySelector('input').addEventListener('change', function() {
      var reader = new FileReader();
      reader.onload = function() {

          var arrayBuffer = this.result;
          var array = new Uint8Array(arrayBuffer);

		  //OBTENER_FORMATO_DE_ARCHIVO
		  fileFormat = Aspose.CAD.Image.getFileFormat(array);
          console.log(fileFormat);

		  // CARGAR
		  file = Aspose.CAD.Image.load(array);
          console.log(file);

		  // GUARDAR
		  exportedFilePromise = Aspose.CAD.Image.save(array, new Aspose.CAD.PngOptions());
		  exportedFilePromise.then(exportedFile => {
			console.log(exportedFile);

			var urlCreator = window.URL || window.webkitURL;
			var blob = new Blob([exportedFile], { type: 'application/octet-stream' });
            var imageUrl = urlCreator.createObjectURL(blob);
            document.querySelector("#image").src = imageUrl;
		  });
      }

      reader.readAsArrayBuffer(this.files[0]);
    },
	false);
};
</script>
Instalar los paquetes usando el comando npm
npm installIniciar la aplicación con Live Server o yarn
npm run serve
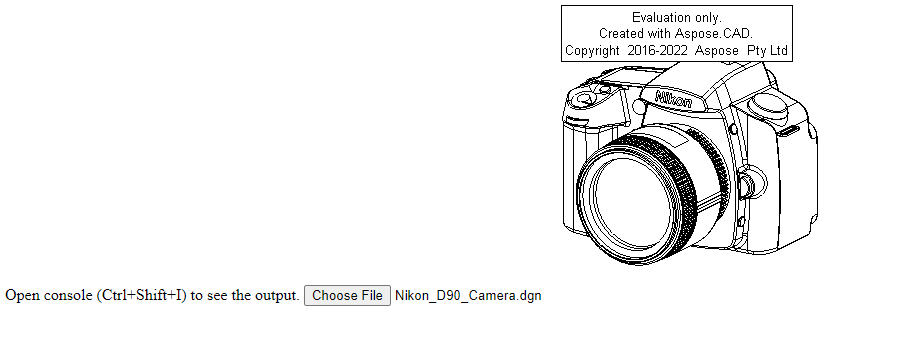
Ejemplo de ejecución
- Elegir archivo.

- Seleccionar cualquier archivo DXF, DWG, DGN, DWF, DWFX, IFC, STL, DWT, IGES, PLT, CF2, OBJ, HPGL, IGS, PCL, FBX, PDF, SVG.
- Si la respuesta es exitosa, el archivo se mostrará en la pantalla y ofrecerá descargarlo.