Aspose.CADをVueで使用する方法
Contents
[
Hide
]前提条件
- Vue CLI
- Visual Code
- Node.js
dgn画像をpngに変換してブラウザに表示する
この例では、図面を変換し、画像として保存する簡単な変換プログラムを作成します。
Vueプロジェクトの作成
- すでにVueワークスペースディレクトリにいないことを確認します。
- 新しいものを開始し、プログラム名を入力するか、Visual CodeやWebStormなどの他のプログラムを使用してプロジェクトを作成します:
vue create vue-example - npmパッケージからAspose.CADをインストールします
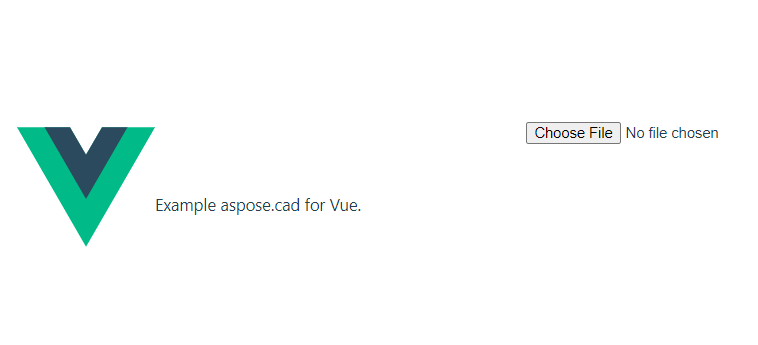
npm install aspose-cad - 図面を読み込んで表示するための入力タイプファイルとimgタグを作成します
<input id="file" type="file"> <img id="image" /> - App.vueで、ヘルパープロセスの開始、処理、および画像の表示のプロセスを説明します
<script> import {Drawing, PngOptions} from "aspose-cad"; export default{ beforeCreate: function () { //アセンブリプロセスを開始するために必要です let recaptchaScript = document.createElement('script') recaptchaScript.setAttribute('src', '/node_modules/aspose-cad/dotnet.js') document.head.appendChild(recaptchaScript) let dotnet; }, mounted() { window.addEventListener('load', this.onWindowLoad) }, methods: { async onWindowLoad() { console.log("WASMを読み込み中..."); await dotnet.boot(); console.log("WASMが読み込まれました"); document.querySelector('input').addEventListener('change', function() { const reader = new FileReader(); reader.onload = function() { let arrayBuffer = this.result; let array = new Uint8Array(arrayBuffer); // 読み込み let file = Image.load(array); console.log(file); // 保存 let exportedFilePromise = Image.save(array, new PngOptions()); exportedFilePromise.then(exportedFile => { console.log(exportedFile); let urlCreator = window.URL || window.webkitURL; let blob = new Blob([exportedFile], { type: 'application/octet-stream' }); let imageUrl = urlCreator.createObjectURL(blob); document.querySelector("#image").src = imageUrl; }); } reader.readAsArrayBuffer(this.files[0]); }, false); }, }, } </script> <template> <header> <img alt="Vueロゴ" class="logo" src="./assets/logo.svg" width="125" height="125" /> <p>VueのためのAspose.CADの例。</p> </header> <main> <input id="file" type="file"> <br/> <img id="image" /> </main> </template> <style scoped> header { line-height: 1.5; } main{ text-align: center; } .logo { display: block; margin: 0 auto 2rem; } @media (min-width: 1024px) { header { display: flex; place-items: center; padding-right: calc(var(--section-gap) / 2); } header .wrapper { display: flex; place-items: flex-start; flex-wrap: wrap; } } </style> - アプリケーションを起動します
npm run dev
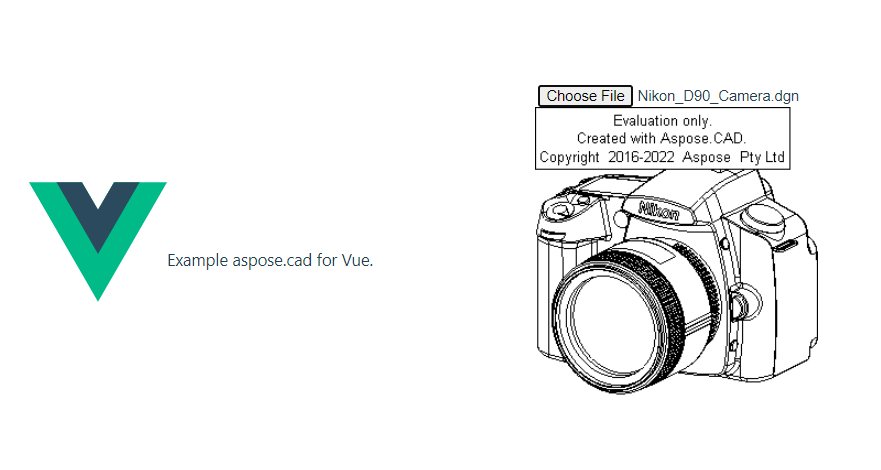
実行例
- ファイルを選択します。
- 任意のDXF、DWG、DGN、DWF、DWFX、IFC、STL、DWT、IGES、PLT、CF2、OBJ、HPGL、IGS、PCL、FBX、PDF、SVGファイルを選択します。
- 応答が成功すると、ファイルが画面に表示され、ダウンロードを促します。