Aspose.CAD를 Angular에서 사용하는 방법
Contents
[
Hide
]필수 조건
- Angular CLI
- Visual Code
- Node.js
dgn 이미지를 png로 변환하고 브라우저에 표시하기
이 예제에서는 간단한 변환 프로그램을 만들어 도면을 변환하고 이미지를 저장합니다.
Angular 프로젝트 생성
- Angular 작업 공간 디렉토리에 있지 않은지 확인하십시오.
- 새 프로젝트를 시작하고 프로그램의 이름을 입력하거나 Visual Code 또는 WebStorm과 같은 다른 프로그램을 사용하여 프로젝트를 생성합니다:
ng new angular-example - npm 패키지에서 Aspose.CAD 설치
npm install aspose-cad - angular.json 파일을 열고 script 필드에 항목을 추가합니다. 이 스크립트는 프로젝트와 함께 로드되며, 파일 처리를 시작하는 데 필요합니다.
"scripts": [ "node_modules/aspose-cad/dotnet.js" ] - app.component.html에서 도면을 로드하고 표시하기 위해 파일 입력 유형과 img 태그를 생성합니다.
<span style="background-color: red"> <input type="file" class="file-upload" (change)="onFileSelected($event)" /> <img alt="" id="image" [src]="imageUrl" /> </span> - app.component.ts에서 보조 프로세스를 시작하고 처리 및 이미지를 저장하는 과정을 설명합니다.
import {Component} from '@angular/core'; import {DomSanitizer} from '@angular/platform-browser'; import {Image} from "aspose-cad/commonjs/Core/Image"; import {PngOptions} from "aspose-cad/commonjs/Options/PngOptions"; //dotnet 프로세스를 시작해야 합니다. declare let dotnet: any; @Component({ selector: 'app-root', templateUrl: './app.component.html', styleUrls: ['./app.component.css'] }) export class AppComponent { title = 'angular-example'; imageUrl: any; imgFile: Uint8Array | null | undefined; constructor(private sanitizer: DomSanitizer) { } // @ts-ignore async ngOnInit() { console.log("aspose-cad WASM 로딩 중..."); await dotnet.boot().then((ex: any) => { console.log("aspose-cad WASM 로드 완료"); }); } // @ts-ignore async onFileSelected(event) { const file: File = event.target.files[0]; file.arrayBuffer().then(async buff => { let x = new Uint8Array(buff); this.imgFile = await Image.Load(x); //이미지 로드 console.log(this.imgFile); var exportedFile = await Image.Save(this.imgFile, new PngOptions()); //이미지를 png로 저장 var urlCreator = window.URL || window.webkitURL; var blob = new Blob([exportedFile], { type: 'application/octet-stream' }); //변환된 이미지의 src 생성 this.imageUrl = this.sanitizer.bypassSecurityTrustUrl(urlCreator.createObjectURL(blob)); //png 이미지 다운로드 let url = window.URL.createObjectURL(blob); let a = document.createElement('a'); document.body.appendChild(a); a.setAttribute('style', 'display: none'); a.href = url; a.download = "file.png"; a.click(); window.URL.revokeObjectURL(url); a.remove(); }); } } - 애플리케이션 시작
npm start
//또는
ng serve
ng serve 명령:
- 애플리케이션을 빌드합니다.
- 개발 서버를 시작합니다.
- 소스 파일을 감시합니다.
- 변경사항을 반영하여 애플리케이션을 재빌드합니다.
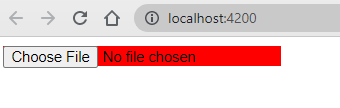
–open 플래그는 http://localhost:4200에서 브라우저를 엽니다.
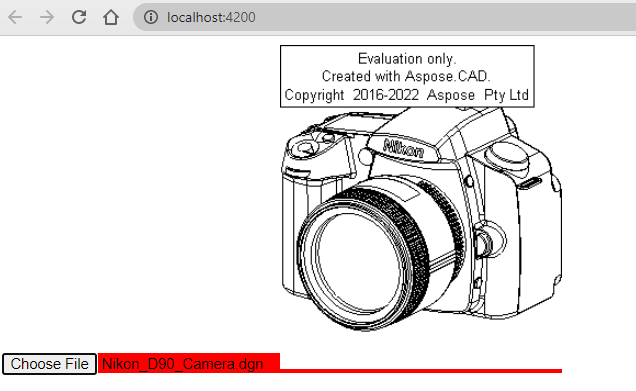
실행 예시
- 파일을 선택하십시오.
- DXF, DWG, DGN, DWF, DWFX, IFC, STL, DWT, IGES, PLT, CF2, OBJ, HPGL, IGS, PCL, FBX, PDF, SVG 파일 중 하나를 선택하십시오.
- 응답이 성공적이면 파일이 화면에 표시되고 다운로드할 수 있는 옵션이 제공됩니다.