Cách sử dụng Aspose.CAD trong JavaScript
Contents
[
Hide
]Điều kiện tiên quyết
- Visual Code + Live Server
- Node.js
Chuyển đổi hình ảnh dgn thành png và hiển thị trong trình duyệt
Trong ví dụ này, bạn tạo một chương trình chuyển đổi đơn giản có thể chuyển đổi một bản vẽ và lưu nó dưới dạng hình ảnh.
Tạo JavaScript
Tạo package.json với các phụ thuộc aspose-cad
"dependencies": {
    "aspose-cad": "^23.1.0"
  },
 "devDependencies": {
    "live-server": "^1.2.1",
    "typescript": "^3.3.3333",
    "yarn": "^1.22.19"
  }
Tạo index.html
<!DOCTYPE html>
Mở console (Ctrl+Shift+I) để xem đầu ra.

<script src="./node_modules/aspose-cad/dotnet.js"></script>
<script type="module" src="./node_modules/aspose-cad/es2015/index-js.js"></script>

<body>
	<input id="file" type="file">
	<img id="image" />
</body>

<script>
window.onload = async function () {
	document.querySelector('input').addEventListener('change', function() {
      var reader = new FileReader();
      reader.onload = function() {

          var arrayBuffer = this.result;
          var array = new Uint8Array(arrayBuffer);

		  //LẤY ĐỊNH DẠNG TẬP TIN
		  fileFormat = Aspose.CAD.Image.getFileFormat(array);
          console.log(fileFormat);

		  // TẢI
		  file = Aspose.CAD.Image.load(array);
          console.log(file);

		  // LƯU
		  exportedFilePromise = Aspose.CAD.Image.save(array, new Aspose.CAD.PngOptions());
		  exportedFilePromise.then(exportedFile => {
			console.log(exportedFile);

			var urlCreator = window.URL || window.webkitURL;
			var blob = new Blob([exportedFile], { type: 'application/octet-stream' });
            var imageUrl = urlCreator.createObjectURL(blob);
            document.querySelector("#image").src = imageUrl;
		  });
      }

      reader.readAsArrayBuffer(this.files[0]);
    },
	false);
};
</script>
Cài đặt các gói bằng lệnh npm
npm installKhởi động ứng dụng với Live Server hoặc yarn
npm run serve
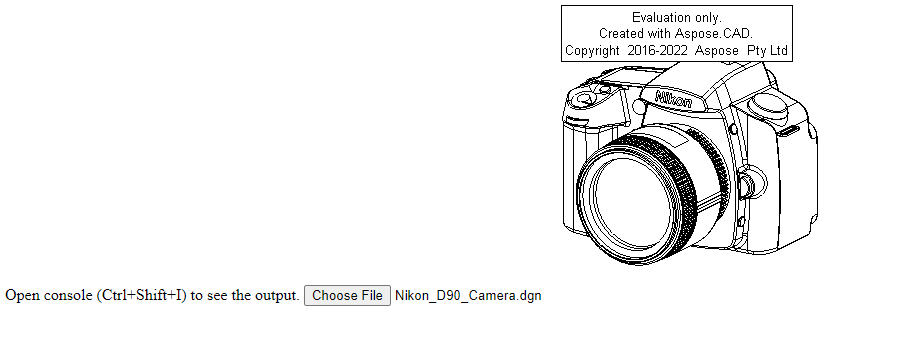
Ví dụ thực thi
- Chọn tệp.

- Chọn bất kỳ tệp DXF, DWG, DGN, DWF, DWFX, IFC, STL, DWT, IGES, PLT, CF2, OBJ, HPGL, IGS, PCL, FBX, PDF, SVG nào.
- Nếu phản hồi thành công, tệp sẽ được hiển thị trên màn hình và sẽ đề nghị tải xuống.