Cách sử dụng Aspose.CAD trong Vue
Contents
[
Hide
]Các yêu cầu tiên quyết
- Vue CLI
- Visual Code
- Node.js
Chuyển đổi hình ảnh dgn sang png và hiển thị trong trình duyệt
Trong ví dụ này, bạn tạo một chương trình chuyển đổi đơn giản mà chuyển đổi một bản vẽ và lưu nó dưới dạng hình ảnh.
Tạo dự án Vue
- Đảm bảo rằng bạn không ở trong thư mục làm việc Vue nào.
- Bắt đầu một cái mới và sau đó là tên của chương trình hoặc sử dụng các chương trình khác để tạo một dự án như Visual Code hoặc WebStorm:
vue create vue-example - Cài đặt Aspose.CAD từ gói npm
npm install aspose-cad - Tạo một thẻ loại tệp đầu vào và thẻ img để tải và hiển thị bản vẽ
<input id="file" type="file"> <img id="image" /> - Trong App.vue, chúng tôi mô tả quá trình bắt đầu các quy trình trợ giúp, xử lý và hiển thị hình ảnh
<script> import {Drawing, PngOptions} from "aspose-cad"; export default{ beforeCreate: function () { // cần thiết để bắt đầu quá trình lắp ráp let recaptchaScript = document.createElement('script') recaptchaScript.setAttribute('src', '/node_modules/aspose-cad/dotnet.js') document.head.appendChild(recaptchaScript) let dotnet; }, mounted() { window.addEventListener('load', this.onWindowLoad) }, methods: { async onWindowLoad() { console.log("đang tải WASM..."); await dotnet.boot(); console.log("đã tải WASM"); document.querySelector('input').addEventListener('change', function() { const reader = new FileReader(); reader.onload = function() { let arrayBuffer = this.result; let array = new Uint8Array(arrayBuffer); // TẢI let file = Image.load(array); console.log(file); // LƯU let exportedFilePromise = Image.save(array, new PngOptions()); exportedFilePromise.then(exportedFile => { console.log(exportedFile); let urlCreator = window.URL || window.webkitURL; let blob = new Blob([exportedFile], { type: 'application/octet-stream' }); let imageUrl = urlCreator.createObjectURL(blob); document.querySelector("#image").src = imageUrl; }); } reader.readAsArrayBuffer(this.files[0]); }, false); }, }, } </script> <template> <header> <img alt="Logo Vue" class="logo" src="./assets/logo.svg" width="125" height="125" /> <p>Ví dụ aspose.cad cho Vue.</p> </header> <main> <input id="file" type="file"> <br/> <img id="image" /> </main> </template> <style scoped> header { line-height: 1.5; } main{ text-align: center; } .logo { display: block; margin: 0 auto 2rem; } @media (min-width: 1024px) { header { display: flex; place-items: center; padding-right: calc(var(--section-gap) / 2); } header .wrapper { display: flex; place-items: flex-start; flex-wrap: wrap; } } </style> - Bắt đầu ứng dụng
npm run dev
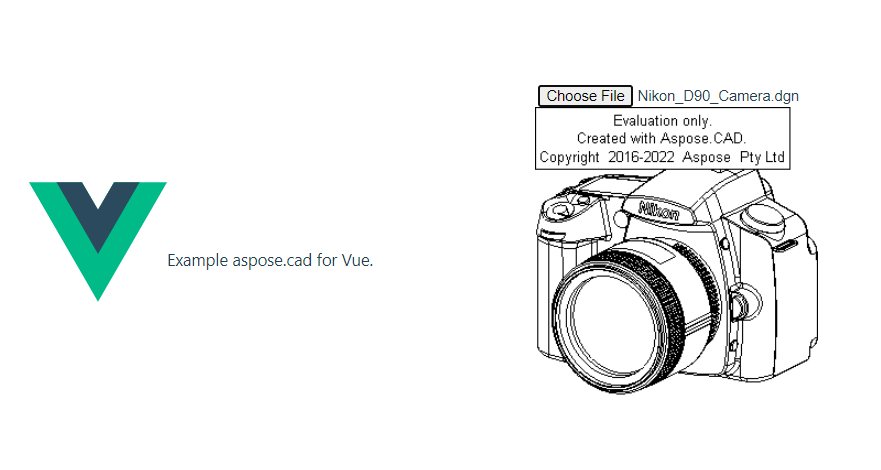
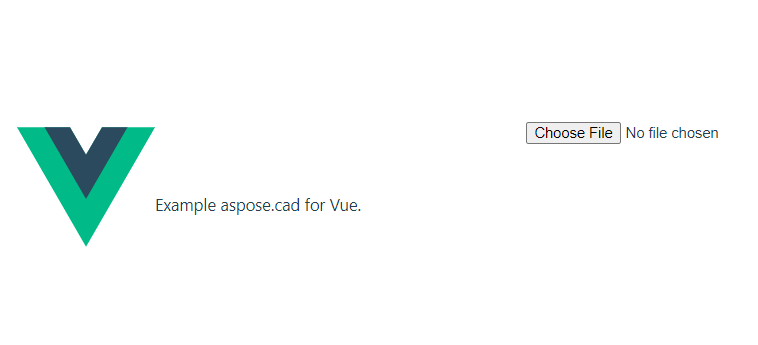
Ví dụ thực thi
- Chọn tệp.
- Chọn bất kỳ tệp DXF, DWG, DGN, DWF, DWFX, IFC, STL, DWT, IGES, PLT, CF2, OBJ, HPGL, IGS, PCL, FBX, PDF, SVG nào.
- Nếu câu trả lời thành công, tệp sẽ được hiển thị trên màn hình và sẽ đề xuất tải xuống.