Textwiedergabe mithilfe der Schriftartenbibliothek | .NET
Überblick
Wenn Sie jemals die Funktion zum Rendern von Text in ein Bild nutzen wollten, erfahren Sie in diesem Artikel, wie Sie dies mit Schriftarten in jedem Format tun können, die von der Schriftartenbibliothek mithilfe der Aspose.Font-API-Lösung unterstützt werden. Mit der Bibliothek können Sie problemlos Text in Bilder umwandeln und jedem Bild Text hinzufügen.
Text rendern
Um Text in ein Bild einzufügen, müssen Sie die Methode DrawText der Klasse RenderingUtils verwenden. Der folgende Code zeigt, wie man den in der Schriftart Arial geschriebenen Text „Hello world“ zu einem Bild mit dem Namen „arial.png“ hinzufügt.
 1    var dataDir = @"C:\Temp\";
 2    var fileName = dataDir + "arial.ttf"; //Font file name with full path
 3    var outFile = dataDir + "arial.png";
 4    var fontDefinition = new FontDefinition(FontType.TTF, new FontFileDefinition("ttf", new FileSystemStreamSource(fileName)));
 5    var ttfFont = Font.Open(fontDefinition) as TtfFont;
 6
 7    var stream = Aspose.Font.Renderers.RenderingUtils.DrawText(ttfFont, "Hello world", 18);
 8
 9    var bitmap = new Bitmap(stream);
10    bitmap.Save(outFile);
Das Implementierungsergebnis:

Mit der Methode DrawText können Sie den Zeilenabstand festlegen und einen automatischen wortweisen Textumbruch durchführen.
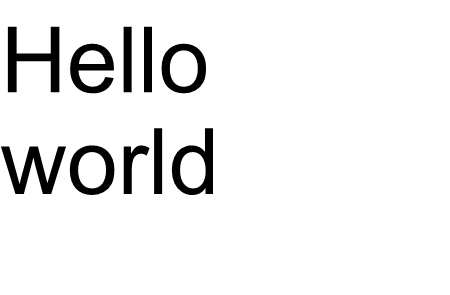
Im folgenden Codebeispiel haben wir den Zeilenabstandstyp LineSpacingType.Pixels angegeben und auf 10 festgelegt, und wir haben die maximale Breite des Bildes auf 450 festgelegt.
Der gesamte Text, der im angegebenen Bereich (in unserem Fall 450) nicht korrekt angezeigt werden kann, wird in eine neue Zeile umgebrochen.
Der ausgeschnittene Code zeigt, wie der Text „Hallo Welt“ in der Schriftart Arial mit Umbruch in die nächste Zeile gerendert wird:
 1    var dataDir = @"C:\Temp\";
 2    var fileName = dataDir + "arial.ttf"; //Font file name with full path
 3    var outFile = dataDir + "arial.png";
 4    var fontDefinition = new FontDefinition(FontType.TTF, new FontFileDefinition("ttf", new FileSystemStreamSource(fileName)));
 5    var ttfFont = Font.Open(fontDefinition) as TtfFont;
 6    var lineSpacingType = LineSpacingType.Pixels;
 7
 8    var stream = DrawText(ttfFont, "Hello world", 22, lineSpacingType, 10, 450);
 9
10    var bitmap = new Bitmap(stream);
11
12    bitmap.Save(outFile);
Das Implementierungsergebnis:
In diesem Beispiel haben Sie gesehen, wie Sie mit nur einer Codezeile Text in ein Bild umwandeln können.
Die Funktionsfamilie für die Methode „DrawText()“ deckt die Ausgabe von Standardtext oder mehrzeiligem Text ab. In einigen Fällen benötigen Sie jedoch möglicherweise eine benutzerdefinierte Ausgabe des Texts, beispielsweise wenn Sie den Text komprimieren, strecken, in einem Winkel drehen oder etwas anderes möchten. In diesem Fall müssen Sie die Ausgabe an Ihre Bedürfnisse anpassen.
Benutzerdefinierte Textwiedergabe
Das nächste Beispiel zeigt eine erweiterte (benutzerdefinierte) Methode zum Konvertieren von Text in ein Bild.
Zum Zeichnen von Glyphen in Aspose.Font wird eine der „RenderGlyph()“-Methoden der Klasse GlyphOutlineRenderer verwendet. Alle diese überladenen Methoden werden in der Schnittstelle IGlyphRenderer deklariert.
Als Parameter müssen wir diesen Methoden einen Verweis auf die Schriftart, die Glyphen-ID oder den Glyphenindex und die Glyphen-Ausgabekoordinaten übergeben. Zur Übergabe des letzten Parameters wird eine spezielle Matrix verwendet, die durch das Objekt Aspose.Font TransformationMatrix repräsentiert wird.
Im Folgenden zeigen wir, wie Sie Objekte vom Typ TransformationMatrix verwenden, um Glyphen-Ausgabekoordinaten an Methoden der Familie „RenderGlyph()“ zu übergeben.
Um also eine Glyphe zu zeichnen, müssen wir ein Objekt vom Typ GlyphOutlineRenderer erstellen. Ein solches Objekt kann jedoch nicht alleine eine Glyphe zeichnen. Es erfordert externe Funktionalität, die durch die Schnittstelle IGlyphOutlinePainter beschrieben wird. Um das Objekt GlyphOutlineRenderer verwenden zu können, muss eine Implementierung von IGlyphOutlinePainter bereitgestellt werden.
Unten sehen Sie eine einfache Implementierung dieser Schnittstelle. Erstellen wir die Klasse GlyphOutlinePainter, die ein Objekt vom Typ System.Drawing.Drawing2D.GraphicsPath für grafische Zeichnungsziele erfordert.
Die Umsetzung ist unten dargestellt.
 1    public class GlyphOutlinePainter : IGlyphOutlinePainter
 2    {
 3        private GraphicsPath _path;
 4        private PointF _currentPoint;
 5
 6        public GlyphOutlinePainter(GraphicsPath path)
 7        {
 8            _path = path;
 9        }
10
11        public void MoveTo(MoveTo moveTo)
12        {
13            _path.CloseFigure();
14            _currentPoint.X = (float)moveTo.X;
15            _currentPoint.Y = (float)moveTo.Y;
16        }
17
18        public void LineTo(LineTo lineTo)
19        {
20            float x = (float)lineTo.X;
21            float y = (float)lineTo.Y;
22            _path.AddLine(_currentPoint.X, _currentPoint.Y, x, y);
23            _currentPoint.X = x;
24            _currentPoint.Y = y;
25        }
26
27        public void CurveTo(CurveTo curveTo)
28        {
29            float x3 = (float)curveTo.X3;
30            float y3 = (float)curveTo.Y3;
31
32            _path.AddBezier(
33                _currentPoint.X,
34                _currentPoint.Y,
35                (float)curveTo.X1,
36                (float)curveTo.Y1,
37                (float)curveTo.X2,
38                (float)curveTo.Y2,
39                x3,
40                y3);
41
42            _currentPoint.X = x3;
43            _currentPoint.Y = y3;
44        }
45
46        public void ClosePath()
47        {
48            _path.CloseFigure();
49        }
50    }
Nach der IGlyphOutlinePainter-Implementierung können wir Objekte dieses Typs verwenden, um eine einzelne Glyphe zu rendern, indem wir sie an den GlyphOutlineRenderer übergeben und die entsprechenden überladenen Methoden von „RenderGlyph()“ aufrufen Familie.
Um eine Textzeichenfolge zu rendern, müssen wir die glyphId für jedes Zeichen abrufen und dann mit einem Objekt vom Typ GlyphOutlineRenderer eine der Methoden der Familie „RenderGlyph()“ aufrufen. Übergabe der Koordinaten des entsprechenden Glyphen. Schauen wir uns ein Beispiel für die Ausgabe einer Textzeile mithilfe der Aspose.Font-Bibliothek an. Es wird in Form der Methode „CustomDrawText()“ erstellt, die Parameter akzeptiert: CustomDrawText(String Text, IFont Font, Double FontSize, Brush BackgroundBrush, Brush TextBrush, String OutFile).
Erstellen Sie die Methode „CustomDrawText()“, die den angegebenen Text in das Objekt System.Drawing.Bitmap zeichnet und die resultierende Bitmap auf der Disc speichert.
Dies umfasst die folgenden Schritte:
- Iterieren Sie alle Symbole in einer Textzeichenfolge.
- Holen Sie sich die Glyphen-ID für jedes verarbeitete Symbol – gid.
- Erstellen Sie ein Objekt vom Typ GlyphOutlinePainter, das vom Rendering-Subsystem zum Zeichnen der aktuellen Glyphe benötigt wird.
- Erstellen Sie ein Objekt vom Typ Aspose.Font.Renderers.GlyphOutlineRenderer und übergeben Sie das gerade erstellte Objekt vom Typ GlyphOutlinePainter an den Konstruktor für GlyphOutlineRenderer. Dieses GlyphOutlineRenderer-Objekt soll bestimmte Glyphen rendern.
- Rendern Sie das aktuell verarbeitete Glyph mit der Methode GlyphOutlineRenderer.RenderGlyph(). Das Objekt Aspose.Fonts.Matrix wird zur Angabe von Glyphenkoordinaten verwendet. Die darzustellende Glyphe wird durch den Parameter gid angegeben.
Hilfsschritte für diese Strategie
- Die Glyphenkoordinaten für die Y-Achse sind für dieses Codefragment konstant.
- Glyphenkoordinaten für die X-Achse werden für jede verarbeitete Glyphe berechnet.
- Sowohl „X“- als auch „Y“-Koordinaten werden an das Aspose.Fonts.Matrix-Objekt übergeben, das von GlyphOutlineRenderer zum Zeichnen von Glyphen verwendet wird.
- Der Abstand zwischen gerade und zuvor verarbeiteten Glyphen wird bei jedem Iterationsschritt berechnet. Es wirkt sich auf jede Glyphen-X-Koordinate aus.
- Ein Objekt vom Typ GlyphOutlineRenderer zeichnet Glyphen mit Hilfe von GlyphOutlinePainter nicht direkt in Bitmap, sondern in das GraphicsPath-Objekt, das an den Konstruktor für GlyphOutlinePainter übergeben wurde, also wir Verwenden Sie das Objekt vom Typ System.Drawing.Graphics, um GraphicsPath in Bitmap zu zeichnen.
- Die Methode FontWidthToImageWith() berechnet die Glyphenbreite für das Bitmap-Koordinatensystem.
Die Implementierung der CustomDrawText()-Methode ist unten dargestellt.
 1    public static void CustomDrawText(string text, IFont font, double fontSize, Brush backgroundBrush, Brush textBrush, string outFile)
 2    {
 3        //Get glyph identifiers for every symbol in the text line
 4        GlyphId[] gids = new GlyphId[text.Length];
 5
 6        for (int i = 0; i < text.Length; i++)
 7            gids[i] = font.Encoding.DecodeToGid(text[i]);
 8
 9        // Set common drawing settings
10        double dpi = 300;
11        double resolutionCorrection = dpi / 72; // 72 is font's internal dpi
12
13        // Prepare output bitmap
14        Bitmap outBitmap = new Bitmap(960, 720);
15
16
17        outBitmap.SetResolution((float)dpi, (float)dpi);
18
19        Graphics outGraphics = Graphics.FromImage(outBitmap);
20        outGraphics.FillRectangle(backgroundBrush, 0, 0, outBitmap.Width, outBitmap.Height);
21        outGraphics.SmoothingMode = SmoothingMode.HighQuality;
22
23        //Declare coordinate variables and a previous gid
24        GlyphId previousGid = null;
25        double glyphXCoordinate = 0;
26        double glyphYCoordinate = fontSize * resolutionCorrection;
27
28        // The loop paints every glyph in gids
29        foreach (GlyphId gid in gids)
30        {
31            // if the font contains the gid
32            if (gid != null)
33            {
34                Glyph glyph = font.GlyphAccessor.GetGlyphById(gid);
35                if (glyph == null)
36                    continue;
37
38                // The path that accepts drawing instructions
39                GraphicsPath path = new GraphicsPath();
40
41                // Create IGlyphOutlinePainter implementation
42                GlyphOutlinePainter outlinePainter = new GlyphOutlinePainter(path);
43
44                // Create the renderer
45                Aspose.Font.Renderers.IGlyphRenderer renderer = new Aspose.Font.Renderers.GlyphOutlineRenderer(outlinePainter);
46
47                // Get common glyph properties
48                double kerning = 0;
49
50                // Get kerning value
51
52                if (previousGid != null)
53                {
54                    kerning = (font.Metrics.GetKerningValue(previousGid, gid) / glyph.SourceResolution) * fontSize * resolutionCorrection;
55                    kerning += FontWidthToImageWith(font.Metrics.GetGlyphWidth(previousGid), glyph.SourceResolution, fontSize);
56                }
57
58                // Glyph positioning - increase glyph X coordinate according to kerning distance
59                glyphXCoordinate += kerning;
60
61                // Glyph placement matrix
62                TransformationMatrix glyphMatrix = new TransformationMatrix(
63                        new double[]
64                                { fontSize * resolutionCorrection,
65                            0,
66                            0,
67                        // negative because of the bitmap coordinate system begins from the top
68                            - fontSize*resolutionCorrection,
69                            glyphXCoordinate,
70                            glyphYCoordinate
71                                });
72
73                // Render the current glyph
74                renderer.RenderGlyph(font, gid, glyphMatrix);
75
76                // Fill the path
77                path.FillMode = FillMode.Winding;
78
79                outGraphics.FillPath(textBrush, path);
80            }
81
82            //Set current gid as previous to get correct kerning for next glyph
83            previousGid = gid;
84        }
85
86        //Save the results
87        outBitmap.Save(outFile);
88    }
Utility-Methode zum Konvertieren der Schriftbreite in Bildbreite
1    static double FontWidthToImageWith(double width, int fontSourceResulution, double fontSize, double dpi = 300)
2    {
3        double resolutionCorrection = dpi / 72; // 72 is font's internal dpi
4
5        return (width / fontSourceResulution) * fontSize * resolutionCorrection;
6    }
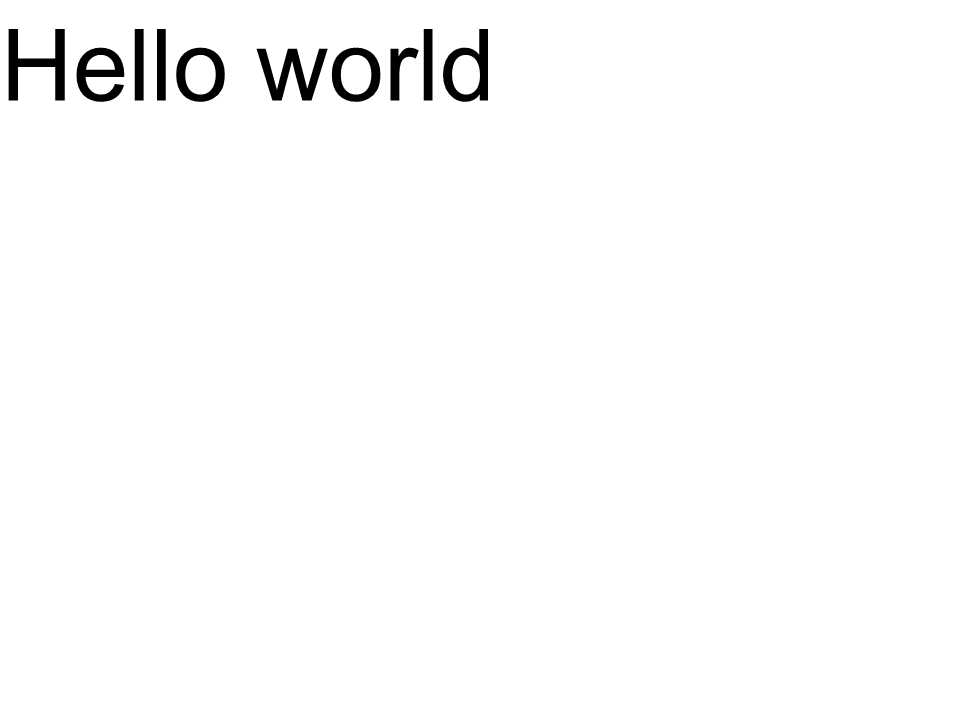
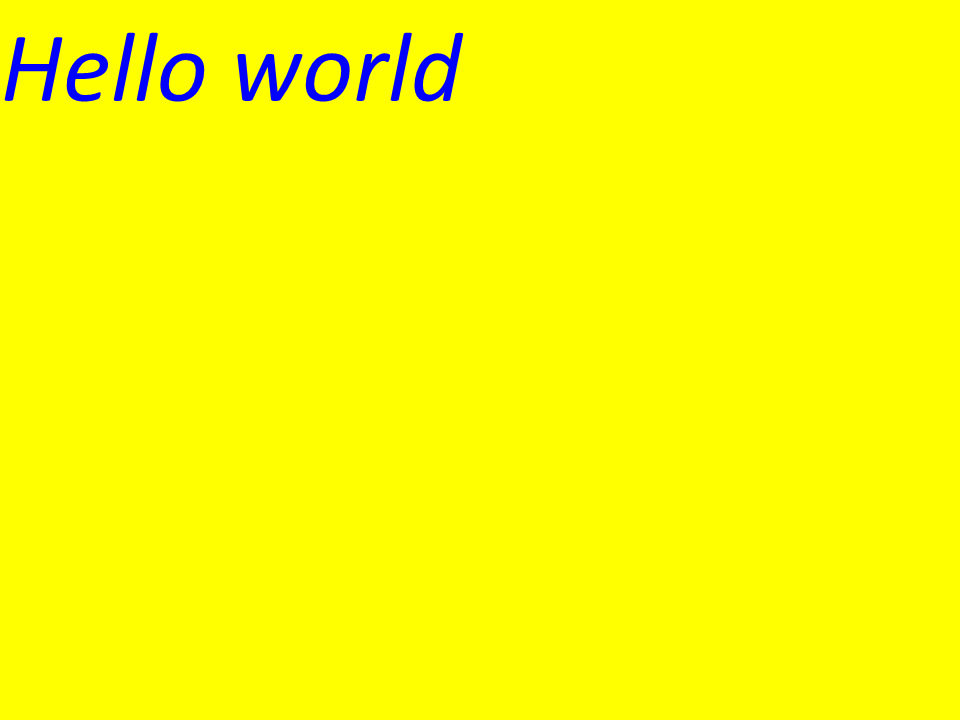
Der nächste Codeausschnitt zeigt, wie der Text „Hallo Welt“ mit der Methode „CustomDrawText()“ gerendert wird.
 1    var dataDir = @"C:\Temp\";
 2    var fileName1 = dataDir + "arial.ttf"; //Font file name with full path
 3    var fileName2 = dataDir + "calibrii.ttf"; //Font file name with full path
 4
 5    var fontDefinition1 = new FontDefinition(FontType.TTF, new FontFileDefinition("ttf", new FileSystemStreamSource(fileName1)));
 6    var ttfFont1 = Font.Open(fontDefinition1) as TtfFont;
 7
 8    var fontDefinition2 = new FontDefinition(FontType.TTF, new FontFileDefinition("ttf", new FileSystemStreamSource(fileName2)));
 9    var ttfFont2 = Font.Open(fontDefinition2) as TtfFont;
10
11    GlyphOutlinePainter.CustomDrawText("Hello world", ttfFont1, 24, Brushes.White, Brushes.Black, dataDir + "Hello_Arial_out.png");
12    GlyphOutlinePainter.CustomDrawText("Hello world", ttfFont2, 24, Brushes.Yellow, Brushes.Blue, dataDir + "Hello_Calibri_out.png");
Durch die Implementierung des Codes erhalten wir das folgende Ergebnis:
Das Implementierungsergebnis:
 Arial
Arial
 Calibri
Kerning
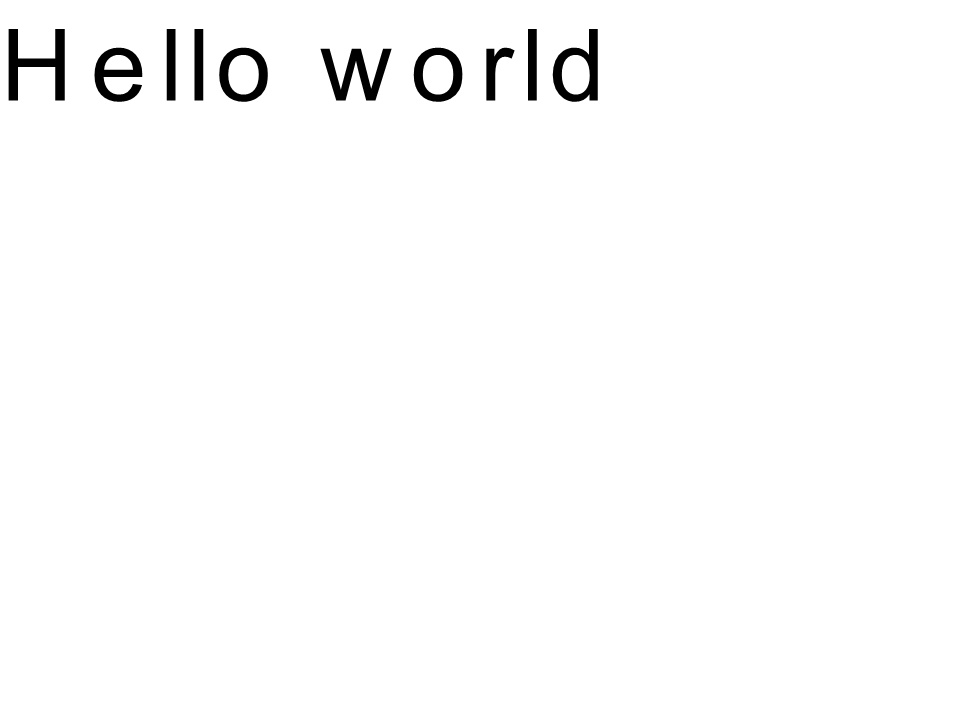
Mit dem Wert der Variablen Kerning können Sie den Abstand zwischen Glyphen ändern. Schreiben wir nun den Code wie folgt um:
1
2    //Glyph positioning - increase glyph X coordinate according to the kerning distance
3    kerning *= 1.25;
4    glyphXCoordinate += kerning;
Das nächste Ergebnis wird erhalten:
Das Implementierungsergebnis:
 Arial Kernint
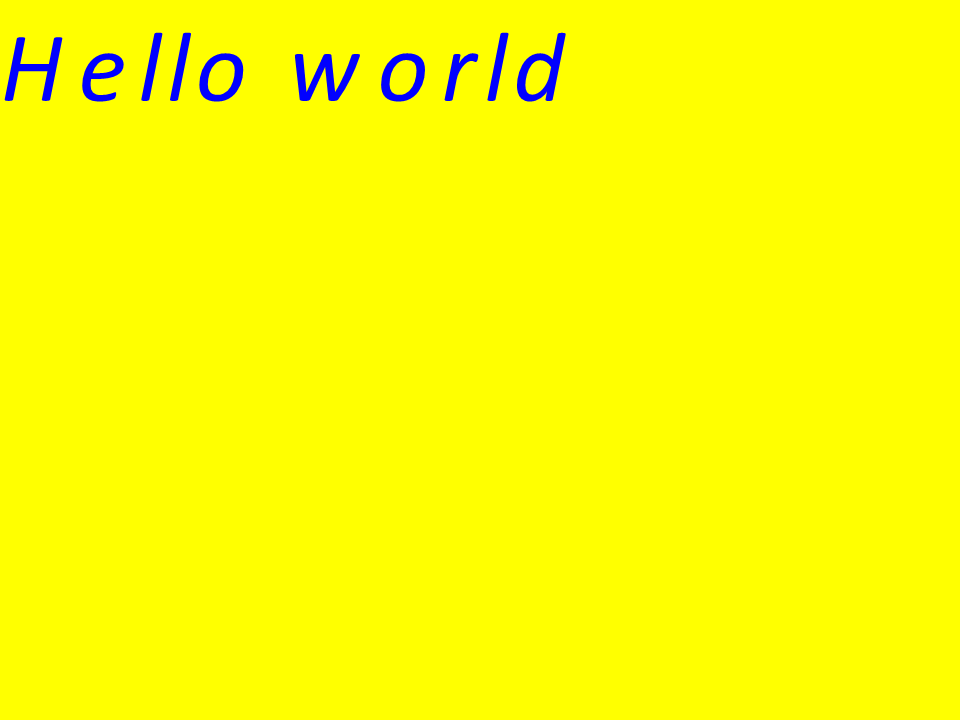 Calibri Kerning
Text anhand von Koordinaten rendern
Die Variablen glyphXCoordinate und glyphYCoordinate sind für die Koordinaten der Textausgabe verantwortlich. Indem Sie den Code wie folgt ändern:
1    //Declare coordinate variables and the previous gid
2    GlyphId previousGid = null;
3    double glyphXCoordinate = 300;
4    double glyphYCoordinate = 300;
Das nächste Ergebnis wird erhalten:
Das Implementierungsergebnis:
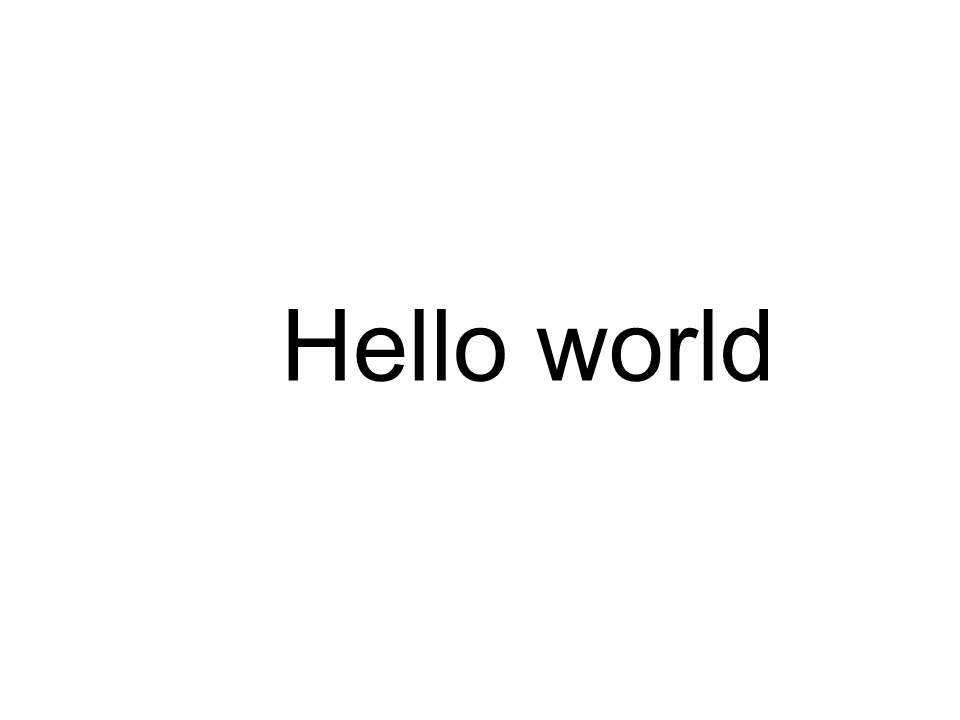 Arial x=300 y=300
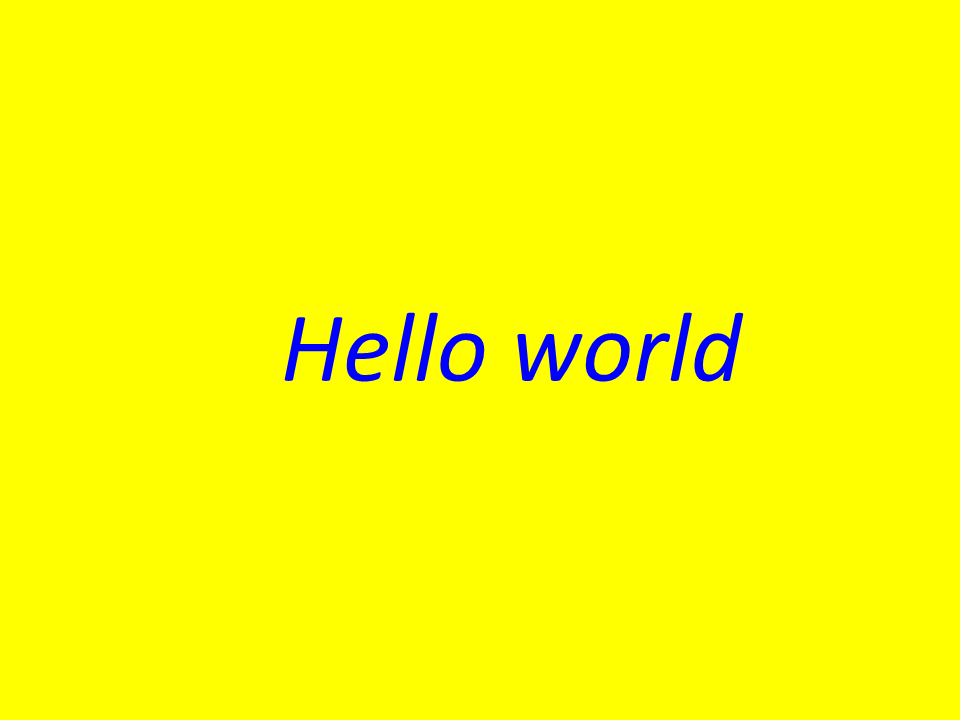 Kalibri x=300 y=300
So fügen Sie den Text zu einem Bild hinzu
Sie können auch Text auf einem vorhandenen Bild anzeigen. Dazu schreiben wir den Code wie folgt um:
 1
 2    public static void CustomDrawText(string text, IFont font, double fontSize, Brush backgroundBrush, Brush textBrush, string outFile, Bitmap bitmap, double kerningCoefficient = 1, double coordinateX = 0, double coordinateY = 0)
 3    {
 4        //Get glyph identifiers for every symbol in the text line
 5        GlyphId[] gids = new GlyphId[text.Length];
 6
 7        for (int i = 0; i < text.Length; i++)
 8            gids[i] = font.Encoding.DecodeToGid(text[i]);
 9
10        // Set common drawing settings
11        double dpi = 300;
12        double resolutionCorrection = dpi / 72; // 72 is font's internal dpi
13
14        // Prepare the output bitmap
15        Bitmap outBitmap = bitmap;
16
17        outBitmap.SetResolution((float)dpi, (float)dpi);
18
19        Graphics outGraphics = Graphics.FromImage(outBitmap);
20        outGraphics.FillRectangle(backgroundBrush, 0, 0, outBitmap.Width, outBitmap.Height);
21        outGraphics.SmoothingMode = SmoothingMode.HighQuality;
22
23        //Declare coordinate variables and the previous gid
24        GlyphId previousGid = null;
25        double glyphXCoordinate = coordinateX;
26        double glyphYCoordinate = coordinateY;
27
28        glyphYCoordinate += fontSize * resolutionCorrection;
29
30        //The loop paints every glyph in gids
31        foreach (GlyphId gid in gids)
32        {
33            // if the font contains the gid
34            if (gid != null)
35            {
36                Glyph glyph = font.GlyphAccessor.GetGlyphById(gid);
37                if (glyph == null)
38                    continue;
39
40                // The path that accepts drawing instructions
41                GraphicsPath path = new GraphicsPath();
42
43                // Create the IGlyphOutlinePainter implementation
44                GlyphOutlinePainter outlinePainter = new GlyphOutlinePainter(path);
45
46                // Create the renderer
47                Aspose.Font.Renderers.IGlyphRenderer renderer = new Aspose.Font.Renderers.GlyphOutlineRenderer(outlinePainter);
48
49                // Get common glyph properties
50                double kerning = 0;
51
52                // Get the kerning value
53
54                if (previousGid != null)
55                {
56                    kerning = (font.Metrics.GetKerningValue(previousGid, gid) / glyph.SourceResolution) * fontSize * resolutionCorrection;
57                    kerning += FontWidthToImageWith(font.Metrics.GetGlyphWidth(previousGid), glyph.SourceResolution, fontSize);
58                }
59
60                // Glyph positioning - increase the glyph X coordinate according to the kerning distance
61                glyphXCoordinate += kerning * kerningCoefficient;
62
63                // Glyph placement matrix
64                TransformationMatrix glyphMatrix = new TransformationMatrix(
65                        new double[]
66                                { fontSize * resolutionCorrection,
67                            0,
68                            0,
69                        // negative because of the bitmap coordinate system begins from the top
70                            - fontSize*resolutionCorrection,
71                            glyphXCoordinate,
72                            glyphYCoordinate
73                                });
74
75                // Render the current glyph
76                renderer.RenderGlyph(font, gid, glyphMatrix);
77
78                // Fill the path
79                path.FillMode = FillMode.Winding;
80
81                outGraphics.FillPath(textBrush, path);
82            }
83
84            //Set the current gid as previous to get the correct kerning for the next glyph
85            previousGid = gid;
86        }
87
88        //Save the results
89        outBitmap.Save(outFile);
90    }
Ändern wir die Art und Weise, wie die Methode aufgerufen wird:
 1    var dataDir = @"C:\Temp\";
 2    var fileName1 = dataDir + "arial.ttf"; //Font file name with full path
 3
 4    var fontDefinition1 = new FontDefinition(FontType.TTF, new FontFileDefinition("ttf", new FileSystemStreamSource(fileName1)));
 5    var ttfFont1 = Font.Open(fontDefinition1) as TtfFont;
 6
 7    var bitmap = new Bitmap(960, 720);
 8
 9    GlyphOutlinePainter.CustomDrawText("Hello world", ttfFont1, 17, Brushes.White, Brushes.Black, dataDir + "Hello_Arial_out.png", bitmap);
10
11    var inputImagePath = dataDir + "Hello_Arial_out.png";
12    var bitmapAddText = new Bitmap(inputImagePath);
13
14    GlyphOutlinePainter.CustomDrawText("Hello world", ttfFont1, 17, Brushes.Transparent, Brushes.Gray, dataDir + "Hello_Arial_Shadow_out.png", bitmapAddText, 1, -3);
15
16    GlyphOutlinePainter.CustomDrawText("<= Shadow effect", ttfFont1, 17, Brushes.Transparent, Brushes.Brown, dataDir + "Hello_Arial_Shadow_out.png", bitmapAddText, 1, 400);
Das Implementierungsergebnis:
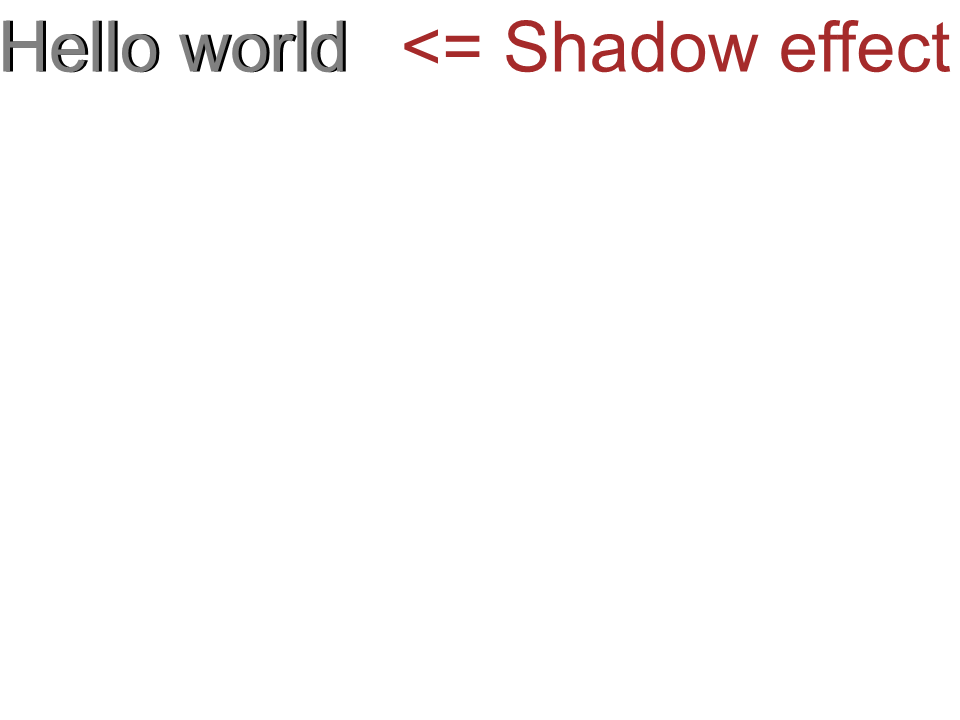 Luftschatteneffekt
Ausgabe des Textes von oben nach unten
Um den Text von oben nach unten anzuzeigen, nehmen wir die folgenden Änderungen in der Methode „CustomDrawText()“ vor.
 1    public static void CustomDrawText(string text, IFont font, double fontSize, Brush backgroundBrush, Brush textBrush, string outFile, Bitmap bitmap, double kerningCoefficient = 1, double coordinateX = 0, double coordinateY = 0, bool topDown = false)
 2    {
 3        //Get glyph identifiers for every symbol in the text line
 4        GlyphId[] gids = new GlyphId[text.Length];
 5
 6        for (int i = 0; i < text.Length; i++)
 7            gids[i] = font.Encoding.DecodeToGid(text[i]);
 8
 9        // Set common drawing settings
10        double dpi = 300;
11        double resolutionCorrection = dpi / 72; // 72 is font's internal dpi
12
13        // Prepare the output bitmap
14        Bitmap outBitmap = bitmap;
15
16        outBitmap.SetResolution((float)dpi, (float)dpi);
17
18        Graphics outGraphics = Graphics.FromImage(outBitmap);
19        outGraphics.FillRectangle(backgroundBrush, 0, 0, outBitmap.Width, outBitmap.Height);
20        outGraphics.SmoothingMode = SmoothingMode.HighQuality;
21
22        //Declare coordinate variables and the previous gid
23        GlyphId previousGid = null;
24        double glyphXCoordinate = coordinateX;
25        double glyphYCoordinate = coordinateY;
26
27        glyphYCoordinate += fontSize * resolutionCorrection;
28
29        //The loop paints every glyph in gids
30        foreach (GlyphId gid in gids)
31        {
32            // if the font contains the gid
33            if (gid != null)
34            {
35                Glyph glyph = font.GlyphAccessor.GetGlyphById(gid);
36                if (glyph == null)
37                    continue;
38
39                // The path that accepts drawing instructions
40                GraphicsPath path = new GraphicsPath();
41
42                // Create IGlyphOutlinePainter implementation
43                GlyphOutlinePainter outlinePainter = new GlyphOutlinePainter(path);
44
45                // Create the renderer
46                Aspose.Font.Renderers.IGlyphRenderer renderer = new Aspose.Font.Renderers.GlyphOutlineRenderer(outlinePainter);
47
48                // Get common glyph properties
49                double kerning = 0;
50
51                // Get kerning value
52                if (previousGid != null && !topDown)
53                {
54                    kerning = (font.Metrics.GetKerningValue(previousGid, gid) / glyph.SourceResolution) * fontSize * resolutionCorrection;
55                    kerning += FontWidthToImageWith(font.Metrics.GetGlyphWidth(previousGid), glyph.SourceResolution, fontSize);
56                }
57
58                if (topDown)
59                {
60                    glyphYCoordinate += fontSize * resolutionCorrection;
61                }
62                else
63                {
64                    // Glyph positioning - increase the glyph X coordinate according to kerning distance
65                    glyphXCoordinate += kerning * kerningCoefficient;
66                }
67
68                // Glyph placement matrix
69                TransformationMatrix glyphMatrix = new TransformationMatrix(
70                        new double[]
71                                { fontSize * resolutionCorrection,
72                            0,
73                            0,
74                        // negative because the bitmap coordinate system begins from the top
75                            - fontSize*resolutionCorrection,
76                            glyphXCoordinate,
77                            glyphYCoordinate
78                                });
79
80                // Render the current glyph
81                renderer.RenderGlyph(font, gid, glyphMatrix);
82
83                // Fill the path
84                path.FillMode = FillMode.Winding;
85
86                outGraphics.FillPath(textBrush, path);
87            }
88
89            //Set the current gid as previous to get correct kerning for the next glyph
90            previousGid = gid;
91        }
92
93        //Save the results
94        outBitmap.Save(outFile);
95    }
Der Code für den Methodenaufruf wird wie folgt aussehen:
1    var dataDir = @"C:\Temp\";
2    var fileName1 = dataDir + "arial.ttf"; //Font file name with full path
3    var fontDefinition1 = new FontDefinition(FontType.TTF, new FontFileDefinition("ttf", new FileSystemStreamSource(fileName1)));
4    var ttfFont1 = Font.Open(fontDefinition1) as TtfFont;
5    var bitmap = new Bitmap(960, 720);
6
7    GlyphOutlinePainter.CustomDrawText("Top down", ttfFont1, 18, Brushes.White, Brushes.Black, dataDir + "Hello_Arial_TopDown.png", bitmap, 1, 400, 00, true);
Das Implementierungsergebnis:
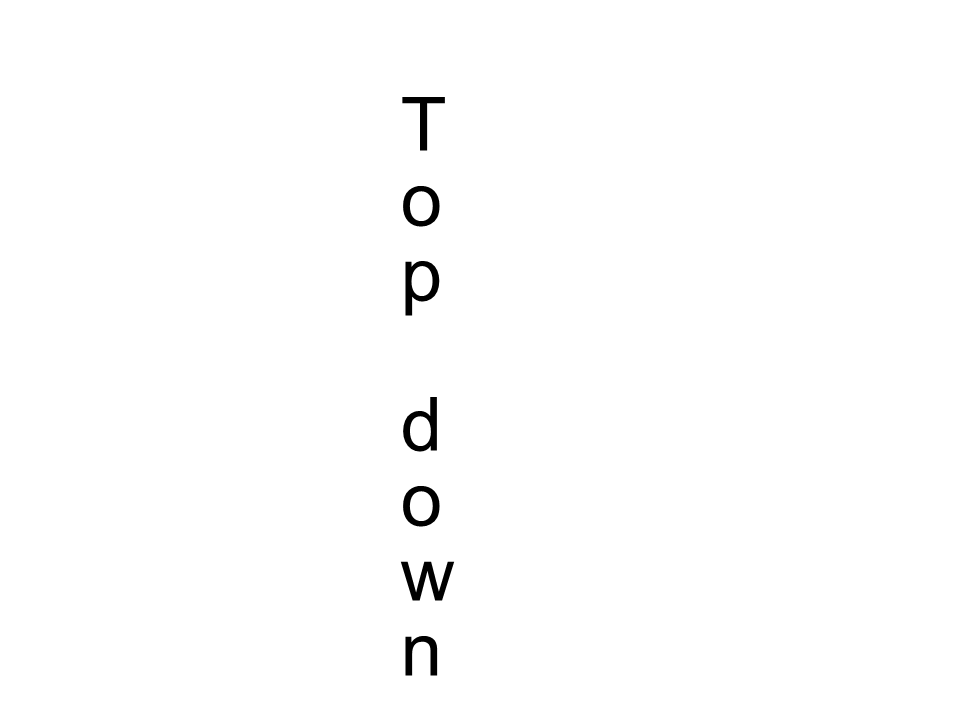 Arial von oben nach unten
Weitere Informationen
1    double dpi; // dots per inch
2    double resolutionCorrection = dpi / 72; // 72 is font's internal dpi
3    // Coordinate variables
4    double glyphXCoordinate; // X
5    double glyphYCoordinate; // Y;
6    // Kerning - horizontal spacing between two letters
7    double kerning = 0;