Rendering di testo usando la libreria di caratteri | .NET
Panoramica
Se hai mai desiderato avere la funzionalità di rendere il testo in un’immagine, l’articolo qui ti insegnerà come farlo con caratteri di qualsiasi formato, supportato dalla libreria di caratteri usando la soluzione API Aspose.Font. La libreria consente di convertire facilmente il testo in immagini e aggiungere testo a qualsiasi immagine.
Rendering Testo
Per inserire il testo in un’immagine dovrai utilizzare il metodo DrawText della classe RenderingUtils. Il codice seguente mostra come aggiungere il testo “Hello World” scritto in font Arial a un’immagine chiamata “Arial.png”.
 1    var dataDir = @"C:\Temp\";
 2    var fileName = dataDir + "arial.ttf"; //Font file name with full path
 3    var outFile = dataDir + "arial.png";
 4    var fontDefinition = new FontDefinition(FontType.TTF, new FontFileDefinition("ttf", new FileSystemStreamSource(fileName)));
 5    var ttfFont = Font.Open(fontDefinition) as TtfFont;
 6
 7    var stream = Aspose.Font.Renderers.RenderingUtils.DrawText(ttfFont, "Hello world", 18);
 8
 9    var bitmap = new Bitmap(stream);
10    bitmap.Save(outFile);
Il risultato dell’implementazione:

Il metodo DrawText consente di impostare la spaziatura della linea ed eseguire un avvolgimento di testo word-by-word automatico.
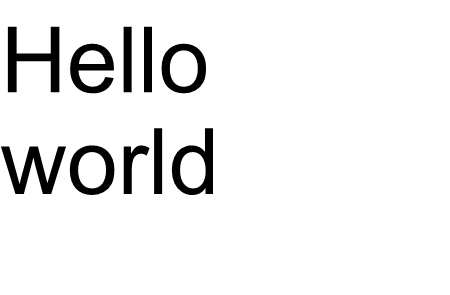
Nell’esempio di codice seguente, abbiamo specificato il tipo di spaziatura della linea linepacingType.pixels e impostarlo su 10 e abbiamo impostato la larghezza massima dell’immagine su 450.
Tutto il testo che non può essere visualizzato correttamente nell’intervallo dato (nel nostro caso è 450) verrà avvolto su una nuova linea.
Il codice snippato mostra come rendere il testo “Hello World” in Arial Caranza con la confezione alla riga successiva:
 1    var dataDir = @"C:\Temp\";
 2    var fileName = dataDir + "arial.ttf"; //Font file name with full path
 3    var outFile = dataDir + "arial.png";
 4    var fontDefinition = new FontDefinition(FontType.TTF, new FontFileDefinition("ttf", new FileSystemStreamSource(fileName)));
 5    var ttfFont = Font.Open(fontDefinition) as TtfFont;
 6    var lineSpacingType = LineSpacingType.Pixels;
 7
 8    var stream = DrawText(ttfFont, "Hello world", 22, lineSpacingType, 10, 450);
 9
10    var bitmap = new Bitmap(stream);
11
12    bitmap.Save(outFile);
Il risultato dell’implementazione:
In questo esempio, hai visto come trasformare il testo in un’immagine con una sola riga di codice.
La famiglia di funzioni per il metodo DrawText() copre il testo standard o l’output di testo multiline. Ma, in alcuni casi, potrebbe essere necessario un output personalizzato del testo, ad esempio, quando si desidera comprimere, allungare, ruotare il testo ad angolo o qualcos’altro. In questo caso, è necessario personalizzare l’output in base alle tue esigenze.
Rendering di testo personalizzato
Il prossimo esempio mostra un modo più avanzato (personalizzato) per convertire il testo in un’immagine.
Per disegnare
glifi in Aspose.Font, si utilizza uno dei metodi RenderGlyph() della classe
GlyphOutlineRenderer. Tutti questi metodi sovraccaricati sono dichiarati nell’interfaccia
IGlyphRenderer.
Come parametro, dobbiamo passare a questi metodi un riferimento all’indice di carattere, glyphid o glyph e coordinate di output del glifo. Per trasferire l’ultimo parametro, viene utilizzata una matrice speciale rappresentata dall’oggetto Aspose.Font
TransformationMatrix.
Di seguito mostriamo come utilizzare gli oggetti del tipo
TransformationMatrix per passare le coordinate di output del glifo ai metodi della famiglia renderglyph().
Quindi, per disegnare un glifo, dobbiamo creare un oggetto del tipo Glyphoutlinerender. Ma un tale oggetto non può disegnare un glifo da solo. Richiede funzionalità esterne, che è descritta dall’interfaccia iglyphoutlinepainter. Per utilizzare l’oggetto glyphoutlinerender dovrebbe essere fornito con un’implementazione del iglyphoutlinePainter. Di seguito puoi vedere una semplice implementazione di questa interfaccia. Creiamo la classeGlyphoutLinePainterche richiede un oggetto di System.Drawing.Drawing2d.Graphicspath per gli obiettivi di disegno grafico.
L’implementazione è illustrata di seguito.
 1    GlyphoutLinePainter di classe pubblica: iglyphoutlinepainter
 2    {
 3        Private GraphicsPath _Path;
 4        punto privato _CurrentPoint;
 5
 6        public GlyphOutlinePainter(GraphicsPath path)
 7        {
 8            _path = path;
 9        }
10
11        public void MoveTo(MoveTo moveTo)
12        {
13            _path.CloseFigure();
14            _currentPoint.X = (float)moveTo.X;
15            _currentPoint.Y = (float)moveTo.Y;
16        }
17
18        public void LineTo(LineTo lineTo)
19        {
20            float x = (float)lineTo.X;
21            float y = (float)lineTo.Y;
22            _path.AddLine(_currentPoint.X, _currentPoint.Y, x, y);
23            _currentPoint.X = x;
24            _currentPoint.Y = y;
25        }
26
27        public void CurveTo(CurveTo curveTo)
28        {
29            float x3 = (float)curveTo.X3;
30            float y3 = (float)curveTo.Y3;
31
32            _path.AddBezier(
33                _currentPoint.X,
34                _currentPoint.Y,
35                (float)curveTo.X1,
36                (float)curveTo.Y1,
37                (float)curveTo.X2,
38                (float)curveTo.Y2,
39                x3,
40                y3);
41
42            _currentPoint.X = x3;
43            _currentPoint.Y = y3;
44        }
45
46        public void ClosePath()
47        {
48            _path.CloseFigure();
49        }
50    }
Dopo l’implementazione di
iglyphoutlinepainter, possiamo usare oggetti del suo tipo per rendere un singolo glifo passandoli alla famiglia
Glyphoutlinerender e chiamando i corrispondenti metodi sovraccarichi del renderglyph() Famiglia.
Per rendere una stringa di testo, dobbiamo ottenere il glyphid per ogni carattere e quindi, usando un oggetto di
glyphoutlinerender di tipo Chiama uno dei metodi della famiglia renderglyph(), passando le coordinate del Glyph corrispondente.
Diamo un’occhiata a un esempio di produzione di una riga di testo usando la libreria Aspose.Font. Sarà costruito nella forma del metodo CustomDrawText(), che accetta parametri - *CustomDrawText *(testo di stringa, font ifont, doppio fontsize, spazzole, brusco, cespuglio di textbrush, outfile della stringa).
Crea il metodo CustomDrawText() che disegna il testo specificato nell’oggetto
System.Drawing.bitmap e salva la bitmap risultante sul disco.
Ciò includerà i seguenti passaggi:
- Iterare tutti i simboli in una stringa di testo.
- Ottieni l’identificatore di glifi per ogni simbolo elaborato - GID.
- Creare un oggetto di * Tipo di GlyphoutLinePainter * richiesto dal sottosistema di rendering per disegnare il glifo corrente.
- Crea un oggetto del tipo aspose.font.renders.glyphoutlinerender e passa l’oggetto appena creato diGlyphoutlinePainterTipo nel costruttore per Glyphoutlinerender. Questo oggetto Glyphoutlinerender è destinato a rendere glifi specificati.
- Esegue il rendering del glifo attualmente elaborato utilizzando il metodo GlyphOutlineRenderer.RenderGlyph(). L’oggetto Aspose.Fonts.Matrix viene utilizzato per specificare le coordinate del glifo. Il glifo da visualizzare è specificato dal parametro gid.
Passaggi ausiliari per questa strategia
- Le coordinate glifo per l’asse ‘y’ sono costanti per questo frammento di codice.
- Le coordinate di glifi per l’asse ‘X’ sono calcolate per ogni glifo elaborato.
- Entrambe le coordinate ‘x’ e ‘y’ vengono passate nell’oggettoaspose.fonts.matrixusato da glyphoutlinerender per disegnare glifi.
- La distanza tra glifi giusti e precedentemente elaborati viene calcolata in ogni fase di iterazione. Colpisce ogni coordinata di glifi ‘x’.
- L’oggetto di tipo GlyphOutlineRenderer disegna glifi con l’aiuto di GlyphOutlinePainter non direttamente in Bitmap, ma nell’oggetto GraphicsPath passato al costruttore per GlyphOutlinePainter, quindi utilizziamo l’oggetto di tipo System.Drawing.Graphics per disegnare GraphicsPath in Bitmap.
- Il metodo fontWidThToImageWith() calcola la larghezza del glifo per il sistema di coordinate BitMap.
L’implementazione del metodo CustomDrawText() è mostrata di seguito.
 1    Public Static Void CustomDrawText (testo di stringa, font ifont, doppio fontsize, brush sfondo, brush textbrush, outfile della stringa)
 2    {
 3        // Ottieni identificatori di glifi per ogni simbolo nella riga di testo
 4        Glyphid [] gids = new glyphid [text.length];
 5
 6        for (int i = 0; i < text.Length; i++)
 7            gids[i] = font.Encoding.DecodeToGid(text[i]);
 8
 9        // Set common drawing settings
10        double dpi = 300;
11        double resolutionCorrection = dpi / 72; // 72 is font's internal dpi
12
13        // Prepare output bitmap
14        Bitmap outBitmap = new Bitmap(960, 720);
15
16
17        outBitmap.SetResolution((float)dpi, (float)dpi);
18
19        Graphics outGraphics = Graphics.FromImage(outBitmap);
20        outGraphics.FillRectangle(backgroundBrush, 0, 0, outBitmap.Width, outBitmap.Height);
21        outGraphics.SmoothingMode = SmoothingMode.HighQuality;
22
23        //Declare coordinate variables and a previous gid
24        GlyphId previousGid = null;
25        double glyphXCoordinate = 0;
26        double glyphYCoordinate = fontSize * resolutionCorrection;
27
28        // The loop paints every glyph in gids
29        foreach (GlyphId gid in gids)
30        {
31            // if the font contains the gid
32            if (gid != null)
33            {
34                Glyph glyph = font.GlyphAccessor.GetGlyphById(gid);
35                if (glyph == null)
36                    continue;
37
38                // The path that accepts drawing instructions
39                GraphicsPath path = new GraphicsPath();
40
41                // Create IGlyphOutlinePainter implementation
42                GlyphOutlinePainter outlinePainter = new GlyphOutlinePainter(path);
43
44                // Create the renderer
45                Aspose.Font.Renderers.IGlyphRenderer renderer = new Aspose.Font.Renderers.GlyphOutlineRenderer(outlinePainter);
46
47                // Get common glyph properties
48                double kerning = 0;
49
50                // Get kerning value
51
52                if (previousGid != null)
53                {
54                    kerning = (font.Metrics.GetKerningValue(previousGid, gid) / glyph.SourceResolution) * fontSize * resolutionCorrection;
55                    kerning += FontWidthToImageWith(font.Metrics.GetGlyphWidth(previousGid), glyph.SourceResolution, fontSize);
56                }
57
58                // Glyph positioning - increase glyph X coordinate according to kerning distance
59                glyphXCoordinate += kerning;
60
61                // Glyph placement matrix
62                TransformationMatrix glyphMatrix = new TransformationMatrix(
63                        new double[]
64                                { fontSize * resolutionCorrection,
65                            0,
66                            0,
67                        // negative because of the bitmap coordinate system begins from the top
68                            - fontSize*resolutionCorrection,
69                            glyphXCoordinate,
70                            glyphYCoordinate
71                                });
72
73                // Render the current glyph
74                renderer.RenderGlyph(font, gid, glyphMatrix);
75
76                // Fill the path
77                path.FillMode = FillMode.Winding;
78
79                outGraphics.FillPath(textBrush, path);
80            }
81
82            //Set current gid as previous to get correct kerning for next glyph
83            previousGid = gid;
84        }
85
86        //Save the results
87        outBitmap.Save(outFile);
88    }
Metodo di utilità per convertire la larghezza del carattere in larghezza dell’immagine
1    Double fontThtoImage con doppio fontThtoImage (doppia larghezza, int fonsourceResulution, doppia fontsize, doppio dpi = 300)
2    {
3        a doppia risoluzione correzione = dpi / 72; // 72 è il DPI interno di Font
4
5        return (width / fontSourceResulution) * fontSize * resolutionCorrection;
6    }
Lo snippet del codice successivo mostra come rendere il metodo “Hello World” del testo usando il metodo customDrawText().
 1var datadir = @"c: \ temp \";
 2    var dataDir = @"C:\Temp\";
 3    var fileName1 = dataDir + "arial.ttf"; //Font file name with full path
 4    var fileName2 = dataDir + "calibrii.ttf"; //Font file name with full path
 5
 6    var fontDefinition1 = new FontDefinition(FontType.TTF, new FontFileDefinition("ttf", new FileSystemStreamSource(fileName1)));
 7    var ttfFont1 = Font.Open(fontDefinition1) as TtfFont;
 8
 9    var fontDefinition2 = new FontDefinition(FontType.TTF, new FontFileDefinition("ttf", new FileSystemStreamSource(fileName2)));
10    var ttfFont2 = Font.Open(fontDefinition2) as TtfFont;
11
12    GlyphOutlinePainter.CustomDrawText("Hello world", ttfFont1, 24, Brushes.White, Brushes.Black, dataDir + "Hello_Arial_out.png");
13    GlyphOutlinePainter.CustomDrawText("Hello world", ttfFont2, 24, Brushes.Yellow, Brushes.Blue, dataDir + "Hello_Calibri_out.png");
Implementazione del codice otterremo il seguente risultato:
Il risultato dell’implementazione:
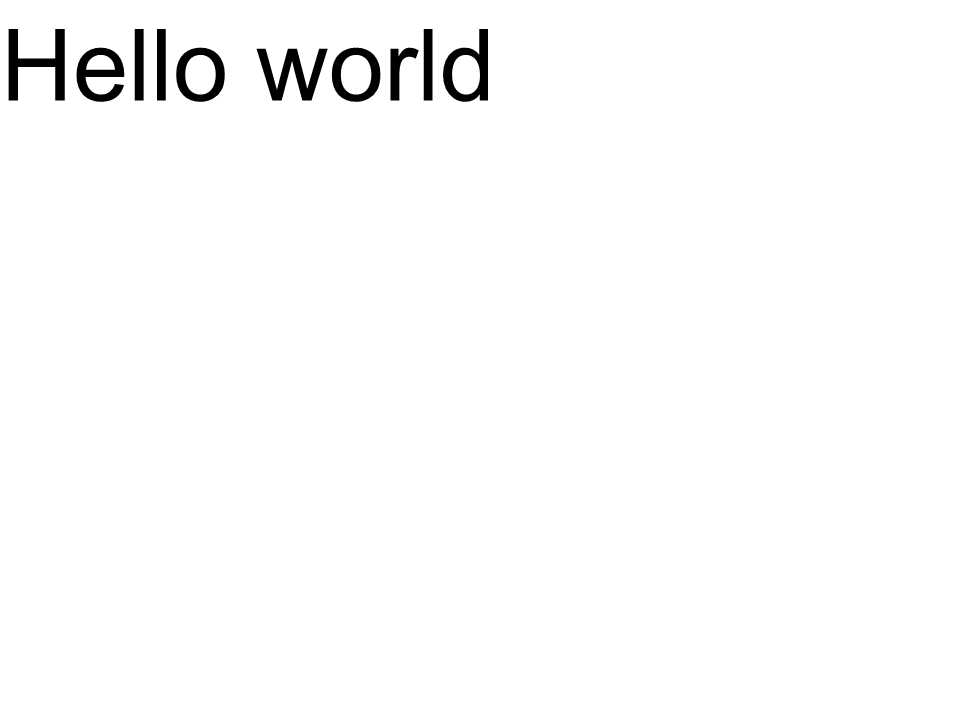 Arial
Arial
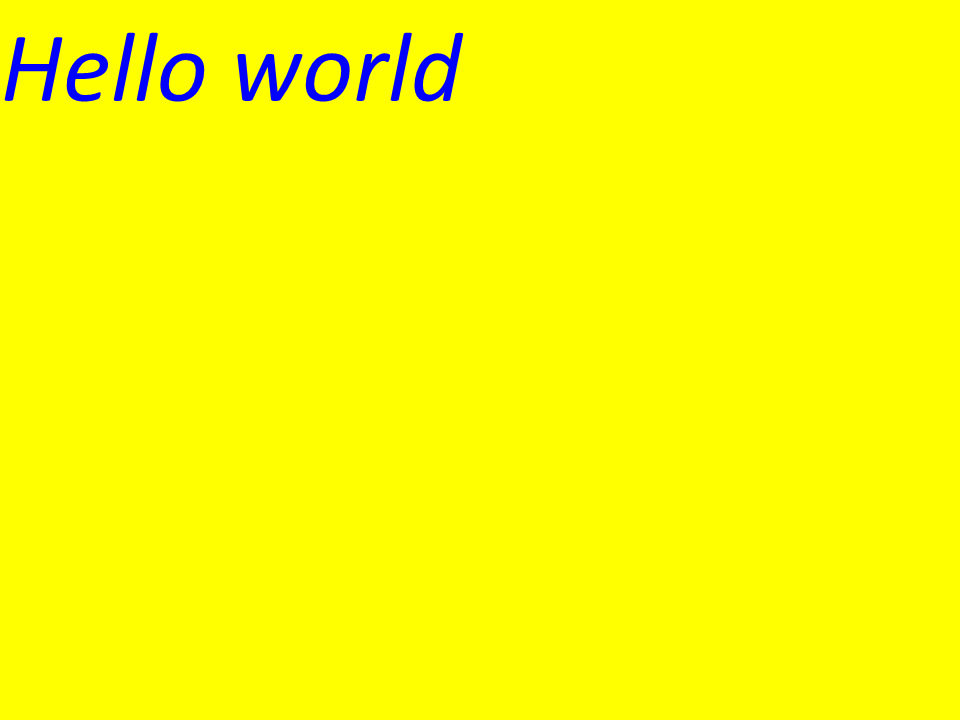 Calibri
Kerning
Usando il valore della variabile kerning è possibile modificare la distanza tra glifi. Ora riscriviamo il codice nel prossimo modo:
1
2    // Posizionamento del glifo - Aumenta la coordinata glifo X in base alla distanza di kerning
3    kerning *= 1.25;
4    glyphxcoordinate += kerning;
Il prossimo risultato sarà ottenuto:
Il risultato dell’implementazione:
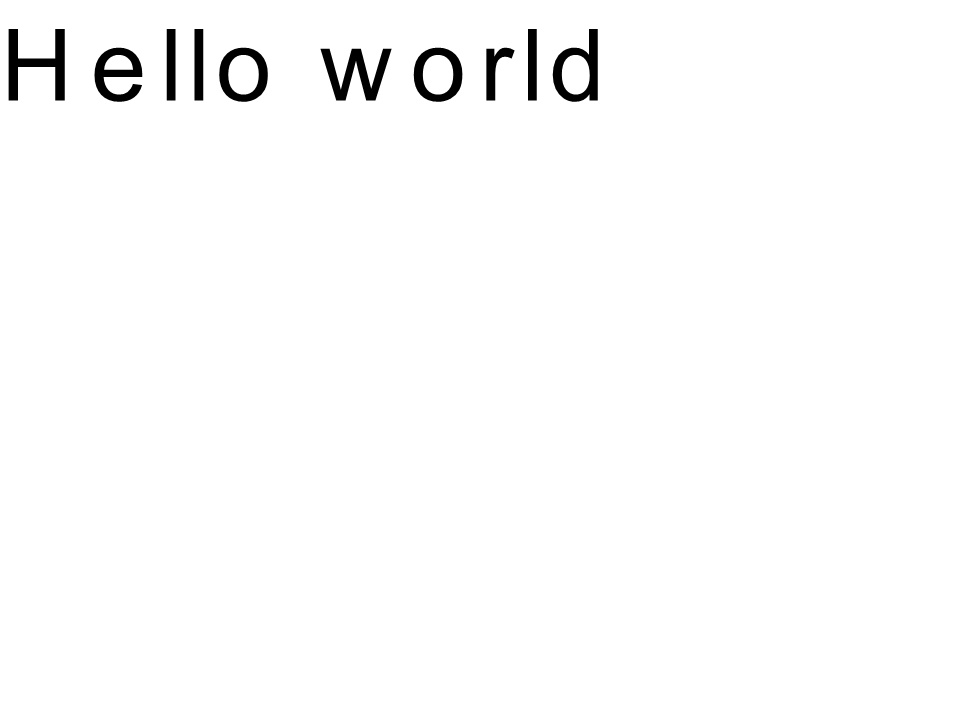 Arial kernint
 Calibri kerning
Rendering Testo per coordinate
Le variabili glyphXCoordinate e glyphYCoordinate sono responsabili delle coordinate dell’output del testo. Modificando il codice come segue:
1    // Dichiara le variabili di coordinate e il GID precedente
2    Glyphid Precedentegid = null;
3    doppio glyphxcoordinate = 300;
4    doppio glyfycoordinate = 300;
Il prossimo risultato sarà ottenuto:
Il risultato dell’implementazione:
 Arial x=300 y=300
 Calibri x=300 y=300
Come aggiungere il testo a un’immagine
Puoi anche visualizzare il testo su un’immagine esistente. Per questo, riscriveremo il codice come segue:
 1
 2    Vuoto statico pubblico CustomDrawText (testo stringa, font ifont, doppio fontsize, brush brush, brush textbrush, outfile della stringa, bitmap bitmap, doppio kerningcoefficient = 1, double coordinatex = 0, double coordinatey = 0)
 3    {
 4        // Ottieni identificatori di glifi per ogni simbolo nella riga di testo
 5        Glyphid [] gids = new glyphid [text.length];
 6
 7        for (int i = 0; i < text.Length; i++)
 8            gids[i] = font.Encoding.DecodeToGid(text[i]);
 9
10        // Set common drawing settings
11        double dpi = 300;
12        double resolutionCorrection = dpi / 72; // 72 is font's internal dpi
13
14        // Prepare the output bitmap
15        Bitmap outBitmap = bitmap;
16
17        outBitmap.SetResolution((float)dpi, (float)dpi);
18
19        Graphics outGraphics = Graphics.FromImage(outBitmap);
20        outGraphics.FillRectangle(backgroundBrush, 0, 0, outBitmap.Width, outBitmap.Height);
21        outGraphics.SmoothingMode = SmoothingMode.HighQuality;
22
23        //Declare coordinate variables and the previous gid
24        GlyphId previousGid = null;
25        double glyphXCoordinate = coordinateX;
26        double glyphYCoordinate = coordinateY;
27
28        glyphYCoordinate += fontSize * resolutionCorrection;
29
30        //The loop paints every glyph in gids
31        foreach (GlyphId gid in gids)
32        {
33            // if the font contains the gid
34            if (gid != null)
35            {
36                Glyph glyph = font.GlyphAccessor.GetGlyphById(gid);
37                if (glyph == null)
38                    continue;
39
40                // The path that accepts drawing instructions
41                GraphicsPath path = new GraphicsPath();
42
43                // Create the IGlyphOutlinePainter implementation
44                GlyphOutlinePainter outlinePainter = new GlyphOutlinePainter(path);
45
46                // Create the renderer
47                Aspose.Font.Renderers.IGlyphRenderer renderer = new Aspose.Font.Renderers.GlyphOutlineRenderer(outlinePainter);
48
49                // Get common glyph properties
50                double kerning = 0;
51
52                // Get the kerning value
53
54                if (previousGid != null)
55                {
56                    kerning = (font.Metrics.GetKerningValue(previousGid, gid) / glyph.SourceResolution) * fontSize * resolutionCorrection;
57                    kerning += FontWidthToImageWith(font.Metrics.GetGlyphWidth(previousGid), glyph.SourceResolution, fontSize);
58                }
59
60                // Glyph positioning - increase the glyph X coordinate according to the kerning distance
61                glyphXCoordinate += kerning * kerningCoefficient;
62
63                // Glyph placement matrix
64                TransformationMatrix glyphMatrix = new TransformationMatrix(
65                        new double[]
66                                { fontSize * resolutionCorrection,
67                            0,
68                            0,
69                        // negative because of the bitmap coordinate system begins from the top
70                            - fontSize*resolutionCorrection,
71                            glyphXCoordinate,
72                            glyphYCoordinate
73                                });
74
75                // Render the current glyph
76                renderer.RenderGlyph(font, gid, glyphMatrix);
77
78                // Fill the path
79                path.FillMode = FillMode.Winding;
80
81                outGraphics.FillPath(textBrush, path);
82            }
83
84            //Set the current gid as previous to get the correct kerning for the next glyph
85            previousGid = gid;
86        }
87
88        //Save the results
89        outBitmap.Save(outFile);
90    }
Modifichiamo il modo in cui il metodo viene chiamato:
1 var datadir = @"c: \ temp \";
2 var fileName1 = datadir + "Arial.ttf"; // Nome file di carattere con percorso completo
3
4 var fontDefinition1 = new FontDefinition(FontType.TTF, new FontFileDefinition("ttf", new FileSystemStreamSource(fileName1)));
5 var ttfFont1 = Font.Open(fontDefinition1) as TtfFont;
6
7 var bitmap = new Bitmap(960, 720);
8
9 GlyphOutlinePainter.CustomDrawText("Hello world", ttfFont1, 17, Brushes.White, Brushes.Black, dataDir + "Hello_Arial_out.png", bitmap);
10
11 var inputImagePath = dataDir + "Hello_Arial_out.png";
12 var bitmapAddText = new Bitmap(inputImagePath);
13
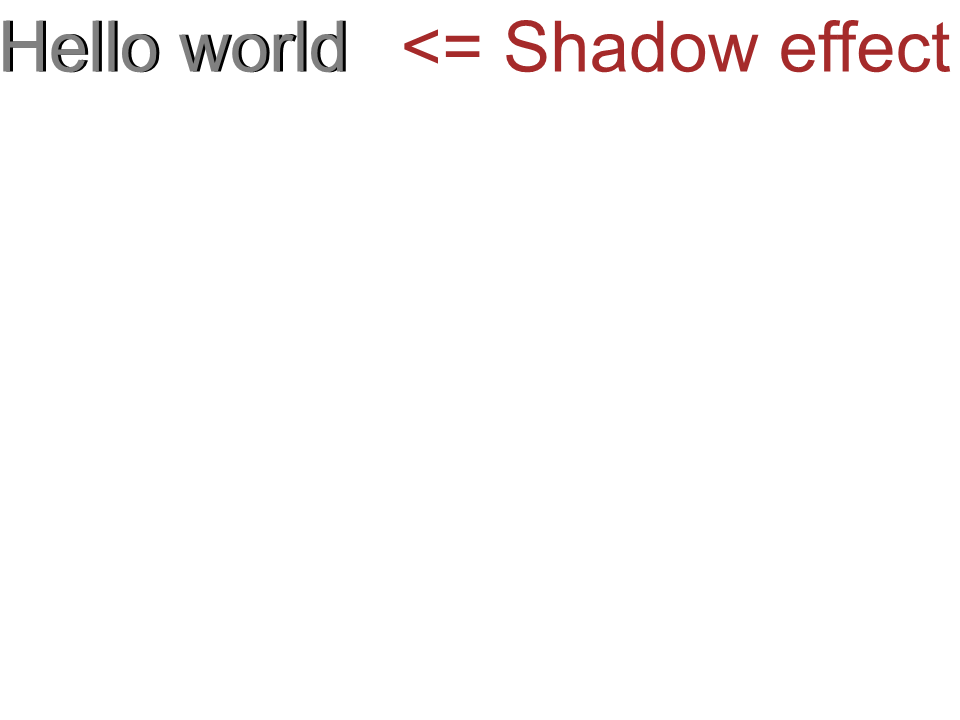
14 GlyphOutlinePainter.CustomDrawText("Hello world", ttfFont1, 17, Brushes.Transparent, Brushes.Gray, dataDir + "Hello_Arial_Shadow_out.png", bitmapAddText, 1, -3);
15
16 GlyphOutlinePainter.CustomDrawText("<= Shadow effect", ttfFont1, 17, Brushes.Transparent, Brushes.Brown, dataDir + "Hello_Arial_Shadow_out.png", bitmapAddText, 1, 400);Il risultato dell’implementazione:
 Arial shadow effect
Output del testo dall’alto verso il basso
Per visualizzare il testo dall’alto verso il basso, apportiamo le seguenti modifiche al metodo CustomDrawText().
 1    Vuoto statico pubblico CustomDrawText (testo di stringa, font ifont, doppio fontsize, brush brush, brush textbrush, outfile della stringa, bitmap bitmap, doppio kerningcoefficient = 1, double coordinatex = 0, double coordinatey = 0, bool topdown = false)
 2    {
 3        // Ottieni identificatori di glifi per ogni simbolo nella riga di testo
 4        Glyphid [] gids = new glyphid [text.length];
 5
 6        for (int i = 0; i < text.Length; i++)
 7            gids[i] = font.Encoding.DecodeToGid(text[i]);
 8
 9        // Set common drawing settings
10        double dpi = 300;
11        double resolutionCorrection = dpi / 72; // 72 is font's internal dpi
12
13        // Prepare the output bitmap
14        Bitmap outBitmap = bitmap;
15
16        outBitmap.SetResolution((float)dpi, (float)dpi);
17
18        Graphics outGraphics = Graphics.FromImage(outBitmap);
19        outGraphics.FillRectangle(backgroundBrush, 0, 0, outBitmap.Width, outBitmap.Height);
20        outGraphics.SmoothingMode = SmoothingMode.HighQuality;
21
22        //Declare coordinate variables and the previous gid
23        GlyphId previousGid = null;
24        double glyphXCoordinate = coordinateX;
25        double glyphYCoordinate = coordinateY;
26
27        glyphYCoordinate += fontSize * resolutionCorrection;
28
29        //The loop paints every glyph in gids
30        foreach (GlyphId gid in gids)
31        {
32            // if the font contains the gid
33            if (gid != null)
34            {
35                Glyph glyph = font.GlyphAccessor.GetGlyphById(gid);
36                if (glyph == null)
37                    continue;
38
39                // The path that accepts drawing instructions
40                GraphicsPath path = new GraphicsPath();
41
42                // Create IGlyphOutlinePainter implementation
43                GlyphOutlinePainter outlinePainter = new GlyphOutlinePainter(path);
44
45                // Create the renderer
46                Aspose.Font.Renderers.IGlyphRenderer renderer = new Aspose.Font.Renderers.GlyphOutlineRenderer(outlinePainter);
47
48                // Get common glyph properties
49                double kerning = 0;
50
51                // Get kerning value
52                if (previousGid != null && !topDown)
53                {
54                    kerning = (font.Metrics.GetKerningValue(previousGid, gid) / glyph.SourceResolution) * fontSize * resolutionCorrection;
55                    kerning += FontWidthToImageWith(font.Metrics.GetGlyphWidth(previousGid), glyph.SourceResolution, fontSize);
56                }
57
58                if (topDown)
59                {
60                    glyphYCoordinate += fontSize * resolutionCorrection;
61                }
62                else
63                {
64                    // Glyph positioning - increase the glyph X coordinate according to kerning distance
65                    glyphXCoordinate += kerning * kerningCoefficient;
66                }
67
68                // Glyph placement matrix
69                TransformationMatrix glyphMatrix = new TransformationMatrix(
70                        new double[]
71                                { fontSize * resolutionCorrection,
72                            0,
73                            0,
74                        // negative because the bitmap coordinate system begins from the top
75                            - fontSize*resolutionCorrection,
76                            glyphXCoordinate,
77                            glyphYCoordinate
78                                });
79
80                // Render the current glyph
81                renderer.RenderGlyph(font, gid, glyphMatrix);
82
83                // Fill the path
84                path.FillMode = FillMode.Winding;
85
86                outGraphics.FillPath(textBrush, path);
87            }
88
89            //Set the current gid as previous to get correct kerning for the next glyph
90            previousGid = gid;
91        }
92
93        //Save the results
94        outBitmap.Save(outFile);
95    }
Il codice per la chiamata del metodo avrà il prossimo sguardo:
1    var dataDir = @"C:\Temp\";
2    var fileName1 = dataDir + "arial.ttf"; //Font file name with full path
3    var fontDefinition1 = new FontDefinition(FontType.TTF, new FontFileDefinition("ttf", new FileSystemStreamSource(fileName1)));
4    var ttfFont1 = Font.Open(fontDefinition1) as TtfFont;
5    var bitmap = new Bitmap(960, 720);
6
7    GlyphOutlinePainter.CustomDrawText("Top down", ttfFont1, 18, Brushes.White, Brushes.Black, dataDir + "Hello_Arial_TopDown.png", bitmap, 1, 400, 00, true);
Il risultato dell’implementazione:
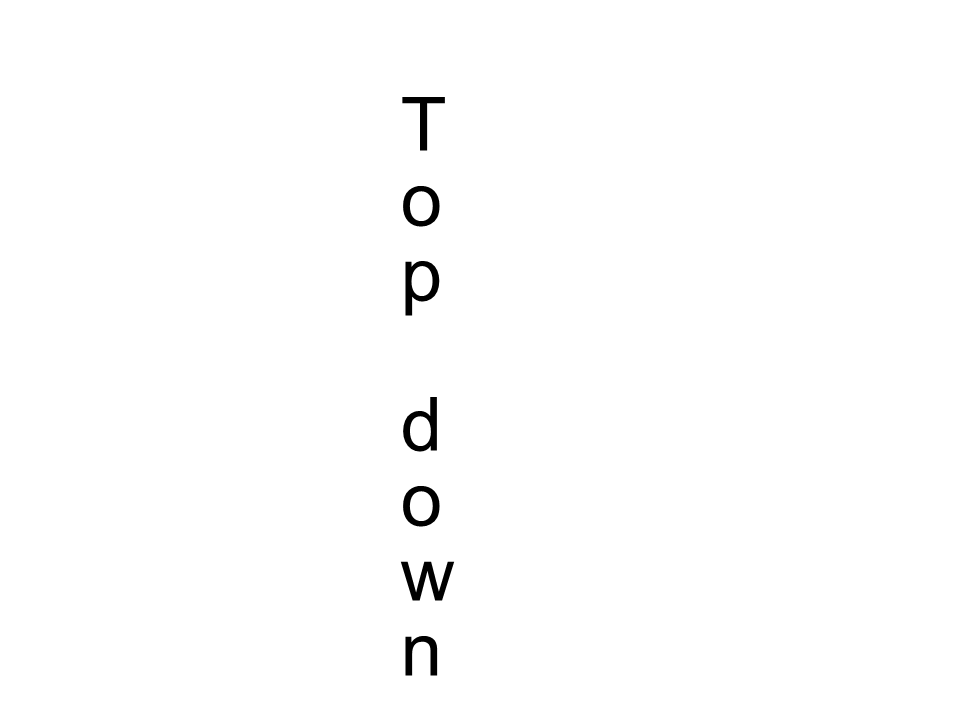 Arial top to down
Ulteriori informazioni
1    doppio dpi; // punti per pollice
2    a doppia risoluzione correzione = dpi / 72; // 72 è il DPI interno di Font
3    // Variabili di coordinate
4    doppio glyphxcoordinate; // X
5    doppio glyfycoordinate; // y;
6    // kerning - spaziatura orizzontale tra due lettere
7    Double Kerning = 0;