Отрисовка текста используя библиотеку шрифтов | .NET
Обзор
Если вы когда-нибудь хотели иметь возможность рендеринга текста в изображение, эта статья научит вас, как это сделать со шрифтами любого формата, поддерживаемыми библиотекой шрифтов, с использованием решения Aspose.Font API. Библиотека позволяет легко конвертировать текст в изображения, а также добавлять текст к любому изображению.
Отрисовка текста
Чтобы вставить текст в изображение, вам нужно будет использовать метод DrawText класса RenderingUtils. В приведенном ниже коде показано, как добавить текст «Привет, мир», написанный шрифтом Arial, к изображению с именем «arial.png».
 1    var dataDir = @"C:\Temp\";
 2    var fileName = dataDir + "arial.ttf"; //Font file name with full path
 3    var outFile = dataDir + "arial.png";
 4    var fontDefinition = new FontDefinition(FontType.TTF, new FontFileDefinition("ttf", new FileSystemStreamSource(fileName)));
 5    var ttfFont = Font.Open(fontDefinition) as TtfFont;
 6
 7    var stream = Aspose.Font.Renderers.RenderingUtils.DrawText(ttfFont, "Hello world", 18);
 8
 9    var bitmap = new Bitmap(stream);
10    bitmap.Save(outFile);
Результат реализации:

Метод DrawText позволяет вам установить межстрочный интервал и выполнить автоматический пословный перенос текста.
В приведенном ниже примере кода мы указали тип межстрочного интервала LineSpacingType.Pixels и установили для него значение 10, а максимальную ширину изображения установили на 450.
Весь текст, который не может быть корректно отображен в заданном диапазоне (в нашем случае это 450), будет перенесен на новую строку.
Вырезанный код показывает, как отображать текст «Hello world» шрифтом Arial с переносом на следующую строку:
 1    var dataDir = @"C:\Temp\";
 2    var fileName = dataDir + "arial.ttf"; //Font file name with full path
 3    var outFile = dataDir + "arial.png";
 4    var fontDefinition = new FontDefinition(FontType.TTF, new FontFileDefinition("ttf", new FileSystemStreamSource(fileName)));
 5    var ttfFont = Font.Open(fontDefinition) as TtfFont;
 6    var lineSpacingType = LineSpacingType.Pixels;
 7
 8    var stream = DrawText(ttfFont, "Hello world", 22, lineSpacingType, 10, 450);
 9
10    var bitmap = new Bitmap(stream);
11
12    bitmap.Save(outFile);
Результат реализации:
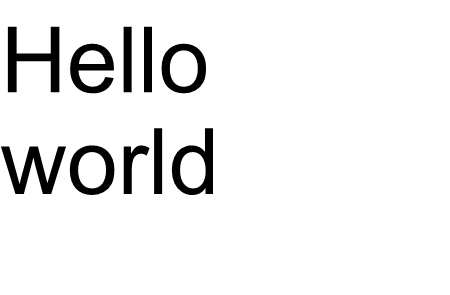
В этом примере вы увидели, как можно превратить текст в изображение с помощью всего лишь одной строки кода.
Семейство функций метода DrawText() охватывает стандартный текстовый или многострочный текстовый вывод. Но в некоторых случаях вам может понадобиться настраиваемый вывод текста, например, когда вы хотите сжать, растянуть, повернуть текст под углом или что-то еще. В этом случае вам необходимо настроить вывод в соответствии с вашими потребностями.
Пользовательский Отрисовка текста
В следующем примере показан более продвинутый (пользовательский) способ преобразования текста в изображение.
Для рисования
glyphs в Aspose.Font используется один из методов RenderGlyph() класса
GlyphOutlineRenderer. Все эти перегруженные методы объявлены в интерфейсе
IGlyphRenderer.
В качестве параметра мы должны передать этим методам ссылку на шрифт, glyphId или индекс глифа, а также выходные координаты глифа. Для передачи последнего параметра используется специальная матрица, представленная объектом Aspose.Font
TransformationMatrix.
Ниже мы покажем, как использовать объекты типа
TransformationMatrix для передачи выходных координат глифа методам семейства RenderGlyph().
Итак, чтобы нарисовать глиф, нам нужно создать объект типа GlyphOutlineRenderer. Но такой объект не может нарисовать глиф самостоятельно. Для этого требуются внешние функциональные возможности, которые описываются интерфейсом IGlyphOutlinePainter. Для использования объекта GlyphOutlineRenderer необходимо предоставить реализацию IGlyphOutlinePainter.
Ниже вы можете увидеть простую реализацию этого интерфейса. Давайте создадим класс GlyphOutlinePainter, которому требуется объект типа System.Drawing.Drawing2D.GraphicsPath для целей графического рисования.
Реализация проиллюстрирована ниже.
 1    public class GlyphOutlinePainter : IGlyphOutlinePainter
 2    {
 3        private GraphicsPath _path;
 4        private PointF _currentPoint;
 5
 6        public GlyphOutlinePainter(GraphicsPath path)
 7        {
 8            _path = path;
 9        }
10
11        public void MoveTo(MoveTo moveTo)
12        {
13            _path.CloseFigure();
14            _currentPoint.X = (float)moveTo.X;
15            _currentPoint.Y = (float)moveTo.Y;
16        }
17
18        public void LineTo(LineTo lineTo)
19        {
20            float x = (float)lineTo.X;
21            float y = (float)lineTo.Y;
22            _path.AddLine(_currentPoint.X, _currentPoint.Y, x, y);
23            _currentPoint.X = x;
24            _currentPoint.Y = y;
25        }
26
27        public void CurveTo(CurveTo curveTo)
28        {
29            float x3 = (float)curveTo.X3;
30            float y3 = (float)curveTo.Y3;
31
32            _path.AddBezier(
33                _currentPoint.X,
34                _currentPoint.Y,
35                (float)curveTo.X1,
36                (float)curveTo.Y1,
37                (float)curveTo.X2,
38                (float)curveTo.Y2,
39                x3,
40                y3);
41
42            _currentPoint.X = x3;
43            _currentPoint.Y = y3;
44        }
45
46        public void ClosePath()
47        {
48            _path.CloseFigure();
49        }
50    }
После реализации
IGlyphOutlinePainter мы можем использовать объекты этого типа для рендеринга отдельного глифа, передавая их в
GlyphOutlineRenderer и вызывая соответствующие перегруженные методы RenderGlyph() семья.
Чтобы отобразить строку текста, нам нужно получить glyphId для каждого символа, а затем, используя объект типа
GlyphOutlineRenderer, вызвать один из методов семейства RenderGlyph(), передавая координаты соответствующего глифа.
Давайте рассмотрим пример вывода строки текста с помощью библиотеки Aspose.Font. Он будет построен в виде метода CustomDrawText(), который принимает параметры - CustomDrawText(текстовая строка, шрифт IFont, двойной размер шрифта, Brush backgroundBrush, Brush textBrush, строка outFile).
Создайте метод CustomDrawText(), который рисует указанный текст в объект System.Drawing.Bitmap и сохраняет полученное растровое изображение на диске.
Это будет включать в себя следующие шаги:
- Перебрать все символы в текстовой строке.
- Получить идентификатор глифа для каждого обработанного символа — gid.
- Создайте объект типа GlyphOutlinePainter, который необходим подсистеме рендеринга для рисования текущего глифа.
- Создайте объект типа Aspose.Font.Renderers.GlyphOutlineRenderer и передайте только что созданный объект типа GlyphOutlinePainter в конструктор для GlyphOutlineRenderer. Этот объект GlyphOutlineRenderer предназначен для визуализации указанных глифов.
- Отобразить текущий обработанный глиф с помощью метода GlyphOutlineRenderer.RenderGlyph(). Объект Aspose.Fonts.Matrix используется для указания координат глифа. Глиф для рендеринга указывается параметром gid.
Дополнительные шаги для этой стратегии
- Координаты глифа по оси Y для этого фрагмента кода постоянны.
- Координаты глифа по оси X рассчитываются для каждого обработанного глифа.
- Координаты «X» и «Y» передаются в объект Aspose.Fonts.Matrix, используемый GlyphOutlineRenderer для рисования глифов.
- Расстояние между только что обработанными и ранее обработанными глифами рассчитывается на каждом шаге итерации. Это влияет на каждую координату «X» глифа.
- Объект типа GlyphOutlineRenderer рисует глифы с помощью GlyphOutlinePainter не в Bitmap напрямую, а в объект GraphicsPath, переданный в конструктор для GlyphOutlinePainter, поэтому мы используйте объект типа System.Drawing.Graphics для рисования GraphicsPath в растровом изображении.
- Метод FontWidthToImageWith() вычисляет ширину глифа для системы координат растрового изображения.
Ниже показана реализация метода CustomDrawText().
 1    public static void CustomDrawText(string text, IFont font, double fontSize, Brush backgroundBrush, Brush textBrush, string outFile)
 2    {
 3        //Get glyph identifiers for every symbol in the text line
 4        GlyphId[] gids = new GlyphId[text.Length];
 5
 6        for (int i = 0; i < text.Length; i++)
 7            gids[i] = font.Encoding.DecodeToGid(text[i]);
 8
 9        // Set common drawing settings
10        double dpi = 300;
11        double resolutionCorrection = dpi / 72; // 72 is font's internal dpi
12
13        // Prepare output bitmap
14        Bitmap outBitmap = new Bitmap(960, 720);
15
16
17        outBitmap.SetResolution((float)dpi, (float)dpi);
18
19        Graphics outGraphics = Graphics.FromImage(outBitmap);
20        outGraphics.FillRectangle(backgroundBrush, 0, 0, outBitmap.Width, outBitmap.Height);
21        outGraphics.SmoothingMode = SmoothingMode.HighQuality;
22
23        //Declare coordinate variables and a previous gid
24        GlyphId previousGid = null;
25        double glyphXCoordinate = 0;
26        double glyphYCoordinate = fontSize * resolutionCorrection;
27
28        // The loop paints every glyph in gids
29        foreach (GlyphId gid in gids)
30        {
31            // if the font contains the gid
32            if (gid != null)
33            {
34                Glyph glyph = font.GlyphAccessor.GetGlyphById(gid);
35                if (glyph == null)
36                    continue;
37
38                // The path that accepts drawing instructions
39                GraphicsPath path = new GraphicsPath();
40
41                // Create IGlyphOutlinePainter implementation
42                GlyphOutlinePainter outlinePainter = new GlyphOutlinePainter(path);
43
44                // Create the renderer
45                Aspose.Font.Renderers.IGlyphRenderer renderer = new Aspose.Font.Renderers.GlyphOutlineRenderer(outlinePainter);
46
47                // Get common glyph properties
48                double kerning = 0;
49
50                // Get kerning value
51
52                if (previousGid != null)
53                {
54                    kerning = (font.Metrics.GetKerningValue(previousGid, gid) / glyph.SourceResolution) * fontSize * resolutionCorrection;
55                    kerning += FontWidthToImageWith(font.Metrics.GetGlyphWidth(previousGid), glyph.SourceResolution, fontSize);
56                }
57
58                // Glyph positioning - increase glyph X coordinate according to kerning distance
59                glyphXCoordinate += kerning;
60
61                // Glyph placement matrix
62                TransformationMatrix glyphMatrix = new TransformationMatrix(
63                        new double[]
64                                { fontSize * resolutionCorrection,
65                            0,
66                            0,
67                        // negative because of the bitmap coordinate system begins from the top
68                            - fontSize*resolutionCorrection,
69                            glyphXCoordinate,
70                            glyphYCoordinate
71                                });
72
73                // Render the current glyph
74                renderer.RenderGlyph(font, gid, glyphMatrix);
75
76                // Fill the path
77                path.FillMode = FillMode.Winding;
78
79                outGraphics.FillPath(textBrush, path);
80            }
81
82            //Set current gid as previous to get correct kerning for next glyph
83            previousGid = gid;
84        }
85
86        //Save the results
87        outBitmap.Save(outFile);
88    }
Служебный метод для преобразования ширины шрифта в ширину изображения
1    static double FontWidthToImageWith(double width, int fontSourceResulution, double fontSize, double dpi = 300)
2    {
3        double resolutionCorrection = dpi / 72; // 72 is font's internal dpi
4
5        return (width / fontSourceResulution) * fontSize * resolutionCorrection;
6    }
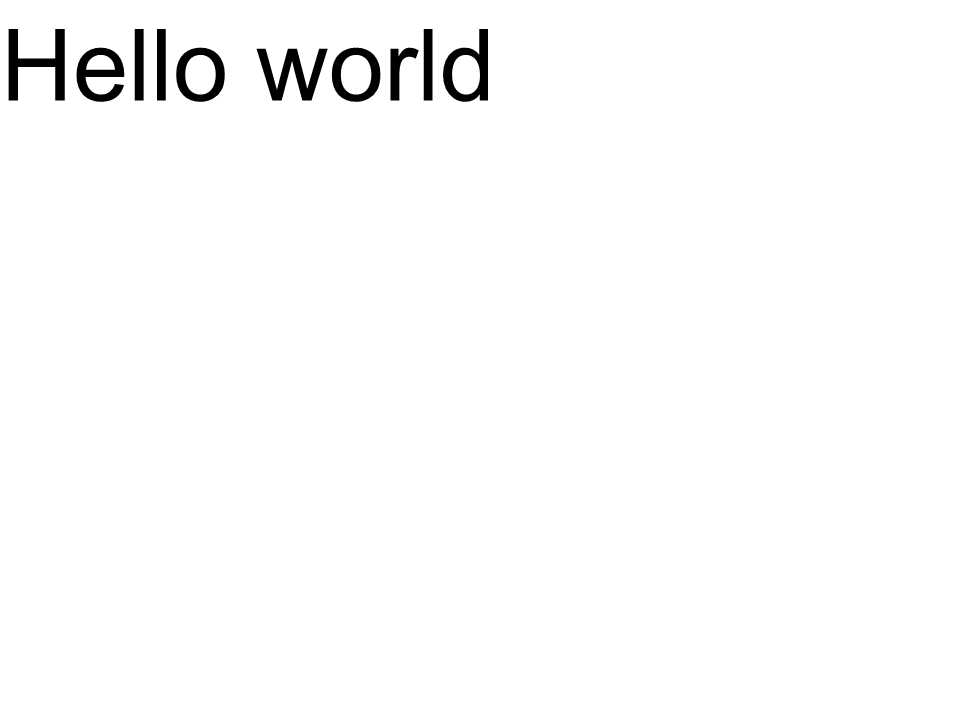
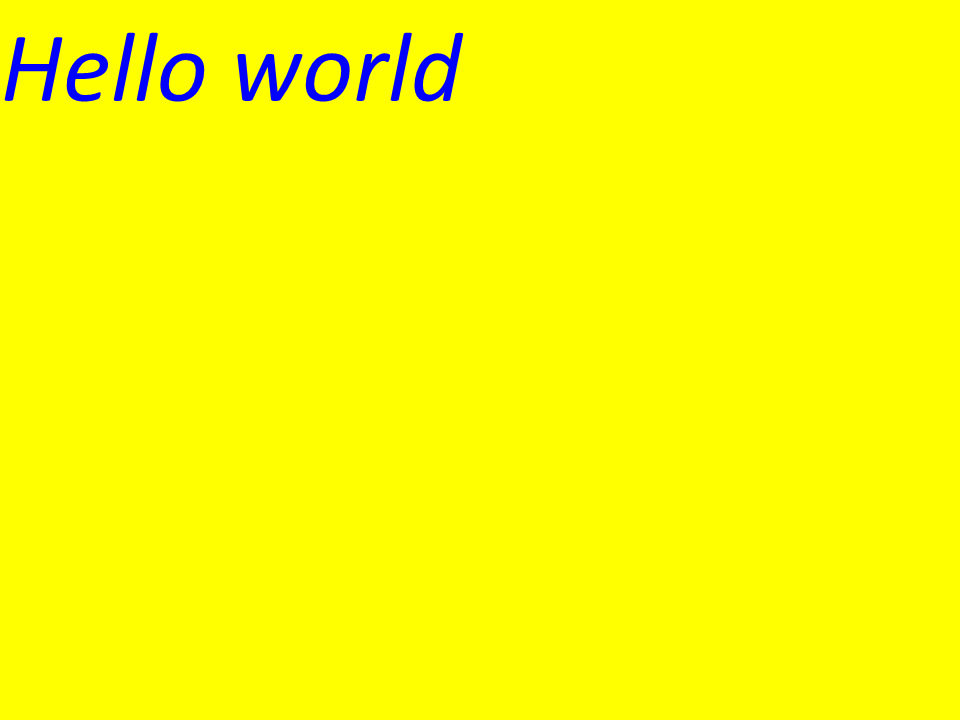
Следующий фрагмент кода показывает, как визуализировать текст «Привет, мир» с помощью метода CustomDrawText().
 1    var dataDir = @"C:\Temp\";
 2    var fileName1 = dataDir + "arial.ttf"; //Font file name with full path
 3    var fileName2 = dataDir + "calibrii.ttf"; //Font file name with full path
 4
 5    var fontDefinition1 = new FontDefinition(FontType.TTF, new FontFileDefinition("ttf", new FileSystemStreamSource(fileName1)));
 6    var ttfFont1 = Font.Open(fontDefinition1) as TtfFont;
 7
 8    var fontDefinition2 = new FontDefinition(FontType.TTF, new FontFileDefinition("ttf", new FileSystemStreamSource(fileName2)));
 9    var ttfFont2 = Font.Open(fontDefinition2) as TtfFont;
10
11    GlyphOutlinePainter.CustomDrawText("Hello world", ttfFont1, 24, Brushes.White, Brushes.Black, dataDir + "Hello_Arial_out.png");
12    GlyphOutlinePainter.CustomDrawText("Hello world", ttfFont2, 24, Brushes.Yellow, Brushes.Blue, dataDir + "Hello_Calibri_out.png");
Реализовав код мы получим следующий результат:
Результат реализации:
 Arial
Arial
 Калибри
Кернинг
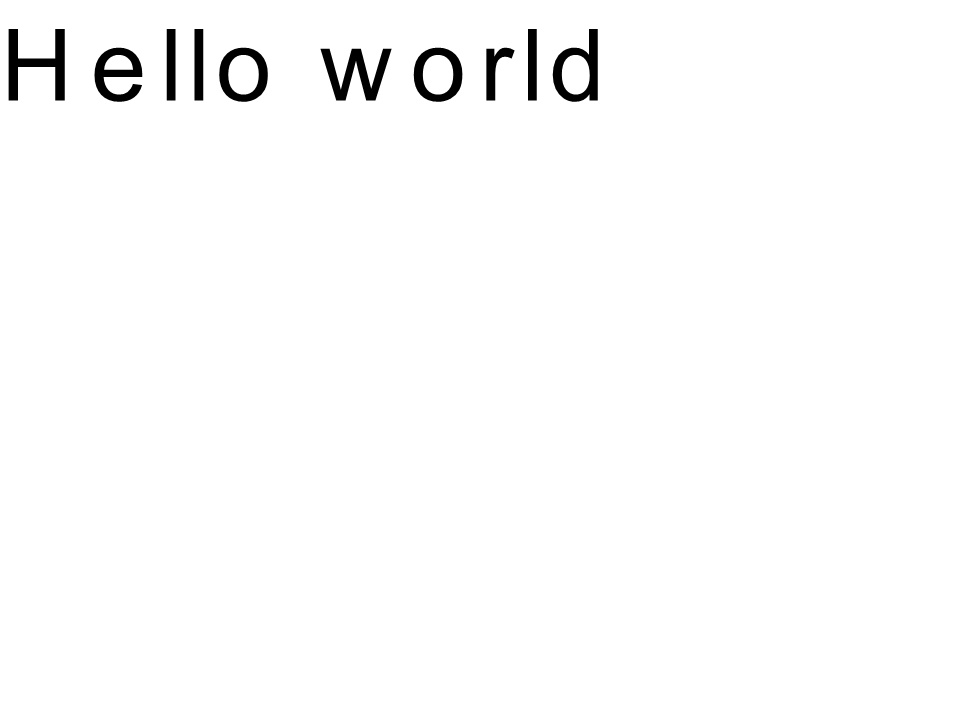
Используя значение переменной kerning, вы можете изменить расстояние между глифами. Теперь перепишем код следующим образом:
1
2    //Glyph positioning - increase glyph X coordinate according to the kerning distance
3    kerning *= 1.25;
4    glyphXCoordinate += kerning;
Будет получен следующий результат:
Результат реализации:
 Керинг Arial
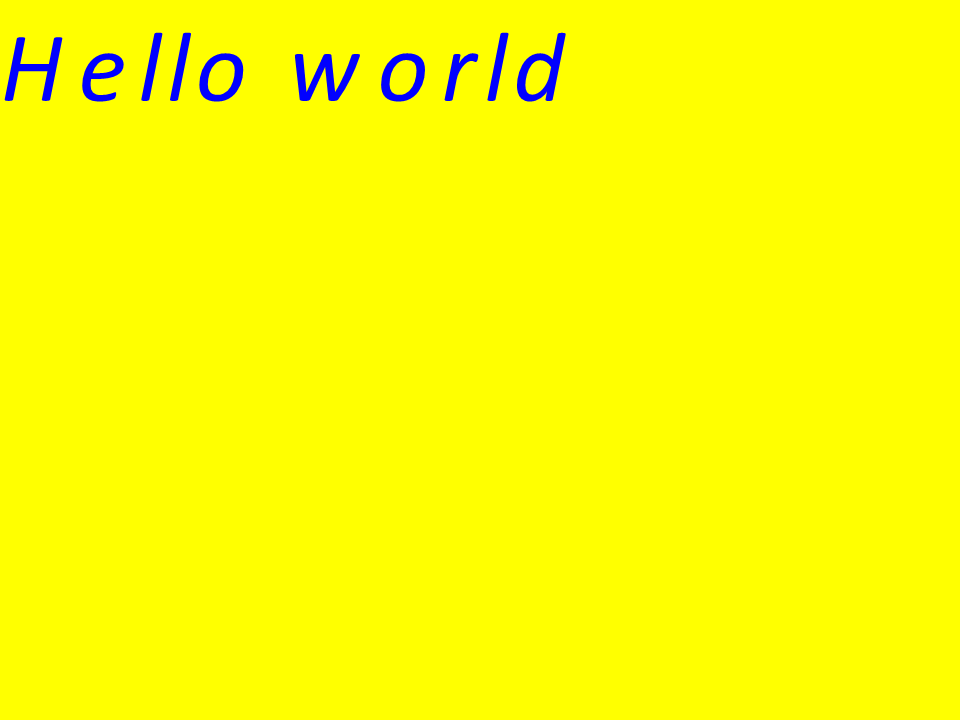 Керинг Calibri
Отрисовка текста по координатам
Переменные glyphXCoordinate и glyphYCoordinate отвечают за координаты вывода текста. Изменив код следующим образом:
1    //Declare coordinate variables and the previous gid
2    GlyphId previousGid = null;
3    double glyphXCoordinate = 300;
4    double glyphYCoordinate = 300;
Будет получен следующий результат:
Результат реализации:
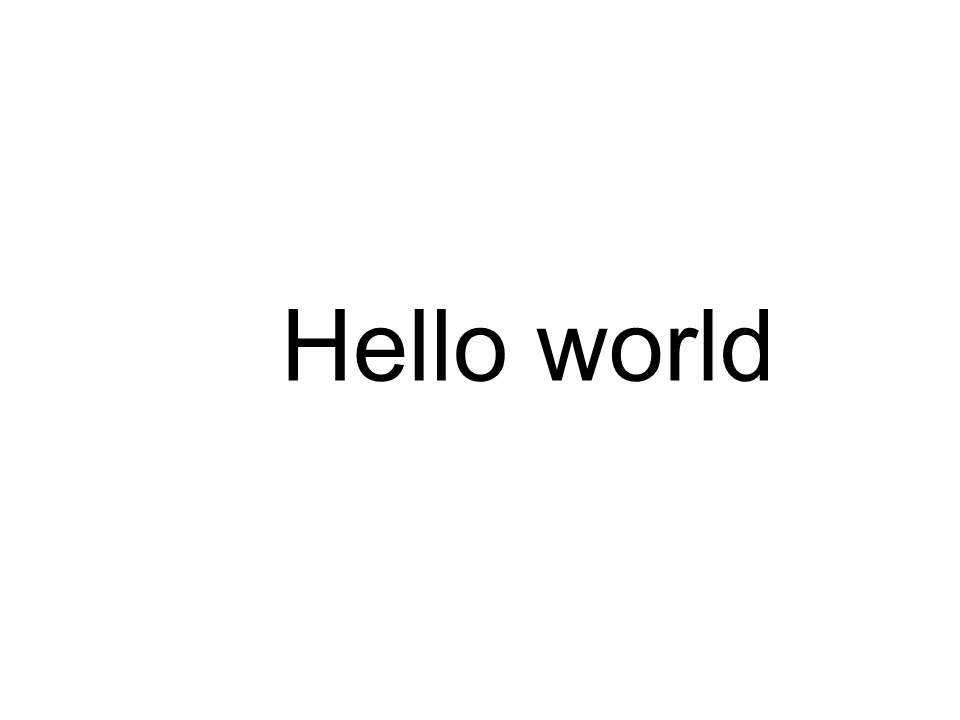 Arial x=300 y=300
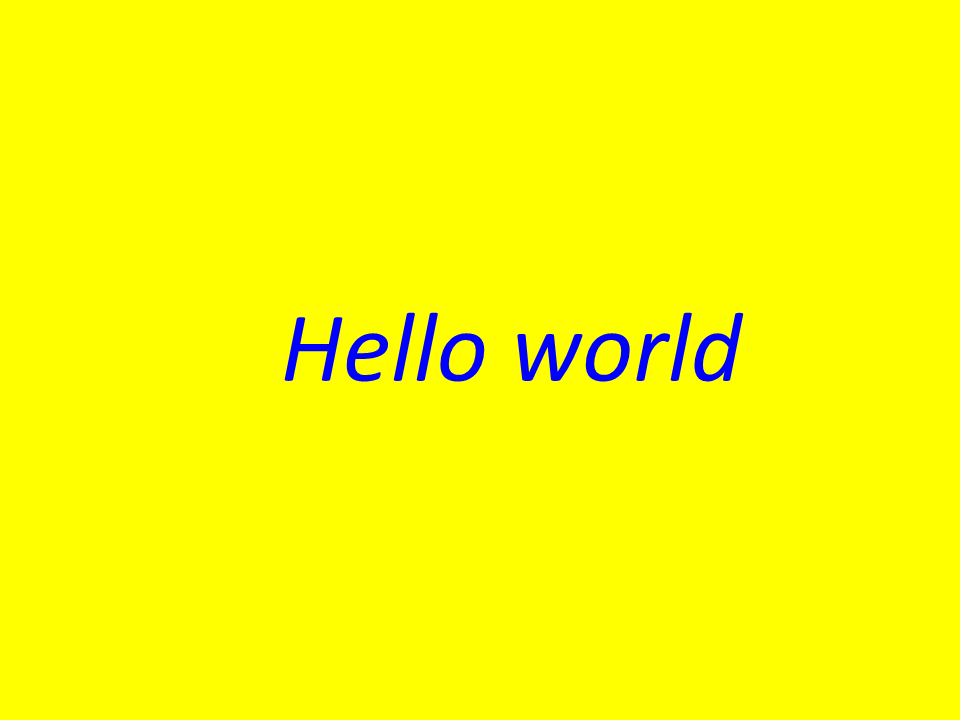 Калибри x=300 y=300
Как добавить текст к изображению
Вы также можете отобразить текст на существующем изображении. Для этого перепишем код следующим образом:
 1
 2    public static void CustomDrawText(string text, IFont font, double fontSize, Brush backgroundBrush, Brush textBrush, string outFile, Bitmap bitmap, double kerningCoefficient = 1, double coordinateX = 0, double coordinateY = 0)
 3    {
 4        //Get glyph identifiers for every symbol in the text line
 5        GlyphId[] gids = new GlyphId[text.Length];
 6
 7        for (int i = 0; i < text.Length; i++)
 8            gids[i] = font.Encoding.DecodeToGid(text[i]);
 9
10        // Set common drawing settings
11        double dpi = 300;
12        double resolutionCorrection = dpi / 72; // 72 is font's internal dpi
13
14        // Prepare the output bitmap
15        Bitmap outBitmap = bitmap;
16
17        outBitmap.SetResolution((float)dpi, (float)dpi);
18
19        Graphics outGraphics = Graphics.FromImage(outBitmap);
20        outGraphics.FillRectangle(backgroundBrush, 0, 0, outBitmap.Width, outBitmap.Height);
21        outGraphics.SmoothingMode = SmoothingMode.HighQuality;
22
23        //Declare coordinate variables and the previous gid
24        GlyphId previousGid = null;
25        double glyphXCoordinate = coordinateX;
26        double glyphYCoordinate = coordinateY;
27
28        glyphYCoordinate += fontSize * resolutionCorrection;
29
30        //The loop paints every glyph in gids
31        foreach (GlyphId gid in gids)
32        {
33            // if the font contains the gid
34            if (gid != null)
35            {
36                Glyph glyph = font.GlyphAccessor.GetGlyphById(gid);
37                if (glyph == null)
38                    continue;
39
40                // The path that accepts drawing instructions
41                GraphicsPath path = new GraphicsPath();
42
43                // Create the IGlyphOutlinePainter implementation
44                GlyphOutlinePainter outlinePainter = new GlyphOutlinePainter(path);
45
46                // Create the renderer
47                Aspose.Font.Renderers.IGlyphRenderer renderer = new Aspose.Font.Renderers.GlyphOutlineRenderer(outlinePainter);
48
49                // Get common glyph properties
50                double kerning = 0;
51
52                // Get the kerning value
53
54                if (previousGid != null)
55                {
56                    kerning = (font.Metrics.GetKerningValue(previousGid, gid) / glyph.SourceResolution) * fontSize * resolutionCorrection;
57                    kerning += FontWidthToImageWith(font.Metrics.GetGlyphWidth(previousGid), glyph.SourceResolution, fontSize);
58                }
59
60                // Glyph positioning - increase the glyph X coordinate according to the kerning distance
61                glyphXCoordinate += kerning * kerningCoefficient;
62
63                // Glyph placement matrix
64                TransformationMatrix glyphMatrix = new TransformationMatrix(
65                        new double[]
66                                { fontSize * resolutionCorrection,
67                            0,
68                            0,
69                        // negative because of the bitmap coordinate system begins from the top
70                            - fontSize*resolutionCorrection,
71                            glyphXCoordinate,
72                            glyphYCoordinate
73                                });
74
75                // Render the current glyph
76                renderer.RenderGlyph(font, gid, glyphMatrix);
77
78                // Fill the path
79                path.FillMode = FillMode.Winding;
80
81                outGraphics.FillPath(textBrush, path);
82            }
83
84            //Set the current gid as previous to get the correct kerning for the next glyph
85            previousGid = gid;
86        }
87
88        //Save the results
89        outBitmap.Save(outFile);
90    }
Давайте изменим способ вызова метода:
 1    var dataDir = @"C:\Temp\";
 2    var fileName1 = dataDir + "arial.ttf"; //Font file name with full path
 3
 4    var fontDefinition1 = new FontDefinition(FontType.TTF, new FontFileDefinition("ttf", new FileSystemStreamSource(fileName1)));
 5    var ttfFont1 = Font.Open(fontDefinition1) as TtfFont;
 6
 7    var bitmap = new Bitmap(960, 720);
 8
 9    GlyphOutlinePainter.CustomDrawText("Hello world", ttfFont1, 17, Brushes.White, Brushes.Black, dataDir + "Hello_Arial_out.png", bitmap);
10
11    var inputImagePath = dataDir + "Hello_Arial_out.png";
12    var bitmapAddText = new Bitmap(inputImagePath);
13
14    GlyphOutlinePainter.CustomDrawText("Hello world", ttfFont1, 17, Brushes.Transparent, Brushes.Gray, dataDir + "Hello_Arial_Shadow_out.png", bitmapAddText, 1, -3);
15
16    GlyphOutlinePainter.CustomDrawText("<= Shadow effect", ttfFont1, 17, Brushes.Transparent, Brushes.Brown, dataDir + "Hello_Arial_Shadow_out.png", bitmapAddText, 1, 400);
Результат реализации:
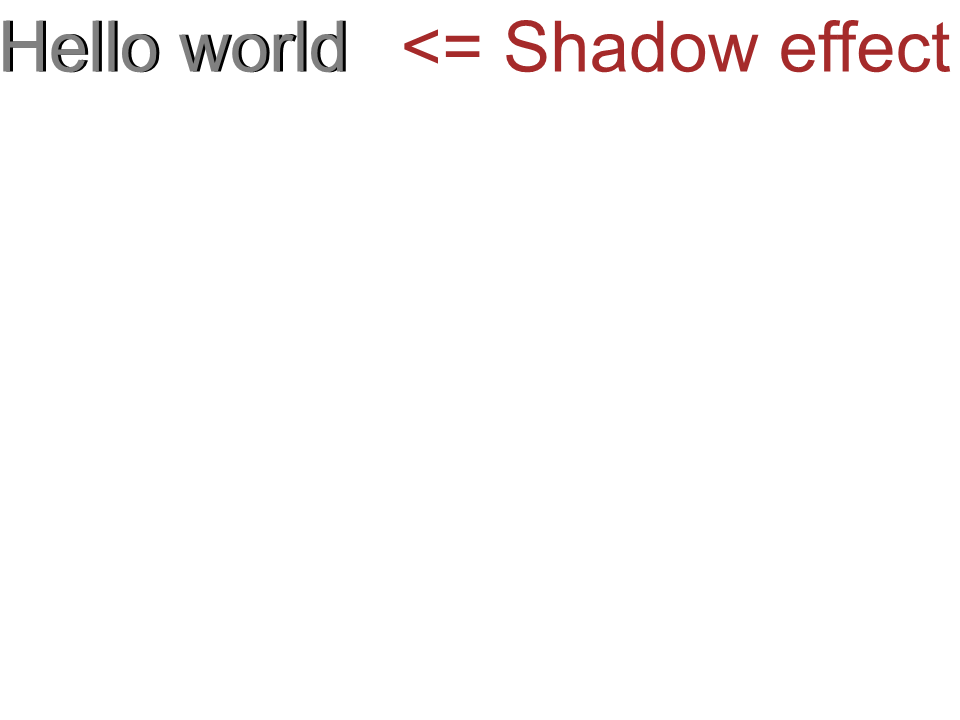 Эффект воздушной тени
Вывод текста сверху вниз
Чтобы отобразить текст сверху вниз, внесем следующие изменения в метод CustomDrawText().
 1    public static void CustomDrawText(string text, IFont font, double fontSize, Brush backgroundBrush, Brush textBrush, string outFile, Bitmap bitmap, double kerningCoefficient = 1, double coordinateX = 0, double coordinateY = 0, bool topDown = false)
 2    {
 3        //Get glyph identifiers for every symbol in the text line
 4        GlyphId[] gids = new GlyphId[text.Length];
 5
 6        for (int i = 0; i < text.Length; i++)
 7            gids[i] = font.Encoding.DecodeToGid(text[i]);
 8
 9        // Set common drawing settings
10        double dpi = 300;
11        double resolutionCorrection = dpi / 72; // 72 is font's internal dpi
12
13        // Prepare the output bitmap
14        Bitmap outBitmap = bitmap;
15
16        outBitmap.SetResolution((float)dpi, (float)dpi);
17
18        Graphics outGraphics = Graphics.FromImage(outBitmap);
19        outGraphics.FillRectangle(backgroundBrush, 0, 0, outBitmap.Width, outBitmap.Height);
20        outGraphics.SmoothingMode = SmoothingMode.HighQuality;
21
22        //Declare coordinate variables and the previous gid
23        GlyphId previousGid = null;
24        double glyphXCoordinate = coordinateX;
25        double glyphYCoordinate = coordinateY;
26
27        glyphYCoordinate += fontSize * resolutionCorrection;
28
29        //The loop paints every glyph in gids
30        foreach (GlyphId gid in gids)
31        {
32            // if the font contains the gid
33            if (gid != null)
34            {
35                Glyph glyph = font.GlyphAccessor.GetGlyphById(gid);
36                if (glyph == null)
37                    continue;
38
39                // The path that accepts drawing instructions
40                GraphicsPath path = new GraphicsPath();
41
42                // Create IGlyphOutlinePainter implementation
43                GlyphOutlinePainter outlinePainter = new GlyphOutlinePainter(path);
44
45                // Create the renderer
46                Aspose.Font.Renderers.IGlyphRenderer renderer = new Aspose.Font.Renderers.GlyphOutlineRenderer(outlinePainter);
47
48                // Get common glyph properties
49                double kerning = 0;
50
51                // Get kerning value
52                if (previousGid != null && !topDown)
53                {
54                    kerning = (font.Metrics.GetKerningValue(previousGid, gid) / glyph.SourceResolution) * fontSize * resolutionCorrection;
55                    kerning += FontWidthToImageWith(font.Metrics.GetGlyphWidth(previousGid), glyph.SourceResolution, fontSize);
56                }
57
58                if (topDown)
59                {
60                    glyphYCoordinate += fontSize * resolutionCorrection;
61                }
62                else
63                {
64                    // Glyph positioning - increase the glyph X coordinate according to kerning distance
65                    glyphXCoordinate += kerning * kerningCoefficient;
66                }
67
68                // Glyph placement matrix
69                TransformationMatrix glyphMatrix = new TransformationMatrix(
70                        new double[]
71                                { fontSize * resolutionCorrection,
72                            0,
73                            0,
74                        // negative because the bitmap coordinate system begins from the top
75                            - fontSize*resolutionCorrection,
76                            glyphXCoordinate,
77                            glyphYCoordinate
78                                });
79
80                // Render the current glyph
81                renderer.RenderGlyph(font, gid, glyphMatrix);
82
83                // Fill the path
84                path.FillMode = FillMode.Winding;
85
86                outGraphics.FillPath(textBrush, path);
87            }
88
89            //Set the current gid as previous to get correct kerning for the next glyph
90            previousGid = gid;
91        }
92
93        //Save the results
94        outBitmap.Save(outFile);
95    }
Код вызова метода будет иметь следующий вид:
1    var dataDir = @"C:\Temp\";
2    var fileName1 = dataDir + "arial.ttf"; //Font file name with full path
3    var fontDefinition1 = new FontDefinition(FontType.TTF, new FontFileDefinition("ttf", new FileSystemStreamSource(fileName1)));
4    var ttfFont1 = Font.Open(fontDefinition1) as TtfFont;
5    var bitmap = new Bitmap(960, 720);
6
7    GlyphOutlinePainter.CustomDrawText("Top down", ttfFont1, 18, Brushes.White, Brushes.Black, dataDir + "Hello_Arial_TopDown.png", bitmap, 1, 400, 00, true);
Результат реализации:
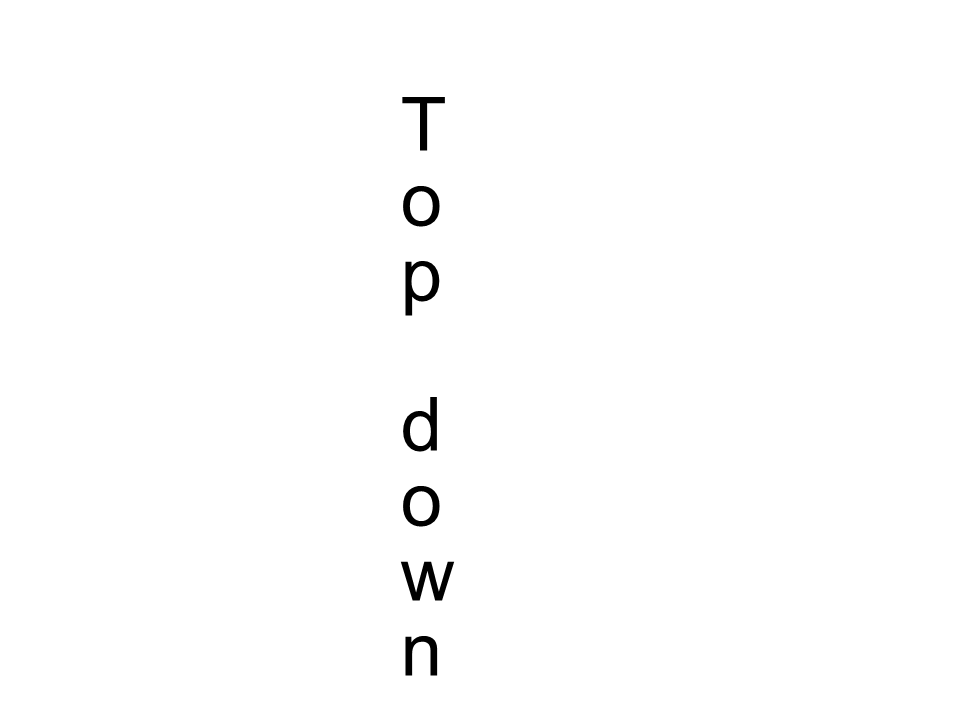 Arial сверху вниз
Дополнительная информация
1    double dpi; // dots per inch
2    double resolutionCorrection = dpi / 72; // 72 is font's internal dpi
3    // Coordinate variables
4    double glyphXCoordinate; // X
5    double glyphYCoordinate; // Y;
6    // Kerning - horizontal spacing between two letters
7    double kerning = 0;