Візуалізація тексту за допомогою бібліотеки шрифтів | .NET
Огляд
Якщо ви коли-небудь хотіли мати функцію відтворення тексту в зображенні, ця стаття навчить вас, як це робити зі шрифтами будь-якого формату, які підтримуються бібліотекою шрифтів за допомогою Aspose.Font API Solution. Бібліотека дозволяє легко перетворювати текст на зображення, а також додавати текст до будь-якого зображення.
Візуалізація тексту
Щоб вставити текст у зображення, вам потрібно буде використати метод DrawText класу RenderingUtils. Код нижче показує, як додати текст «Hello world», написаний шрифтом Arial, до зображення з назвою «arial.png».
 1    var dataDir = @"C:\Temp\";
 2    var fileName = dataDir + "arial.ttf"; //Font file name with full path
 3    var outFile = dataDir + "arial.png";
 4    var fontDefinition = new FontDefinition(FontType.TTF, new FontFileDefinition("ttf", new FileSystemStreamSource(fileName)));
 5    var ttfFont = Font.Open(fontDefinition) as TtfFont;
 6
 7    var stream = Aspose.Font.Renderers.RenderingUtils.DrawText(ttfFont, "Hello world", 18);
 8
 9    var bitmap = new Bitmap(stream);
10    bitmap.Save(outFile);
Результат впровадження:

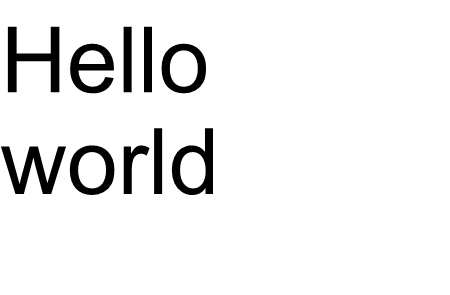
Метод DrawText дозволяє встановлювати міжрядковий інтервал і виконувати автоматичний перенесення тексту слово за словом.
У наведеному нижче прикладі коду ми вказали тип міжрядкового інтервалу LineSpacingType.Pixels і встановили для нього значення 10, а максимальну ширину зображення встановили 450.
Увесь текст, який не можна правильно відобразити в заданому діапазоні (у нашому випадку це 450), буде перенесено на новий рядок.
Фрагмент коду показує, як відобразити текст «Hello world» шрифтом Arial із переносом на наступний рядок:
 1    var dataDir = @"C:\Temp\";
 2    var fileName = dataDir + "arial.ttf"; //Font file name with full path
 3    var outFile = dataDir + "arial.png";
 4    var fontDefinition = new FontDefinition(FontType.TTF, new FontFileDefinition("ttf", new FileSystemStreamSource(fileName)));
 5    var ttfFont = Font.Open(fontDefinition) as TtfFont;
 6    var lineSpacingType = LineSpacingType.Pixels;
 7
 8    var stream = DrawText(ttfFont, "Hello world", 22, lineSpacingType, 10, 450);
 9
10    var bitmap = new Bitmap(stream);
11
12    bitmap.Save(outFile);
Результат впровадження:
У цьому прикладі ви побачили, як можна перетворити текст на зображення за допомогою лише одного рядка коду.
Сімейство функцій для методу DrawText() охоплює вихід стандартного тексту або багаторядкового тексту. Але в деяких випадках вам може знадобитися налаштований вивід тексту, наприклад, коли ви хочете стиснути, розтягнути, повернути текст під кутом або щось інше. У цьому випадку вам потрібно налаштувати вихід відповідно до ваших потреб.
Візуалізація тексту на замовлення
У наступному прикладі показано більш просунутий (спеціальний) спосіб перетворення тексту на зображення.
Для малювання
гліфів у Aspose.Font використовується один із методів RenderGlyph() класу
GlyphOutlineRenderer. Усі ці перевантажені методи оголошено в інтерфейсі
IGlyphRenderer.
Як параметр ми повинні передати цим методам посилання на шрифт, гліфId або індекс гліфа та вихідні координати гліфа. Для передачі останнього параметра використовується спеціальна матриця, представлена об’єктом Aspose.Font
TransformationMatrix. Нижче ми покажемо, як використовувати об’єкти типу
TransformationMatrix для передачі вихідних координат гліфів методам сімейства RenderGlyph().
Отже, щоб намалювати гліф, нам потрібно створити об’єкт типу GlyphOutlineRenderer. Але такий об’єкт не може самостійно намалювати гліф. Для цього потрібна зовнішня функціональність, яку описує інтерфейс IGlyphOutlinePainter. Для використання об’єкта GlyphOutlineRenderer має бути забезпечена реалізація IGlyphOutlinePainter.
Нижче ви можете побачити просту реалізацію цього інтерфейсу.
Давайте створимо клас GlyphOutlinePainter, який потребує об’єкт типу System.Drawing.Drawing2D.GraphicsPath для цілей графічного малювання.
Реалізацію показано нижче.
 1    public class GlyphOutlinePainter : IGlyphOutlinePainter
 2    {
 3        private GraphicsPath _path;
 4        private PointF _currentPoint;
 5
 6        public GlyphOutlinePainter(GraphicsPath path)
 7        {
 8            _path = path;
 9        }
10
11        public void MoveTo(MoveTo moveTo)
12        {
13            _path.CloseFigure();
14            _currentPoint.X = (float)moveTo.X;
15            _currentPoint.Y = (float)moveTo.Y;
16        }
17
18        public void LineTo(LineTo lineTo)
19        {
20            float x = (float)lineTo.X;
21            float y = (float)lineTo.Y;
22            _path.AddLine(_currentPoint.X, _currentPoint.Y, x, y);
23            _currentPoint.X = x;
24            _currentPoint.Y = y;
25        }
26
27        public void CurveTo(CurveTo curveTo)
28        {
29            float x3 = (float)curveTo.X3;
30            float y3 = (float)curveTo.Y3;
31
32            _path.AddBezier(
33                _currentPoint.X,
34                _currentPoint.Y,
35                (float)curveTo.X1,
36                (float)curveTo.Y1,
37                (float)curveTo.X2,
38                (float)curveTo.Y2,
39                x3,
40                y3);
41
42            _currentPoint.X = x3;
43            _currentPoint.Y = y3;
44        }
45
46        public void ClosePath()
47        {
48            _path.CloseFigure();
49        }
50    }
Після реалізації
IGlyphOutlinePainter ми можемо використовувати об’єкти цього типу для відтворення окремого гліфа, передавши їх до
GlyphOutlineRenderer і викликавши відповідні перевантажені методи RenderGlyph() родина.
Щоб відобразити рядок тексту, нам потрібно отримати glyphId для кожного символу, а потім за допомогою об’єкта типу
GlyphOutlineRenderer викликати один із методів сімейства RenderGlyph(), передаючи координати відповідного гліфа.
Давайте розглянемо приклад виведення рядка тексту за допомогою бібліотеки Aspose.Font. Він буде побудований у вигляді методу CustomDrawText(), який приймає параметри - CustomDrawText(string text, IFont font, double fontSize, Brush backgroundBrush, Brush textBrush, string outFile).
Створіть метод CustomDrawText(), який малює вказаний текст в об’єкт
System.Drawing.Bitmap і зберігає отримане растрове зображення на диску.
Це включатиме наступні кроки:
- Ітерація всіх символів у текстовому рядку.
- Отримати ідентифікатор гліфа для кожного обробленого символу — gid.
- Створіть об’єкт типу GlyphOutlinePainter, який потрібен підсистемі візуалізації для малювання поточного гліфа.
- Створіть об’єкт типу Aspose.Font.Renderers.GlyphOutlineRenderer і передайте щойно створений об’єкт типу GlyphOutlinePainter у конструктор для GlyphOutlineRenderer. Цей об’єкт GlyphOutlineRenderer призначений для відтворення вказаних гліфів.
- Відобразити поточний оброблений гліф за допомогою методу GlyphOutlineRenderer.RenderGlyph(). Об’єкт Aspose.Fonts.Matrix використовується для визначення координат гліфа. Гліф для візуалізації визначається параметром gid.
Допоміжні кроки для цієї стратегії
- Координати гліфа для осі Y є постійними для цього фрагмента коду.
- Координати гліфа для осі X обчислюються для кожного обробленого гліфа.
- Координати «X» і «Y» передаються в об’єкт Aspose.Fonts.Matrix, який використовується GlyphOutlineRenderer для малювання гліфів.
- Відстань між щойно та попередньо обробленими гліфами обчислюється на кожному кроці ітерації. Це впливає на кожну координату гліфа «X».
- Об’єкт типу GlyphOutlineRenderer малює гліфи за допомогою GlyphOutlinePainter не безпосередньо в Bitmap, а в об’єкт GraphicsPath, переданий у конструктор для GlyphOutlinePainter, тому ми використовуйте об’єкт типу System.Drawing.Graphics, щоб намалювати GraphicsPath у Bitmap.
- Метод FontWidthToImageWith() обчислює ширину гліфа для растрової системи координат.
Нижче показано реалізацію методу CustomDrawText().
 1    public static void CustomDrawText(string text, IFont font, double fontSize, Brush backgroundBrush, Brush textBrush, string outFile)
 2    {
 3        //Get glyph identifiers for every symbol in the text line
 4        GlyphId[] gids = new GlyphId[text.Length];
 5
 6        for (int i = 0; i < text.Length; i++)
 7            gids[i] = font.Encoding.DecodeToGid(text[i]);
 8
 9        // Set common drawing settings
10        double dpi = 300;
11        double resolutionCorrection = dpi / 72; // 72 is font's internal dpi
12
13        // Prepare output bitmap
14        Bitmap outBitmap = new Bitmap(960, 720);
15
16
17        outBitmap.SetResolution((float)dpi, (float)dpi);
18
19        Graphics outGraphics = Graphics.FromImage(outBitmap);
20        outGraphics.FillRectangle(backgroundBrush, 0, 0, outBitmap.Width, outBitmap.Height);
21        outGraphics.SmoothingMode = SmoothingMode.HighQuality;
22
23        //Declare coordinate variables and a previous gid
24        GlyphId previousGid = null;
25        double glyphXCoordinate = 0;
26        double glyphYCoordinate = fontSize * resolutionCorrection;
27
28        // The loop paints every glyph in gids
29        foreach (GlyphId gid in gids)
30        {
31            // if the font contains the gid
32            if (gid != null)
33            {
34                Glyph glyph = font.GlyphAccessor.GetGlyphById(gid);
35                if (glyph == null)
36                    continue;
37
38                // The path that accepts drawing instructions
39                GraphicsPath path = new GraphicsPath();
40
41                // Create IGlyphOutlinePainter implementation
42                GlyphOutlinePainter outlinePainter = new GlyphOutlinePainter(path);
43
44                // Create the renderer
45                Aspose.Font.Renderers.IGlyphRenderer renderer = new Aspose.Font.Renderers.GlyphOutlineRenderer(outlinePainter);
46
47                // Get common glyph properties
48                double kerning = 0;
49
50                // Get kerning value
51
52                if (previousGid != null)
53                {
54                    kerning = (font.Metrics.GetKerningValue(previousGid, gid) / glyph.SourceResolution) * fontSize * resolutionCorrection;
55                    kerning += FontWidthToImageWith(font.Metrics.GetGlyphWidth(previousGid), glyph.SourceResolution, fontSize);
56                }
57
58                // Glyph positioning - increase glyph X coordinate according to kerning distance
59                glyphXCoordinate += kerning;
60
61                // Glyph placement matrix
62                TransformationMatrix glyphMatrix = new TransformationMatrix(
63                        new double[]
64                                { fontSize * resolutionCorrection,
65                            0,
66                            0,
67                        // negative because of the bitmap coordinate system begins from the top
68                            - fontSize*resolutionCorrection,
69                            glyphXCoordinate,
70                            glyphYCoordinate
71                                });
72
73                // Render the current glyph
74                renderer.RenderGlyph(font, gid, glyphMatrix);
75
76                // Fill the path
77                path.FillMode = FillMode.Winding;
78
79                outGraphics.FillPath(textBrush, path);
80            }
81
82            //Set current gid as previous to get correct kerning for next glyph
83            previousGid = gid;
84        }
85
86        //Save the results
87        outBitmap.Save(outFile);
88    }
Метод утиліти для перетворення ширини шрифту в ширину зображення
1    static double FontWidthToImageWith(double width, int fontSourceResulution, double fontSize, double dpi = 300)
2    {
3        double resolutionCorrection = dpi / 72; // 72 is font's internal dpi
4
5        return (width / fontSourceResulution) * fontSize * resolutionCorrection;
6    }
У наступному фрагменті коду показано, як відобразити текст «Hello world» за допомогою методу CustomDrawText().
1 var dataDir = @"C:\Temp\";
2 var fileName1 = dataDir + "arial.ttf"; //Font file name with full path
3 var fileName2 = dataDir + "calibrii.ttf"; //Font file name with full path
4
5 var fontDefinition1 = new FontDefinition(FontType.TTF, new FontFileDefinition("ttf", new FileSystemStreamSource(fileName1)));
6 var ttfFont1 = Font.Open(fontDefinition1) as TtfFont;
7
8 var fontDefinition2 = new FontDefinition(FontType.TTF, new FontFileDefinition("ttf", new FileSystemStreamSource(fileName2)));
9 var ttfFont2 = Font.Open(fontDefinition2) as TtfFont;
10
11 GlyphOutlinePainter.CustomDrawText("Hello world", ttfFont1, 24, Brushes.White, Brushes.Black, dataDir + "Hello_Arial_out.png");
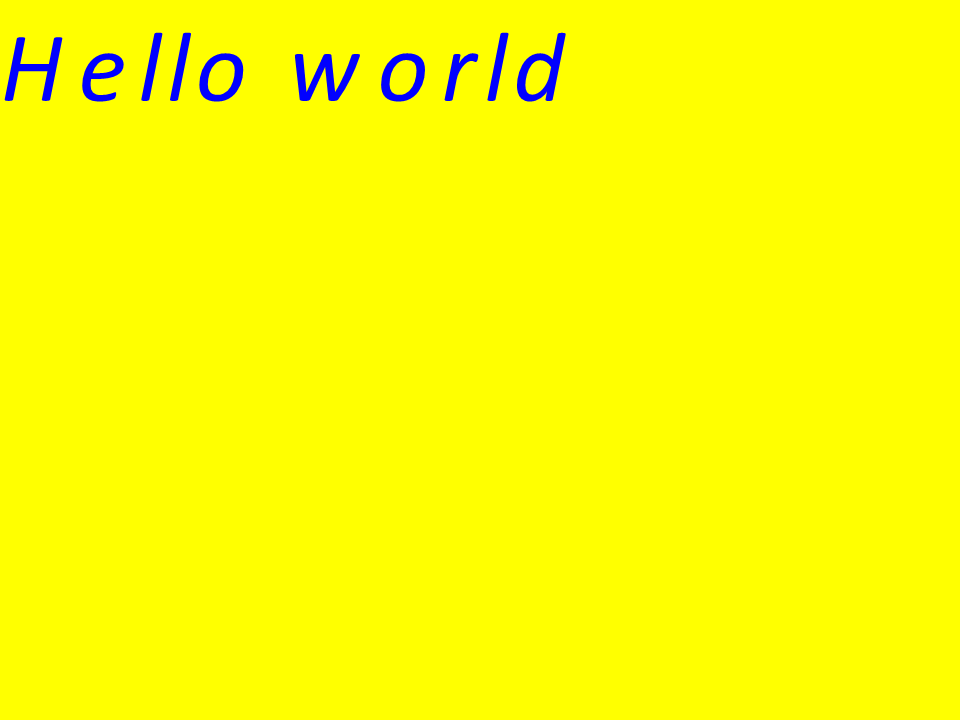
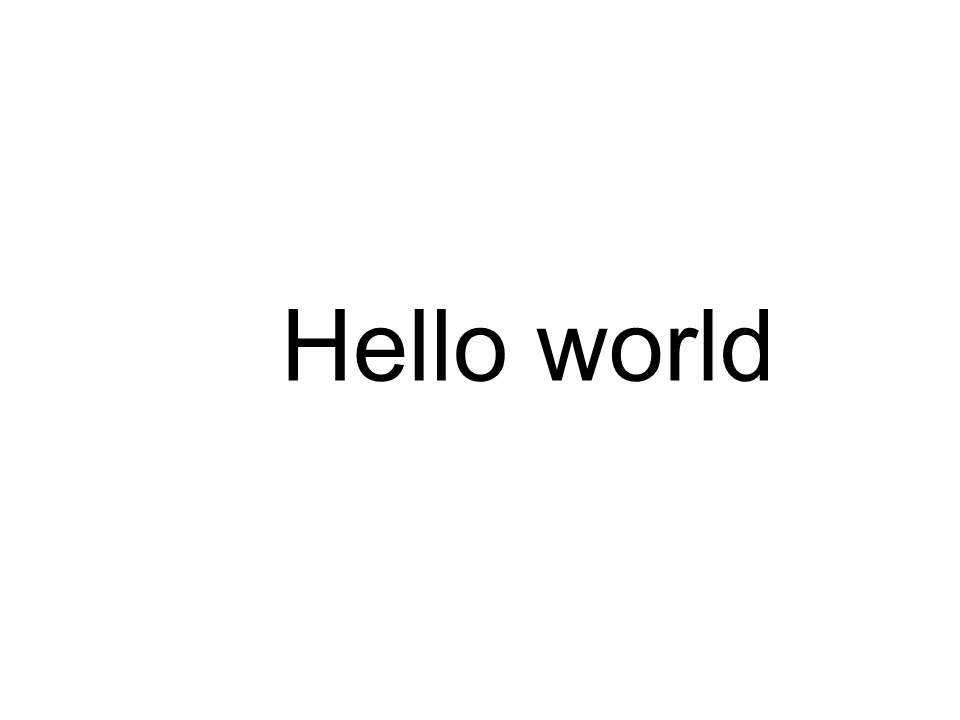
12 GlyphOutlinePainter.CustomDrawText("Hello world", ttfFont2, 24, Brushes.Yellow, Brushes.Blue, dataDir + "Hello_Calibri_out.png");Реалізуючи код, ми отримаємо наступний результат:
Результат впровадження:
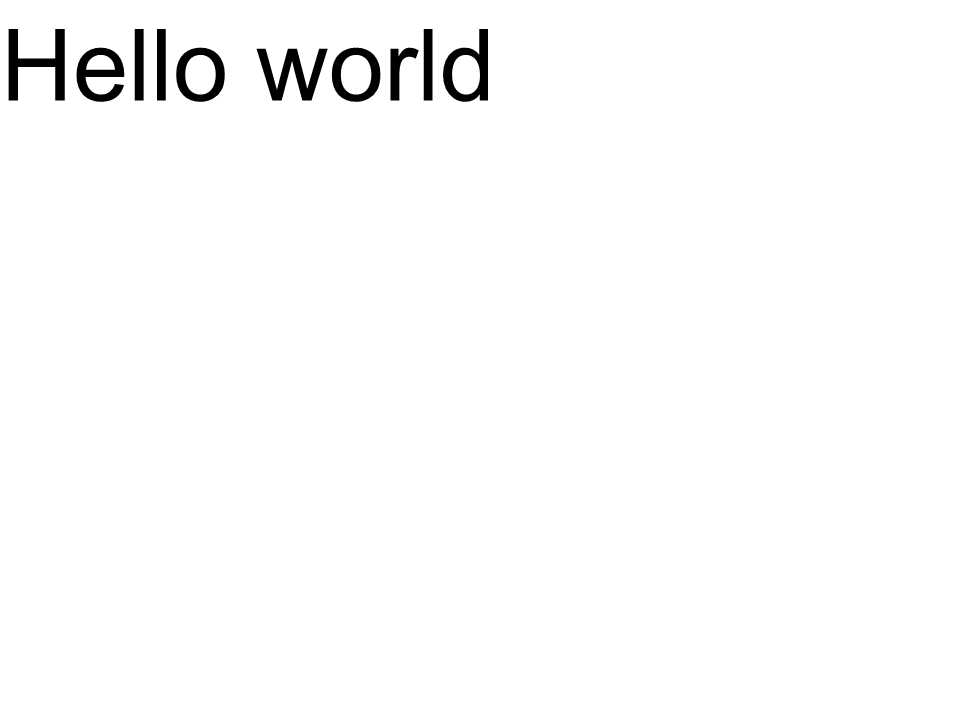 Arial
Arial
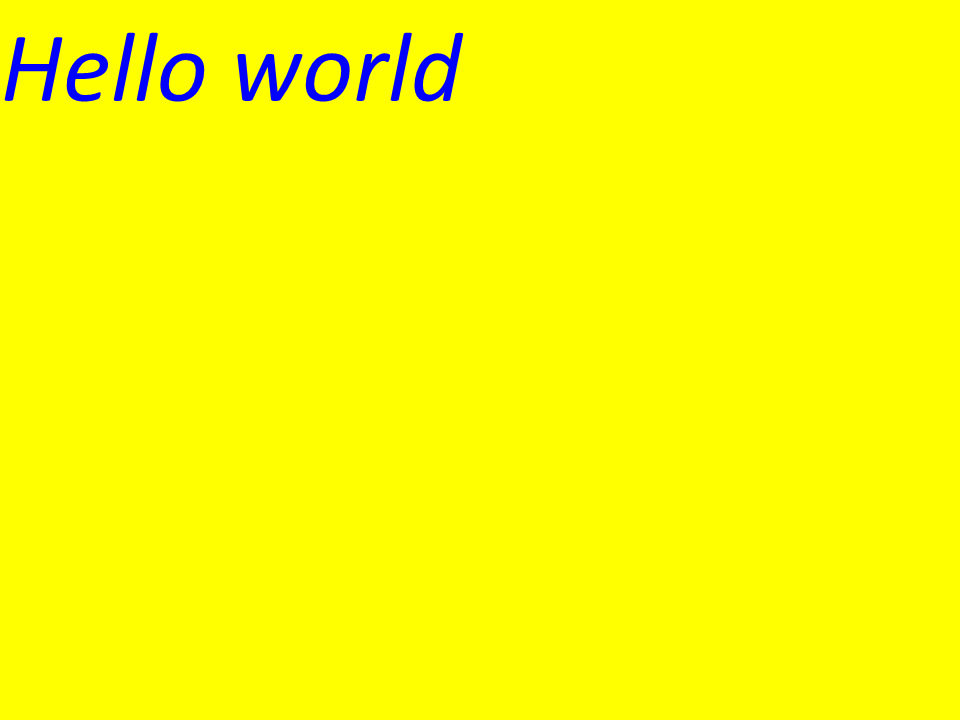 Калібрі
Кернінг
Використовуючи значення змінної kerning, ви можете змінити відстань між гліфами. Тепер давайте перепишемо код наступним чином:
1
2    //Glyph positioning - increase glyph X coordinate according to the kerning distance
3    kerning *= 1.25;
4    glyphXCoordinate += kerning;
Буде отримано наступний результат:
Результат впровадження:
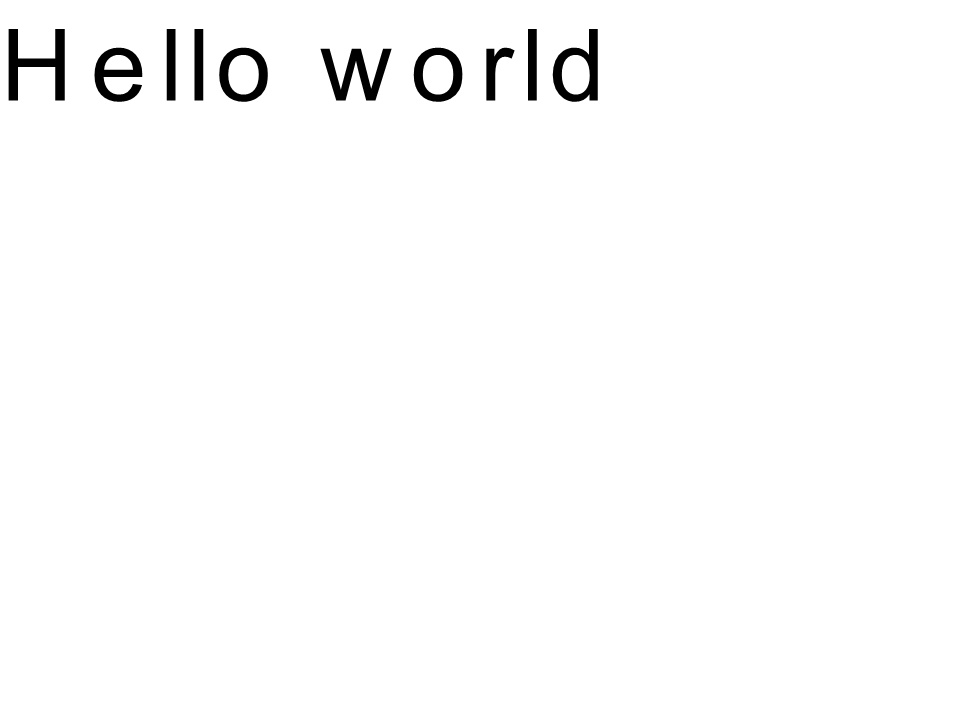 Arial kernint
 Кернінг Calibri
Відтворення тексту за координатами
Змінні glyphXCoordinate і glyphYCoordinate відповідають за координати виведення тексту. Змінивши код таким чином:
1    //Declare coordinate variables and the previous gid
2    GlyphId previousGid = null;
3    double glyphXCoordinate = 300;
4    double glyphYCoordinate = 300;
Буде отримано наступний результат:
Результат впровадження:
 Arial x=300 y=300
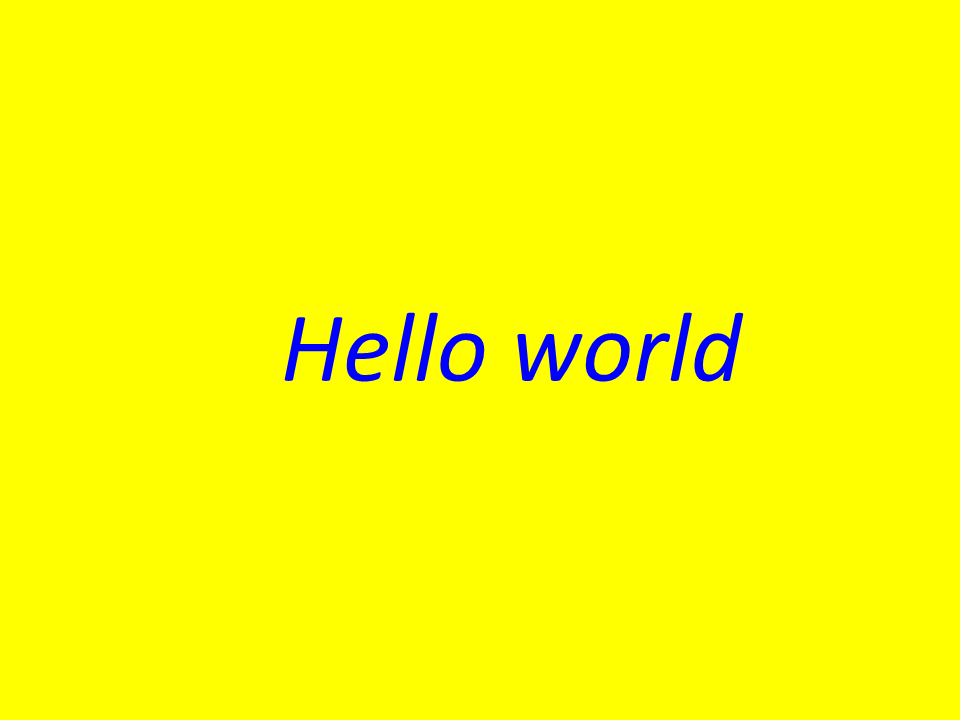 Calibri x=300 y=300
Як додати текст до зображення
Ви також можете відобразити текст на наявному зображенні. Для цього ми перепишемо код наступним чином:
 1
 2    public static void CustomDrawText(string text, IFont font, double fontSize, Brush backgroundBrush, Brush textBrush, string outFile, Bitmap bitmap, double kerningCoefficient = 1, double coordinateX = 0, double coordinateY = 0)
 3    {
 4        //Get glyph identifiers for every symbol in the text line
 5        GlyphId[] gids = new GlyphId[text.Length];
 6
 7        for (int i = 0; i < text.Length; i++)
 8            gids[i] = font.Encoding.DecodeToGid(text[i]);
 9
10        // Set common drawing settings
11        double dpi = 300;
12        double resolutionCorrection = dpi / 72; // 72 is font's internal dpi
13
14        // Prepare the output bitmap
15        Bitmap outBitmap = bitmap;
16
17        outBitmap.SetResolution((float)dpi, (float)dpi);
18
19        Graphics outGraphics = Graphics.FromImage(outBitmap);
20        outGraphics.FillRectangle(backgroundBrush, 0, 0, outBitmap.Width, outBitmap.Height);
21        outGraphics.SmoothingMode = SmoothingMode.HighQuality;
22
23        //Declare coordinate variables and the previous gid
24        GlyphId previousGid = null;
25        double glyphXCoordinate = coordinateX;
26        double glyphYCoordinate = coordinateY;
27
28        glyphYCoordinate += fontSize * resolutionCorrection;
29
30        //The loop paints every glyph in gids
31        foreach (GlyphId gid in gids)
32        {
33            // if the font contains the gid
34            if (gid != null)
35            {
36                Glyph glyph = font.GlyphAccessor.GetGlyphById(gid);
37                if (glyph == null)
38                    continue;
39
40                // The path that accepts drawing instructions
41                GraphicsPath path = new GraphicsPath();
42
43                // Create the IGlyphOutlinePainter implementation
44                GlyphOutlinePainter outlinePainter = new GlyphOutlinePainter(path);
45
46                // Create the renderer
47                Aspose.Font.Renderers.IGlyphRenderer renderer = new Aspose.Font.Renderers.GlyphOutlineRenderer(outlinePainter);
48
49                // Get common glyph properties
50                double kerning = 0;
51
52                // Get the kerning value
53
54                if (previousGid != null)
55                {
56                    kerning = (font.Metrics.GetKerningValue(previousGid, gid) / glyph.SourceResolution) * fontSize * resolutionCorrection;
57                    kerning += FontWidthToImageWith(font.Metrics.GetGlyphWidth(previousGid), glyph.SourceResolution, fontSize);
58                }
59
60                // Glyph positioning - increase the glyph X coordinate according to the kerning distance
61                glyphXCoordinate += kerning * kerningCoefficient;
62
63                // Glyph placement matrix
64                TransformationMatrix glyphMatrix = new TransformationMatrix(
65                        new double[]
66                                { fontSize * resolutionCorrection,
67                            0,
68                            0,
69                        // negative because of the bitmap coordinate system begins from the top
70                            - fontSize*resolutionCorrection,
71                            glyphXCoordinate,
72                            glyphYCoordinate
73                                });
74
75                // Render the current glyph
76                renderer.RenderGlyph(font, gid, glyphMatrix);
77
78                // Fill the path
79                path.FillMode = FillMode.Winding;
80
81                outGraphics.FillPath(textBrush, path);
82            }
83
84            //Set the current gid as previous to get the correct kerning for the next glyph
85            previousGid = gid;
86        }
87
88        //Save the results
89        outBitmap.Save(outFile);
90    }
Давайте змінимо спосіб виклику методу:
 1    var dataDir = @"C:\Temp\";
 2    var fileName1 = dataDir + "arial.ttf"; //Font file name with full path
 3
 4    var fontDefinition1 = new FontDefinition(FontType.TTF, new FontFileDefinition("ttf", new FileSystemStreamSource(fileName1)));
 5    var ttfFont1 = Font.Open(fontDefinition1) as TtfFont;
 6
 7    var bitmap = new Bitmap(960, 720);
 8
 9    GlyphOutlinePainter.CustomDrawText("Hello world", ttfFont1, 17, Brushes.White, Brushes.Black, dataDir + "Hello_Arial_out.png", bitmap);
10
11    var inputImagePath = dataDir + "Hello_Arial_out.png";
12    var bitmapAddText = new Bitmap(inputImagePath);
13
14    GlyphOutlinePainter.CustomDrawText("Hello world", ttfFont1, 17, Brushes.Transparent, Brushes.Gray, dataDir + "Hello_Arial_Shadow_out.png", bitmapAddText, 1, -3);
15
16    GlyphOutlinePainter.CustomDrawText("<= Shadow effect", ttfFont1, 17, Brushes.Transparent, Brushes.Brown, dataDir + "Hello_Arial_Shadow_out.png", bitmapAddText, 1, 400);
Результат впровадження:
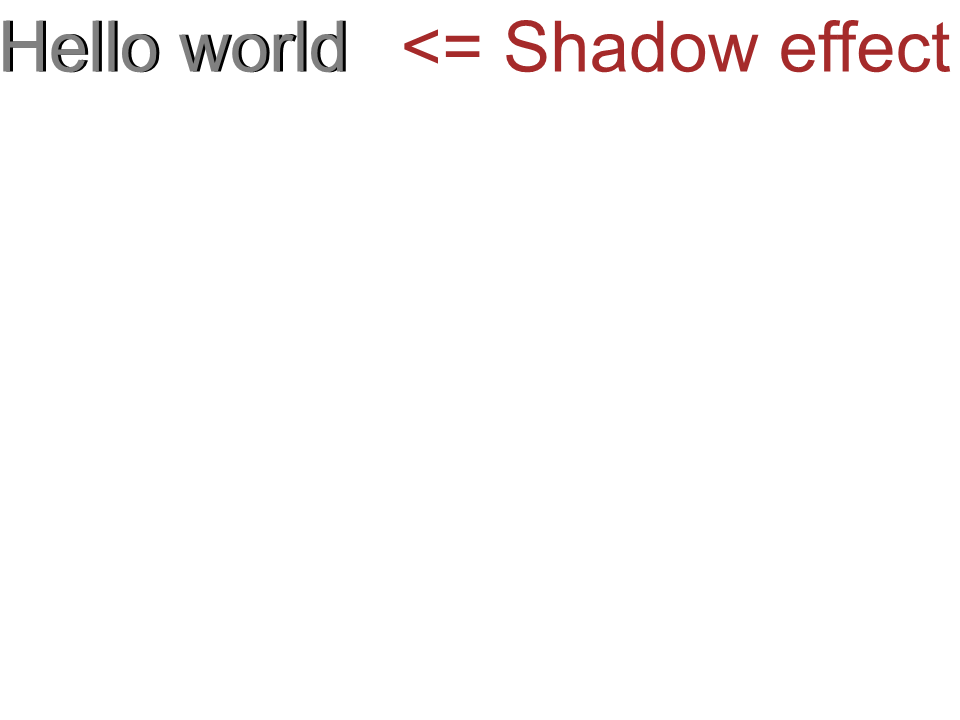 Ефект аріальної тіні
Виведення тексту зверху вниз
Щоб відобразити текст зверху вниз, давайте внесемо такі зміни в метод CustomDrawText().
 1    public static void CustomDrawText(string text, IFont font, double fontSize, Brush backgroundBrush, Brush textBrush, string outFile, Bitmap bitmap, double kerningCoefficient = 1, double coordinateX = 0, double coordinateY = 0, bool topDown = false)
 2    {
 3        //Get glyph identifiers for every symbol in the text line
 4        GlyphId[] gids = new GlyphId[text.Length];
 5
 6        for (int i = 0; i < text.Length; i++)
 7            gids[i] = font.Encoding.DecodeToGid(text[i]);
 8
 9        // Set common drawing settings
10        double dpi = 300;
11        double resolutionCorrection = dpi / 72; // 72 is font's internal dpi
12
13        // Prepare the output bitmap
14        Bitmap outBitmap = bitmap;
15
16        outBitmap.SetResolution((float)dpi, (float)dpi);
17
18        Graphics outGraphics = Graphics.FromImage(outBitmap);
19        outGraphics.FillRectangle(backgroundBrush, 0, 0, outBitmap.Width, outBitmap.Height);
20        outGraphics.SmoothingMode = SmoothingMode.HighQuality;
21
22        //Declare coordinate variables and the previous gid
23        GlyphId previousGid = null;
24        double glyphXCoordinate = coordinateX;
25        double glyphYCoordinate = coordinateY;
26
27        glyphYCoordinate += fontSize * resolutionCorrection;
28
29        //The loop paints every glyph in gids
30        foreach (GlyphId gid in gids)
31        {
32            // if the font contains the gid
33            if (gid != null)
34            {
35                Glyph glyph = font.GlyphAccessor.GetGlyphById(gid);
36                if (glyph == null)
37                    continue;
38
39                // The path that accepts drawing instructions
40                GraphicsPath path = new GraphicsPath();
41
42                // Create IGlyphOutlinePainter implementation
43                GlyphOutlinePainter outlinePainter = new GlyphOutlinePainter(path);
44
45                // Create the renderer
46                Aspose.Font.Renderers.IGlyphRenderer renderer = new Aspose.Font.Renderers.GlyphOutlineRenderer(outlinePainter);
47
48                // Get common glyph properties
49                double kerning = 0;
50
51                // Get kerning value
52                if (previousGid != null && !topDown)
53                {
54                    kerning = (font.Metrics.GetKerningValue(previousGid, gid) / glyph.SourceResolution) * fontSize * resolutionCorrection;
55                    kerning += FontWidthToImageWith(font.Metrics.GetGlyphWidth(previousGid), glyph.SourceResolution, fontSize);
56                }
57
58                if (topDown)
59                {
60                    glyphYCoordinate += fontSize * resolutionCorrection;
61                }
62                else
63                {
64                    // Glyph positioning - increase the glyph X coordinate according to kerning distance
65                    glyphXCoordinate += kerning * kerningCoefficient;
66                }
67
68                // Glyph placement matrix
69                TransformationMatrix glyphMatrix = new TransformationMatrix(
70                        new double[]
71                                { fontSize * resolutionCorrection,
72                            0,
73                            0,
74                        // negative because the bitmap coordinate system begins from the top
75                            - fontSize*resolutionCorrection,
76                            glyphXCoordinate,
77                            glyphYCoordinate
78                                });
79
80                // Render the current glyph
81                renderer.RenderGlyph(font, gid, glyphMatrix);
82
83                // Fill the path
84                path.FillMode = FillMode.Winding;
85
86                outGraphics.FillPath(textBrush, path);
87            }
88
89            //Set the current gid as previous to get correct kerning for the next glyph
90            previousGid = gid;
91        }
92
93        //Save the results
94        outBitmap.Save(outFile);
95    }
Код для виклику методу матиме такий вигляд:
1    var dataDir = @"C:\Temp\";
2    var fileName1 = dataDir + "arial.ttf"; //Font file name with full path
3    var fontDefinition1 = new FontDefinition(FontType.TTF, new FontFileDefinition("ttf", new FileSystemStreamSource(fileName1)));
4    var ttfFont1 = Font.Open(fontDefinition1) as TtfFont;
5    var bitmap = new Bitmap(960, 720);
6
7    GlyphOutlinePainter.CustomDrawText("Top down", ttfFont1, 18, Brushes.White, Brushes.Black, dataDir + "Hello_Arial_TopDown.png", bitmap, 1, 400, 00, true);
Результат впровадження:
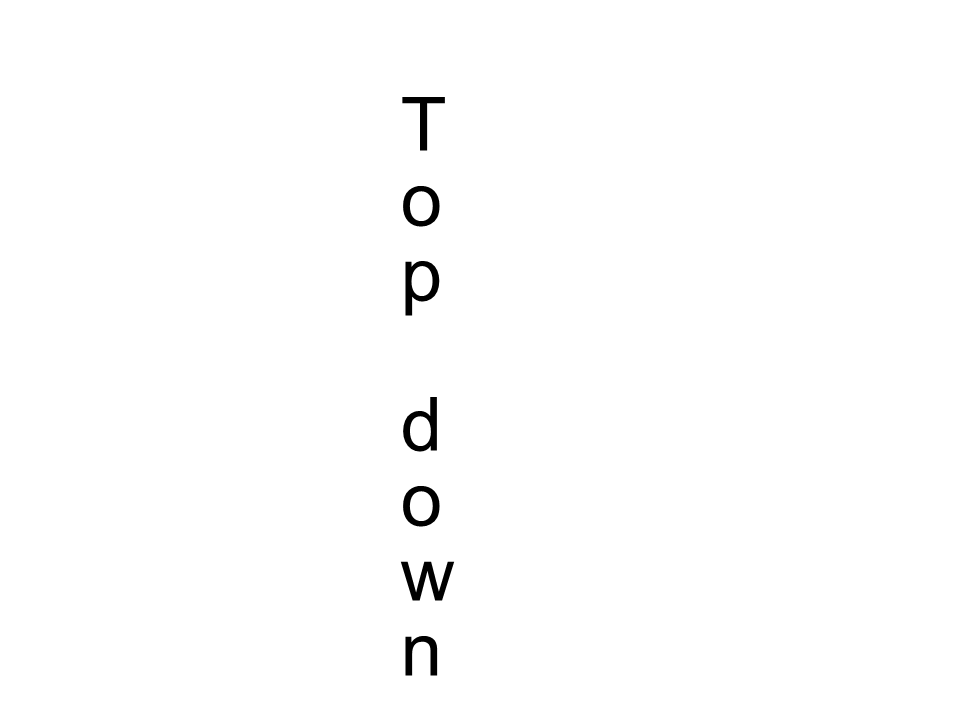 Arial зверху вниз
Додаткова інформація
1    double dpi; // dots per inch
2    double resolutionCorrection = dpi / 72; // 72 is font's internal dpi
3    // Coordinate variables
4    double glyphXCoordinate; // X
5    double glyphYCoordinate; // Y;
6    // Kerning - horizontal spacing between two letters
7    double kerning = 0;