Altri modi per fornire il principale file di input Tex | .NET
Fornire il file di input principale al motore TEX come flusso
Fino a questo punto, sapevamo solo come passare il
file di input principale al motore TEX come nome di un file, sia completamente specificato che in breve, sia con un’estensione che senza di essa. Ma c’è un altro
costruttore della classe Texjob, che prende un flusso come primo argomento. Questo è conveniente se per qualche motivo abbiamo il file di input principale in un modulo diverso da un file sul file system disco. Ecco come può essere implementato:
 1// Stream input with LaTeX document and XPS output
 2
 3// Create conversion options for Object LaTeX format upon Object TeX engine extension.
 4TeXOptions options = TeXOptions.ConsoleAppOptions(TeXConfig.ObjectLaTeX);
 5
 6// Specify a file system working directory for the output.
 7options.OutputWorkingDirectory = new OutputFileSystemDirectory(OutputDir);
 8
 9// Specify the console as the output terminal.
10options.TerminalOut = new OutputConsoleTerminal();
11
12// Define the saving options.
13options.SaveOptions = new XpsSaveOptions();
14
15// Create the XPS device.
16XpsDevice device = new XpsDevice();
17
18// Run the job with LaTeX document from memory stream.
19TeXJob job = new TeXJob(new MemoryStream(Encoding.ASCII.GetBytes(
20        @"\documentclass{article} \begin{document} Hello, World! \end{document}")),
21        device, options);
22job.Run();
23
24// For further output to look fine.
25options.TerminalOut.Writer.WriteLine();Si noti che tutti i file di output avranno il nome texput. Questo perché il motore non può ottenere nessun altro nome da nessuna parte. texput è il nome del lavoro predefinito. Qui e qui sono dettagli sui nomi dei lavori.
Immettere il file di input tex principale dal terminale
C’è ancora un altro
costruttore della classe Texjob, che non ci consente affatto di specificare l’input. Allora, cosa sta per elaborare un lavoro del genere, potresti chiederti? Questa volta avremo bisogno di un terminale di input. Il motore Tex ci chiederà di inserire il nome del file dal terminale.
Ecco il codice:
 1// Enter main TeX input file from the terminal (interactive)
 2
 3// Create conversion options for default ObjectTeX format upon ObjectTeX engine extension.
 4TeXOptions options = TeXOptions.ConsoleAppOptions(TeXConfig.ObjectTeX());
 5
 6// Specify a file system working directory for the input.
 7options.InputWorkingDirectory = new InputFileSystemDirectory(DataDir);
 8
 9// Specify a file system working directory for the output.
10options.OutputWorkingDirectory = new OutputFileSystemDirectory(OutputDir);
11
12// Specify the console as the output terminal.
13options.TerminalOut = new OutputConsoleTerminal();
14
15// Define the saving options.
16options.SaveOptions = new XpsSaveOptions();
17
18// Run the job. The TeX engine will ask to enter the file name from the terminal.
19// Note: This is an interactive example. In production, you would typically
20// provide input via TerminalIn property or use one of the other input methods.
21TeXJob job = new TeXJob(new XpsDevice(), options);
22job.Run();
23
24// For further output to look fine.
25options.TerminalOut.Writer.WriteLine();Non appena viene eseguito, il motore si attacca, aspettando che inseriamo il nome del file (con o senza percorso, con o senza estensione):
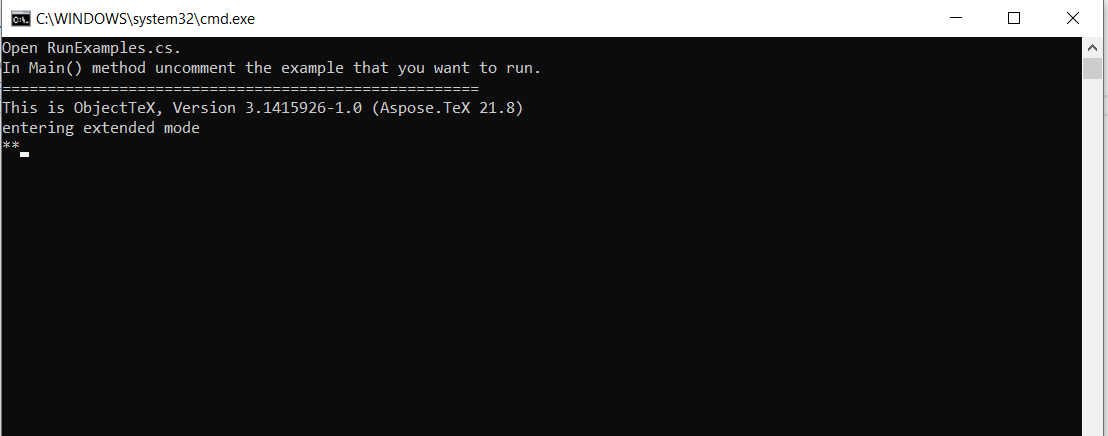
Ed è così che sembrerebbe sul terminale di uscita che è la console:
 1This is ObjectTeX, Version 3.1415926-1.0 (Aspose.TeX 21.8)
 2entering extended mode
 3**<path_to_the_file>/hello-world.ltx
 4(<path_to_the_file>/hello-world.ltx
 5LaTeX2e <2011/06/27>
 6(article.cls
 7Document Class: article 2007/10/19 v1.4h Standard LaTeX document class
 8(size10.clo))
 9No file hello-world.aux.
10[1]
11(<output_directory>\hello-world.aux) )
12Output written on hello-world.xps (1 page).
13Transcript written on hello-world.log.