Your First Aspose.Imaging for Java Application
All Aspose components, when installed, work in evaluation mode. The evaluation mode has no time limit and it injects watermarks into the produced Images.
Creating an Application that Uses Aspose.Imaging
To work with Aspose.Imaging in your applications:
- Download Aspose.Imaging.
- Create a project.
- Add a reference to the Aspose.Imaging API.
- Write the code.
Download Aspose.Imaging for Java
- Download Aspose.Imaging for Java.
- Unzip the downloaded ZIP archive on your development computer, for example D:\Java.Imaging-API.
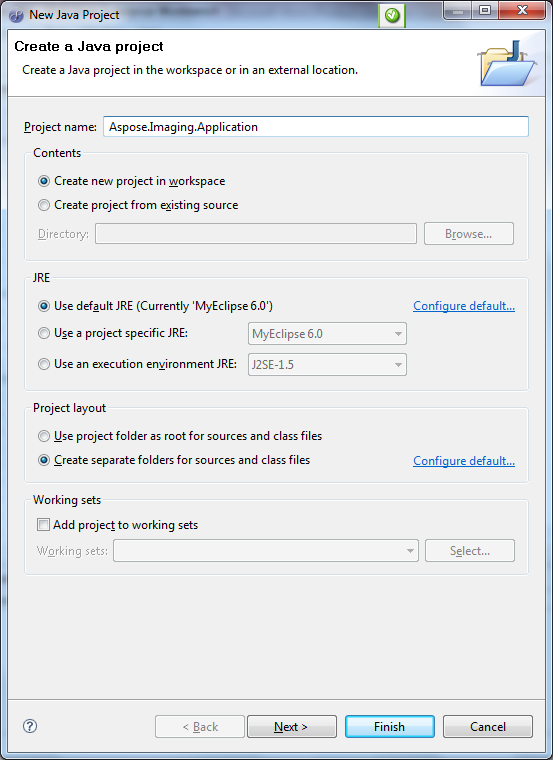
Create Project
-
Launch the MyEclipse IDE.
-
In the main toolbar, click New Java Project, or, from the File menu, select New Java Project.
-
Enter the project name.
-
Click Finish.
Creating a project in MyEclipse
Add Reference of Aspose.Imaging for Java API
The project uses the Aspose.Imaging API as the core library for performing image operations. So, you have to reference the Aspose.Imaging JAR in the project .
-
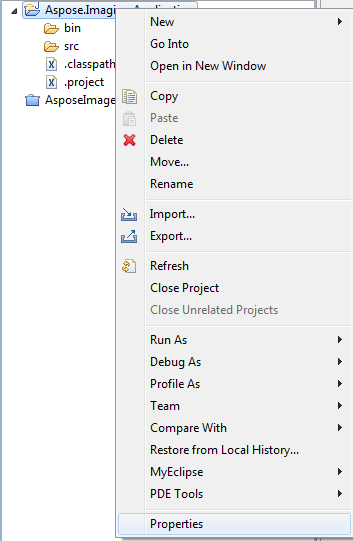
Select the project’s properties menu (right click on the project) as shown.
Right-clicking the project opens a menu. The Properties option can be found at the bottom
-
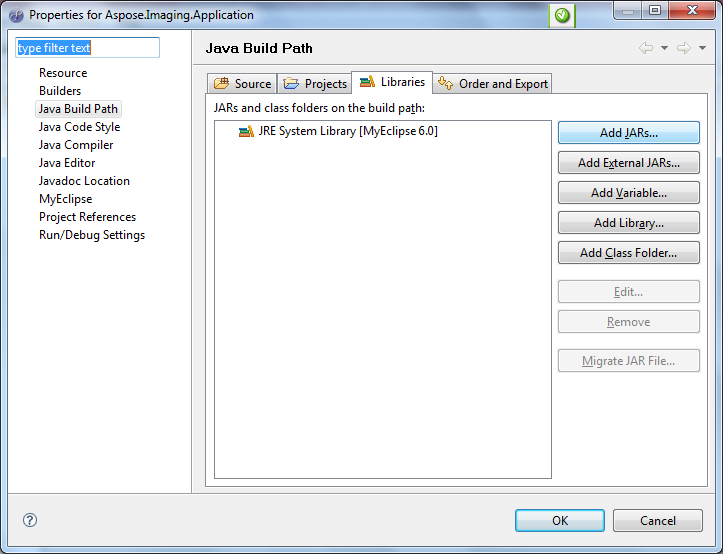
Select the Java Build Path option.
-
Click Add External Jar.
The project properties dialog
-
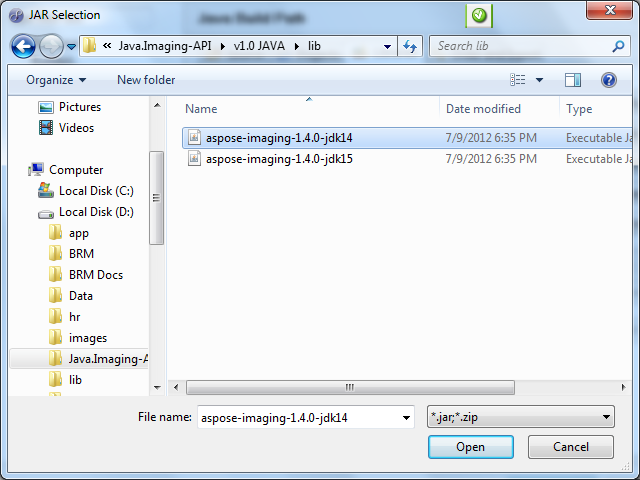
Select the Aspose.Imaging file to add it to the project.
Adding the Aspose.Imaging JAR to the project
Write MyClass.Java
The next step is to create a new class.
- Click on New Java Class in the main toolbar.
- If not already specified, select HelloWorld/src as the source folder.
- Type MyClass for the class name.
- Select the option to create the main() method.
- Click Finish.
The code below uses the Aspose.Imaging API to create an image from scratch.