Create Vector Clipping Path in Tiff format and export it to Psd image
Clipping Path
Clipping path is the Photoshop technique to remove the background from an image. Photoshop allows you to select a part of an image using Clipping Path and save the path within a file. Clipping Paths allow you to hide the part of an image you don’t want to appear. Anything inside the clipping path will be visible, but anything outside of it will be transparent.
Other words Photoshop makes it possible to isolate certain parts of an image, without permanently changing the layer. This allows you to tweak the image at any point in the creative process. Clipping Paths are a traditional method of cutting out objects or people in Photoshop that allows you to create image files with transparent backgrounds. This approach works best with objects or people with “hard” edges around the object or person you want to cut out.
Create Clipping Path in Tiff format
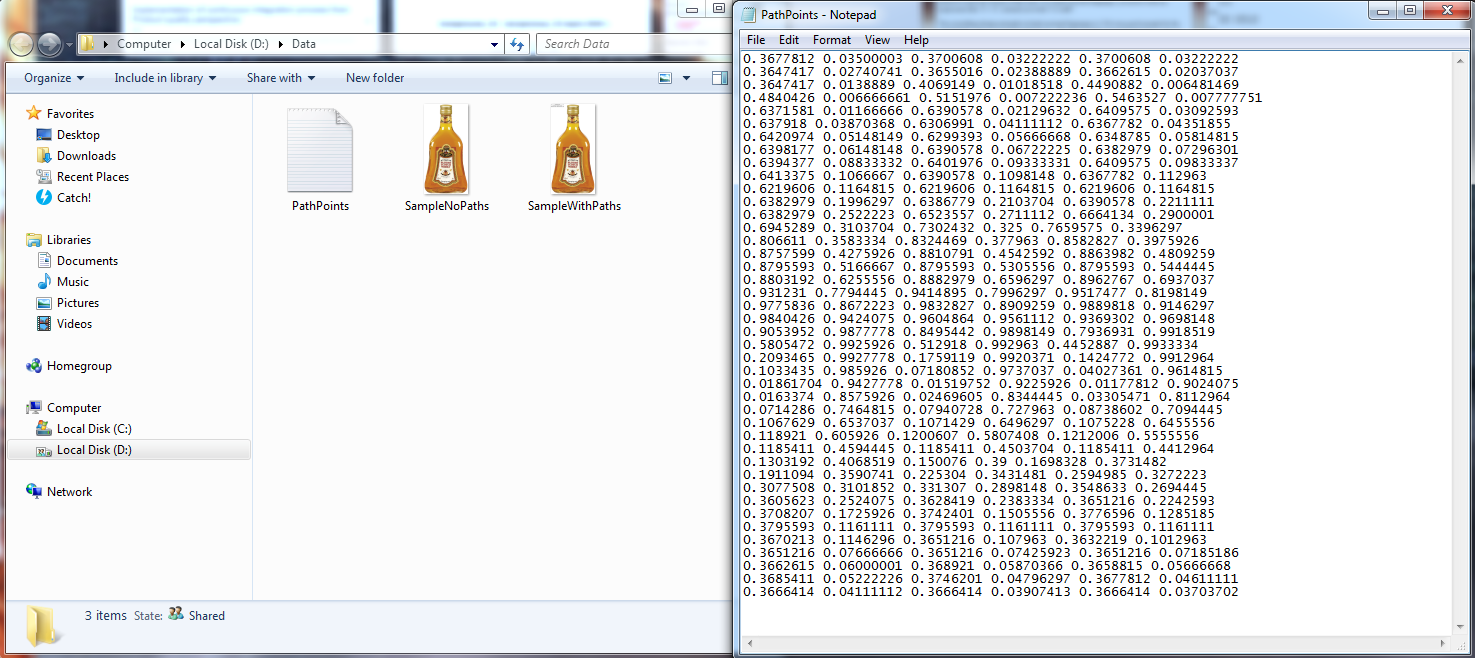
File with Path points
In Data folder you can find a PathPoints.txt file. It contains Bezier points for our path. In your custom project you can create such points manually or use a Photoshop Pen tool.
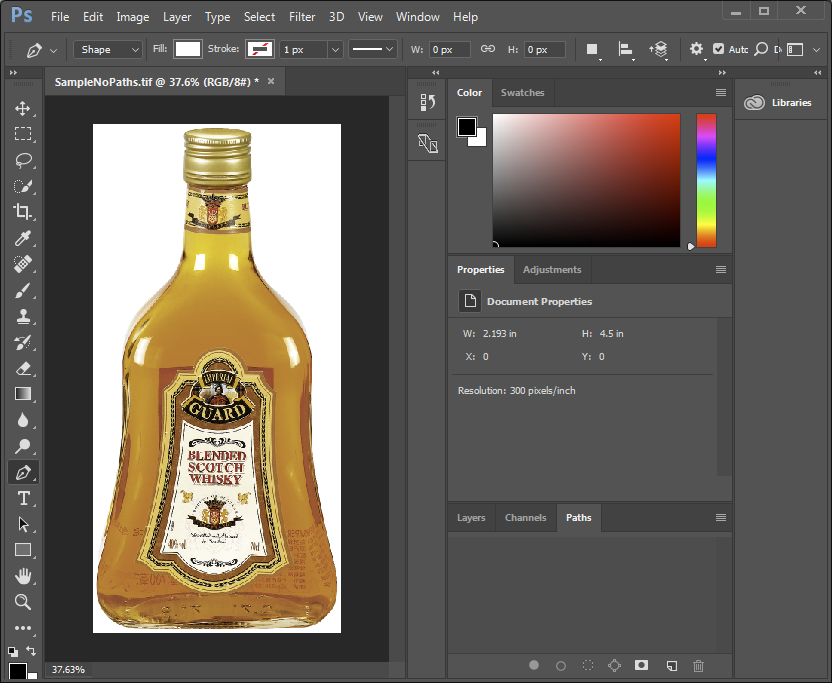
Sample Tiff image with no Paths inside
As you can see on screenshot, a Sample.tiff image has no any Paths. We will create a Path in Tiff image using Aspose.Imaging library and data in PathPoints.txt file.
Create Clipping Path using Aspose.Imaging library
Please, use the following code to create a new path in our Tiff image:
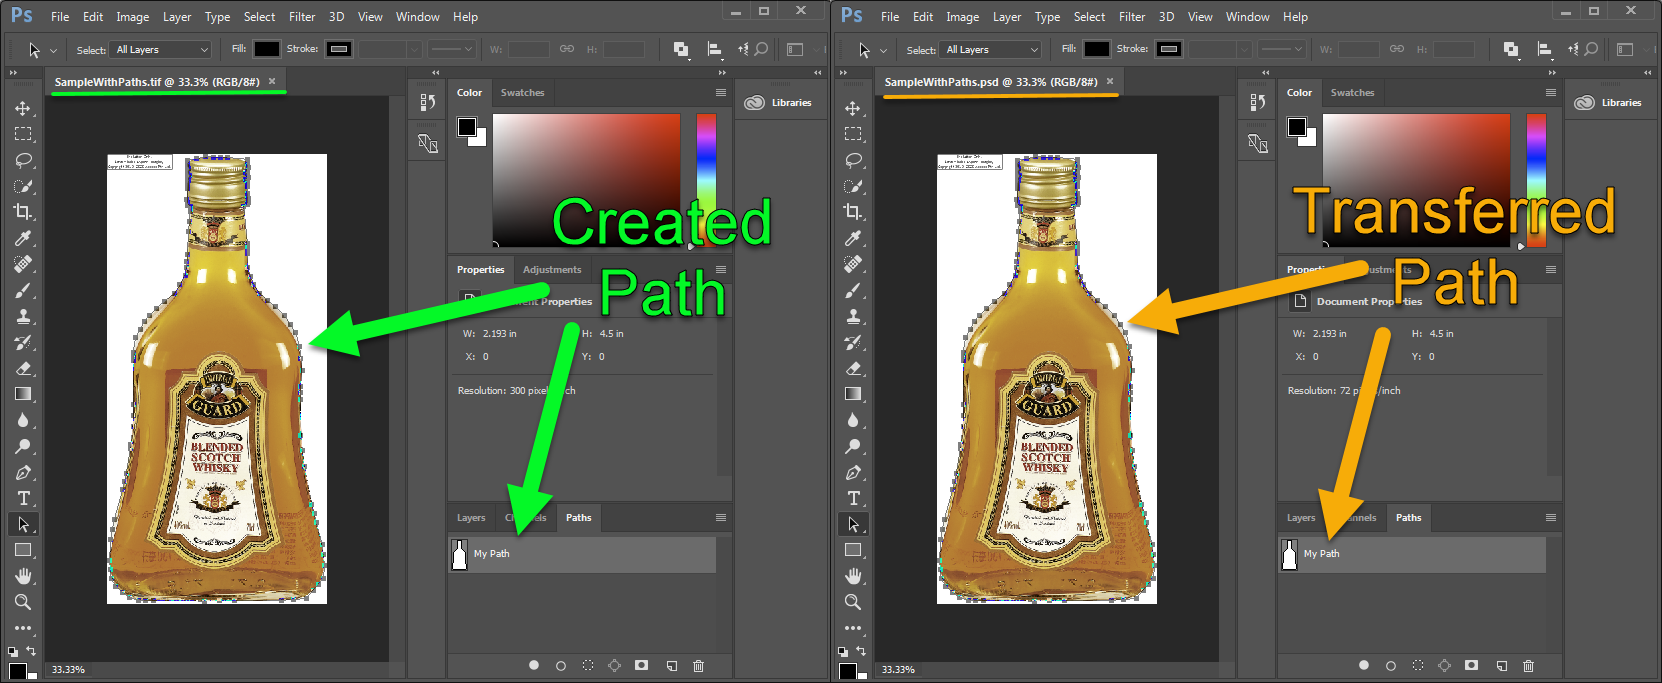
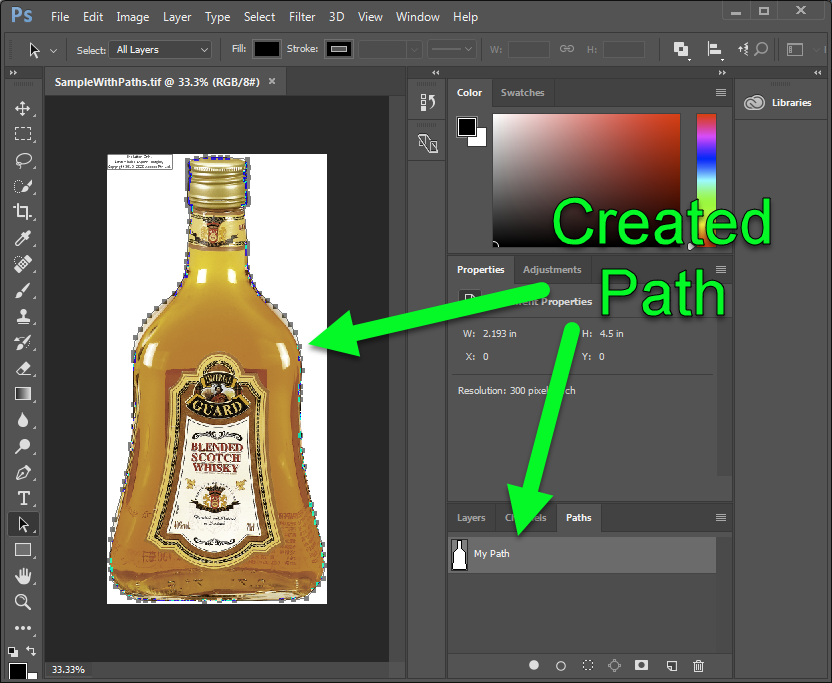
Created Path should look like similar to the following screenshot:
Transfer Clipping Path to Psd image during the export
Its quite helpful to use Paths in Psd images. You can easily transfer the Path using the following code: The Path transferred to Psd image is identical to Tiff Path: