Remove background from images
Auto Masking
To receive better background removing results, Graph Cut segmentation with pre-calculated brushstrokes can be used.
Using Graph Cut auto masking with feathering
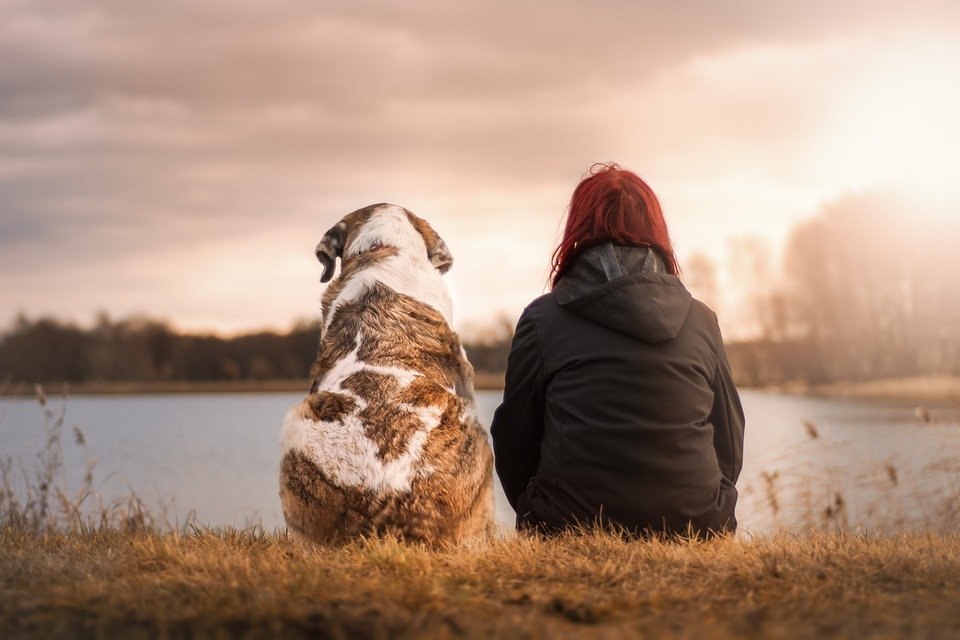
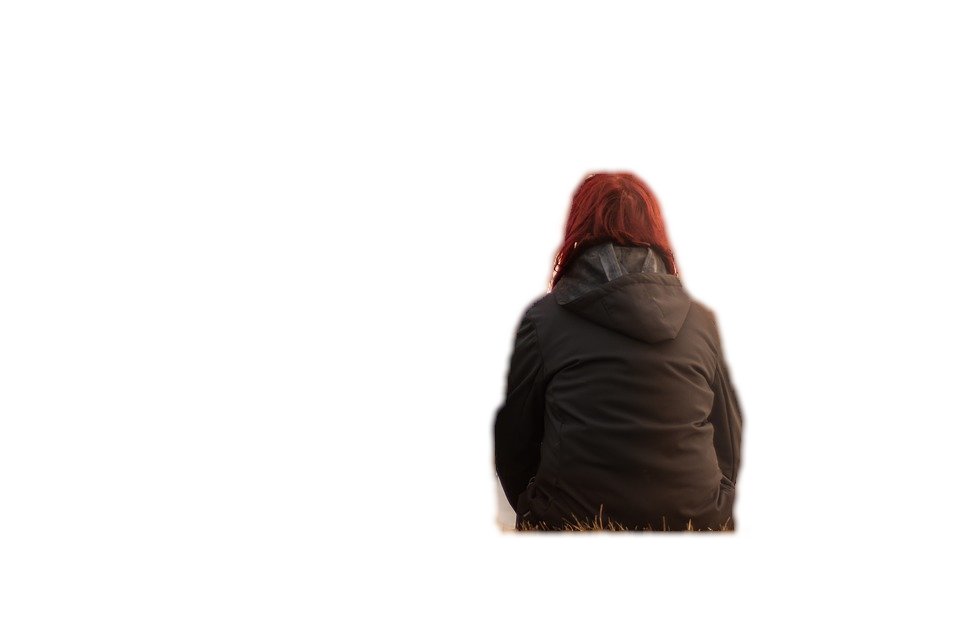
The following example demonstrates saving of the image masking results with feathering based on image size. Image masking is performed using auto calculated default strokes. The Args property of AutoMaskingGraphCutOptions can be omitted since default strokes are placed there in the end.
The figure below illustrates the result of the Graph Cut auto masking with feathering:
|
|
|
|---|---|
| Fig. 2 (a) Original image | (b) Auto masked image |
Re-using default strokes in repeated auto masking with new points
The following example demonstrates saving of the image masking results with feathering based on image size and re-using masking options for the new masking iteration. Image masking is performed using auto calculated default strokes. Additionally, the data of the two assumed objects are also specified in the AssumedObjects property of the AutoMaskingGraphCutOptions. After getting the initial masking results, applied background/foreground strokes are modified and another masking iteration is performed.
The figure below illustrates the result of re-using default strokes in repeated auto masking with new points:
|
|
|
|---|---|
| Fig. 3 (a) Original image | (b) Auto masked image |
Using Graph Cut auto masking with specified assumed objects data
The following example demonstrates saving of the image masking results with feathering based on image size. Image masking is performed using auto calculated default strokes. Additionally, the data of a one assumed human object is also specified in the AssumedObjects property of the AutoMaskingGraphCutOptions.
The figure below illustrates the result of the Graph Cut auto masking with specified assumed object data:
|
|
|
|---|---|
| Fig. 4 (a) Original image | (b) Auto masked image |
Manual Masking
The following code snippet provided below demonstrates how to apply manual masking to a raster image.
The figure below illustrates the result of the manual masking:
|
|
|
|---|---|
| Fig. 5 (a) Original image | (b) Manually masked image |


