Inserting a Watermark via Workflow Activity
This article shows you how to create a workflow for inserting a text or image watermark into a document. The steps and screenshots are for SharePoint Designer 2010.
First choose the source and destination document library for modified documents. To reproduce this example, create these libraries on a SharePoint site you use for testing. Alternatively, use existing libraries instead of the suggested example libraries.
When a workflow is executed, it has the permissions of the user who initiated it. So in order to store the modified documents, users need permission to add and update documents in the destination library.
Create a New Workflow
To create a new workflow:
-
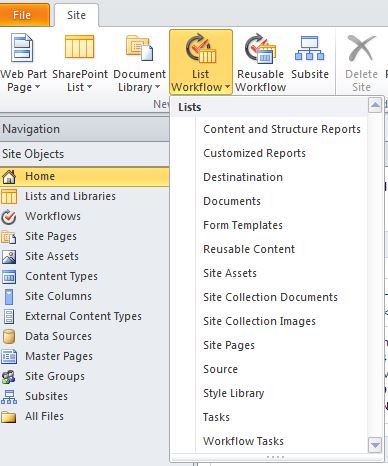
Start SharePoint Designer and connect to the site where the source document library is located.
-
Expand “List Workflow” and select source document library from the list. The workflow designer window appears as shown below.
-
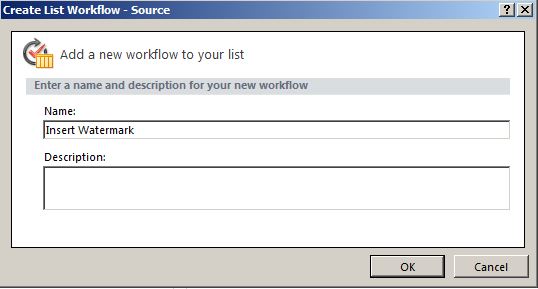
Give the new workflow a name and click “Ok”.
 You should see a tab with widget “Step 1”.

-
Click on the widget “Step 1” to activate it. Expand “Action” and select “Insert a text watermark via Aspose.Words” or “Insert an image watermark via Aspose.Words”.
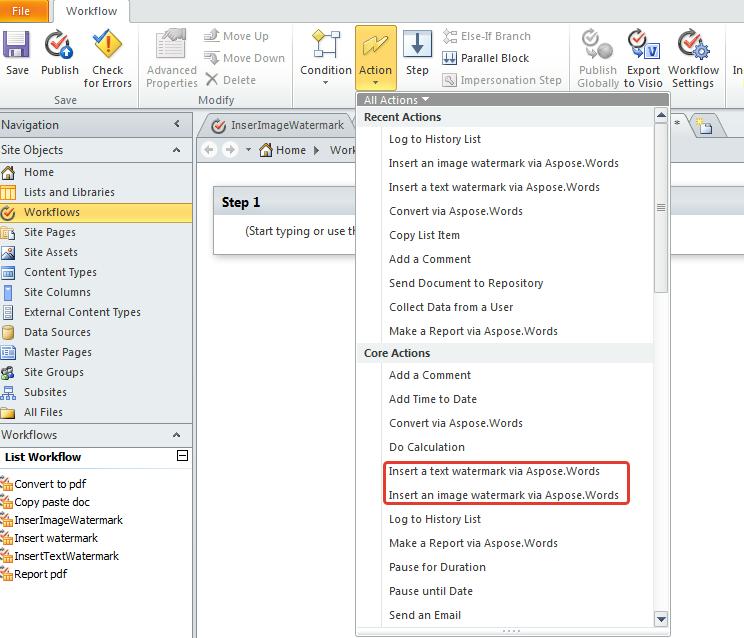 After that, you will see “Step 1” with the selected action.

Configure Action Parameters
For a text and image watermark, the following common parameters have been entered:
- Destination folder URL. The modified document is placed here. If this parameter is not set, the modification result is placed in the same folder as the source file. The
URLmust end with “/”. - Destination file name. Specify this parameter to give the modified file a different name. If this parameter is not set, the modified file will have the same name as the source file.
- Do overwrite existing files. Whether or not to replace existing files in the destination library with the modified file. By default, a modified file does not overwrite existing files.
Specific parameter for text watermark:
- Text. You can use any text except empty text. For example, a name containing only spaces.
Specific parameter for image watermark:
- Image URL. This
URLof an image which will be inserted in document.
Set values for these parameters:
- Specify any text for Text or a server-relative image
URLfor Image Url. - Type in the server-relative
URLof the destination document library folder for Destination folder URL. - Leave the Destination file name parameter at the default.
- Select Do overwrite existing files to overwrite existing files in the destination folder with the modified result.
Use Action Output Parameters in Other Actions
The modified action sets three workflow variables on execution:
- List ID is the ID of the list where the modified file is saved.
- List Item ID is the id of the document item in the destination list. Use these two parameters in subsequent actions when you need to do something with the converted file.
- Conversion output message is a textual description of modification outcome.
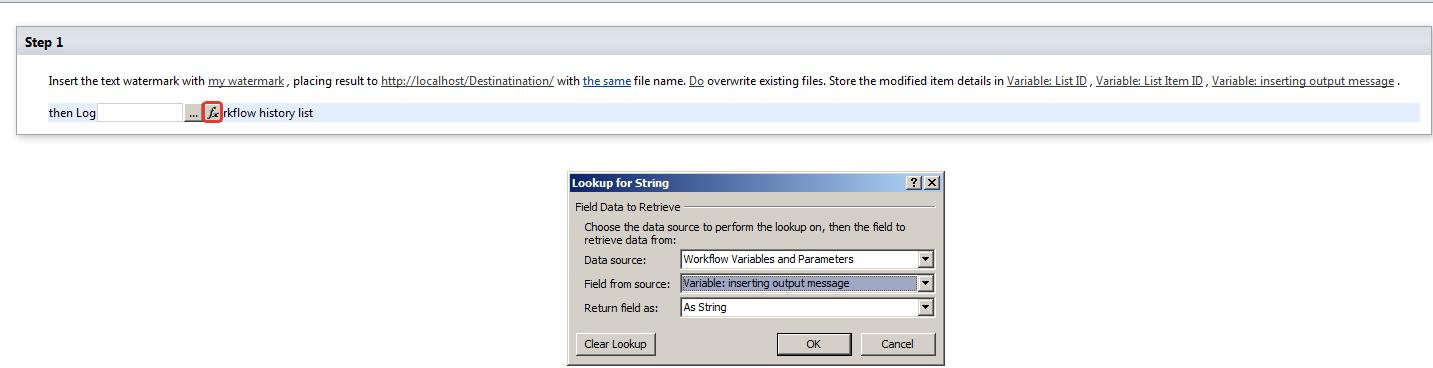
Add another action using one of the modification output parameters as an argument:
- Click Actions in the workflow designer to add another action and select Log to History List.
- Click this message in the action sentence and the fx button next to it to set the message to the modification output.
- Select Workflow Variables and Parameters in Data as a source and Variable: inserting output message as a field.
To publish workflow on site click Publish.

Test the New Workflow
Now let us see how it works:
-
Start a browser and go to the incoming Documents library to which our new workflow is attached.
-
Upload a new document. Make sure that document type is supported by Aspose.Words (DOCX, DOC, RTF, MHT, XML, Microsoft Word 2003 WordprocessingML or Flat OPC).
-
Select uploaded document and click Workflow.

-
You can see workflow actions. Click on Insert watermark and then click Start.
-
Refresh the browser window. A new column with the workflow status should appear:

-
Click Completed in the workflow status column to see that a conversion outcome message was logged to the workflow history.

-
Go to the destination library and find the modified document there.