Analyzing your prompt, please hold on...
An error occurred while retrieving the results. Please refresh the page and try again.
One of the advantages of spreadsheets is that they allow you to create different types of lists, for example, phone lists, task lists, lists of transactions, assets or liabilities. Several users can work together to use, create and maintain various lists.
Aspose.Cells supports creating and managing Lists.
There are quite a few advantages when you convert a list of data to an actual List Object:
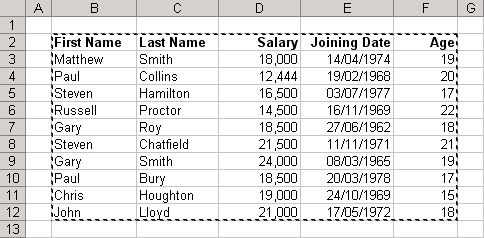
Selecting data range for creating a list object
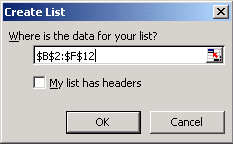
This displays the Create List dialog.
Create List dialog
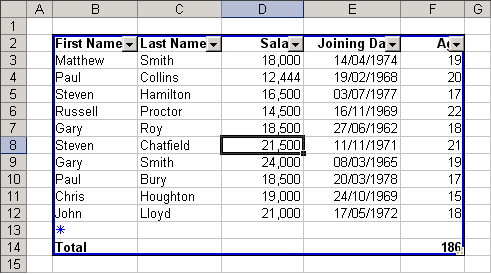
Implementing the List object and specifying Total Row (Select Data, then List, followed by Total Row).
Creating a List object
Aspose.Cells provides a class, Workbook, that represents a Microsoft Excel file. The Workbook class contains a Worksheets collection that allows access to each worksheet in an Excel file.
A worksheet is represented by the Worksheet class. The Worksheet class provides a wide range of properties and methods for managing a worksheet. To create a ListObject in a worksheet, use ListObjects collection property of the Worksheet class. Each ListObject is, in fact, an object of the ListObjectCollection class, which further provides the add method for adding a List object and specifying a range of cells for the list.
According to the specified range of cells, the List object is created in the worksheet by Aspose.Cells. Use attributes (for example, ShowTotals, ListColumns etc.) of the ListObject class to control the list.
In the example given below, we have created the same ListObject using Aspose.Cells API as we created using Microsoft Excel in the above section.
Analyzing your prompt, please hold on...
An error occurred while retrieving the results. Please refresh the page and try again.