
Python에서 프레젠테이션 뷰어 만들기
소개
Aspose.Slides for Python은 슬라이드가 포함된 프레젠테이션 파일을 만드는 데 사용됩니다. 이러한 슬라이드는 예를 들어 Microsoft PowerPoint에서 프레젠테이션을 열어 볼 수 있습니다. 그러나 개발자는 때때로 원하는 이미지 뷰어에서 슬라이드를 이미지로 보거나 사용자 정의 프레젠테이션 뷰어에서 사용해야 할 수도 있습니다. 이러한 경우 Aspose.Slides를 사용하면 개별 슬라이드를 이미지로 내보낼 수 있습니다. 이 문서에서는 그 방법을 설명합니다.
슬라이드에서 SVG 이미지 생성
Aspose.Slides를 사용하여 프레젠테이션 슬라이드에서 SVG 이미지를 생성하려면 다음 단계를 따르세요:
- Presentation 클래스를 인스턴스화합니다.
- 슬라이드 인덱스로 슬라이드에 대한 참조를 가져옵니다.
- 파일 스트림을 엽니다.
- 슬라이드를 SVG 이미지로 파일 스트림에 저장합니다.
import aspose.slides as slides

slide_index = 0

with slides.Presentation("sample.pptx") as presentation:
    slide = presentation.slides[slide_index]

    with open("output.svg", "wb") as svg_stream:
        slide.write_as_svg(svg_stream)
슬라이드 썸네일 이미지 생성
Aspose.Slides는 슬라이드의 썸네일 이미지를 생성하도록 도와줍니다. Aspose.Slides를 사용하여 슬라이드 썸네일을 생성하려면 다음 단계를 따르세요:
- Presentation 클래스를 인스턴스화합니다.
- 슬라이드 인덱스로 슬라이드에 대한 참조를 가져옵니다.
- 참조된 슬라이드의 썸네일 이미지를 원하는 비율로 생성합니다.
- 썸네일 이미지를 원하는 이미지 형식으로 저장합니다.
import aspose.slides as slides

slide_index = 0
scale_x = 1
scale_y = scale_x

with slides.Presentation("sample.pptx") as presentation:
    slide = presentation.slides[slide_index]

    with slide.get_image(scale_x, scale_y) as image:
        image.save("output.jpg", slides.ImageFormat.JPEG)
사용자 정의 크기로 슬라이드 썸네일 생성
사용자 정의 크기로 슬라이드 썸네일 이미지를 생성하려면 다음 단계를 따르세요:
- Presentation 클래스를 인스턴스화합니다.
- 슬라이드 인덱스로 슬라이드에 대한 참조를 가져옵니다.
- 참조된 슬라이드의 썸네일 이미지를 지정된 크기로 생성합니다.
- 썸네일 이미지를 원하는 이미지 형식으로 저장합니다.
import aspose.slides as slides
import aspose.pydrawing as pydrawing

slide_index = 0
slide_size = pydrawing.Size(1200, 800)

with slides.Presentation("sample.pptx") as presentation:
    slide = presentation.slides[slide_index]

    with slide.get_image(slide_size) as image:
        image.save("output.jpg", slides.ImageFormat.JPEG)
슬라이드 썸네일에 발표자 메모 포함하기
Aspose.Slides를 사용하여 발표자 메모가 포함된 슬라이드 썸네일을 생성하려면 다음 단계를 따르세요:
- RenderingOptions 클래스를 인스턴스화합니다.
RenderingOptions.slides_layout_options속성을 사용하여 발표자 메모 위치를 설정합니다.- Presentation 클래스를 인스턴스화합니다.
- 슬라이드 인덱스로 슬라이드에 대한 참조를 가져옵니다.
- 렌더링 옵션을 사용하여 참조된 슬라이드의 썸네일 이미지를 생성합니다.
- 썸네일 이미지를 원하는 이미지 형식으로 저장합니다.
slide_index = 0

layout_options = slides.export.NotesCommentsLayoutingOptions()
layout_options.notes_position = slides.export.NotesPositions.BOTTOM_TRUNCATED

rendering_options = slides.export.RenderingOptions()
rendering_options.slides_layout_options = layout_options

with slides.Presentation("sample.pptx") as presentation:
    slide = presentation.slides[slide_index]

    with slide.get_image(rendering_options) as image:
        image.save("output.png", slides.ImageFormat.PNG)
실시간 예제
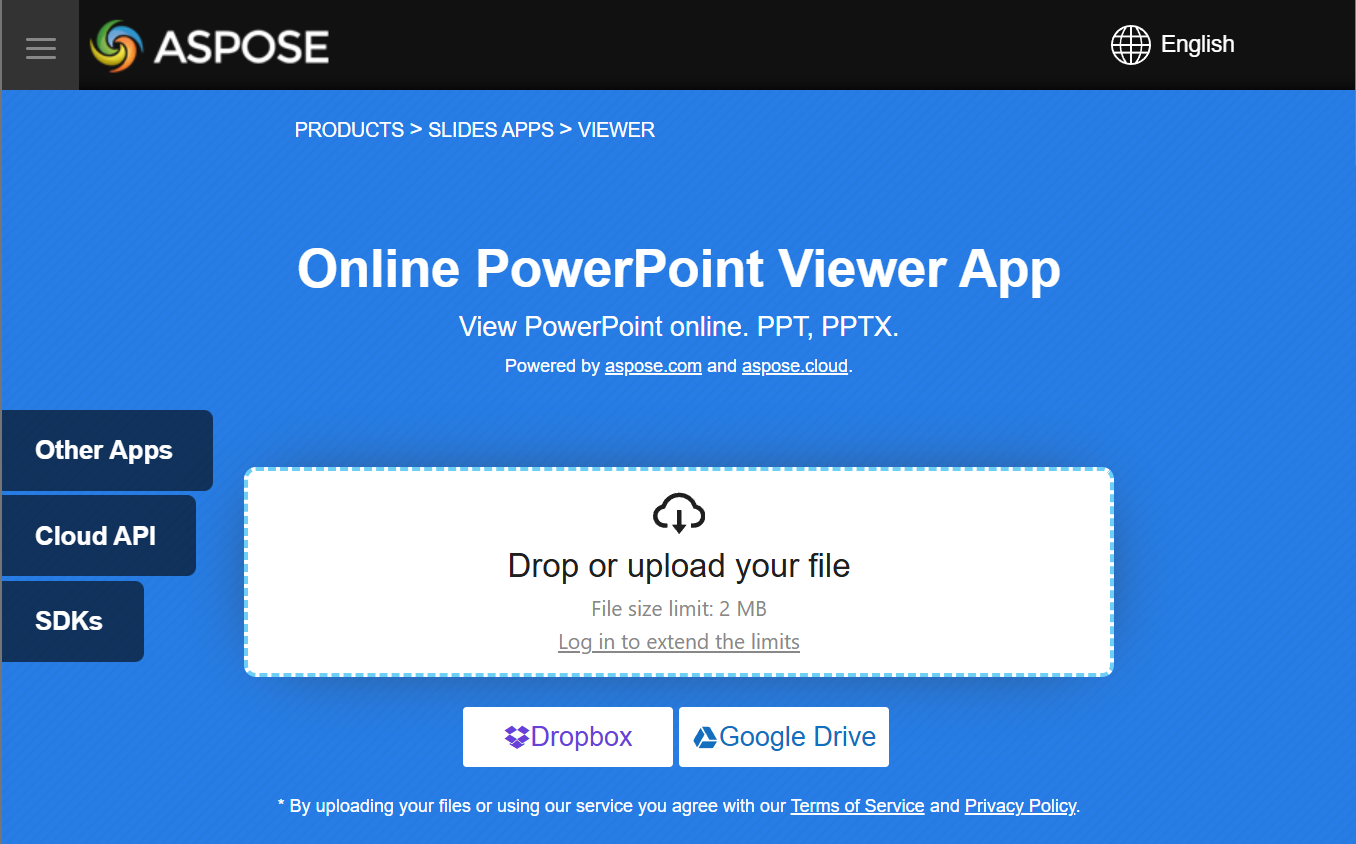
Aspose.Slides API로 구현할 수 있는 기능을 확인하려면 무료 앱인 Aspose.Slides Viewer을 사용해 보세요:
FAQ
ASP.NET 웹 애플리케이션에 프레젠테이션 뷰어를 삽입할 수 있나요?
예. 서버 측에서 Aspose.Slides를 사용하여 슬라이드를 이미지 또는 HTML 형태로 렌더링하고 브라우저에 표시할 수 있습니다. 탐색 및 확대/축소 기능은 JavaScript로 구현하여 대화형 경험을 제공할 수 있습니다.
사용자 정의 .NET 뷰어 내에서 슬라이드를 표시하는 가장 좋은 방법은 무엇인가요?
권장 방법은 Aspose.Slides를 사용하여 각 슬라이드를 이미지 (예: PNG 또는 SVG) 형태로 렌더링하거나 HTML 로 변환한 뒤, 데스크톱의 경우 PictureBox에, 웹의 경우 HTML 컨테이너에 출력 결과를 표시하는 것입니다.
많은 슬라이드가 있는 대형 프레젠테이션을 어떻게 처리하나요?
대형 프레젠테이션의 경우 슬라이드를 지연 로드하거나 필요할 때만 렌더링하는 방식을 고려하십시오. 이는 사용자가 슬라이드로 이동할 때 해당 슬라이드의 내용을 생성함으로써 메모리 사용량과 로드 시간을 줄이는 것을 의미합니다.