Analyzing your prompt, please hold on...
An error occurred while retrieving the results. Please refresh the page and try again.
NuGet is the easiest way to download and install Aspose.Cells for .NET.

You can also download it from the NuGet web page for Aspose.Cells:
Aspose.Cells for .NET NuGet Package
In this example, I use Ubuntu to show how to start using Aspose.Cells on Linux.
  <ItemGroup>
    <PackageReference Include="Aspose.Cells" Version="26.7" />
  </ItemGroup>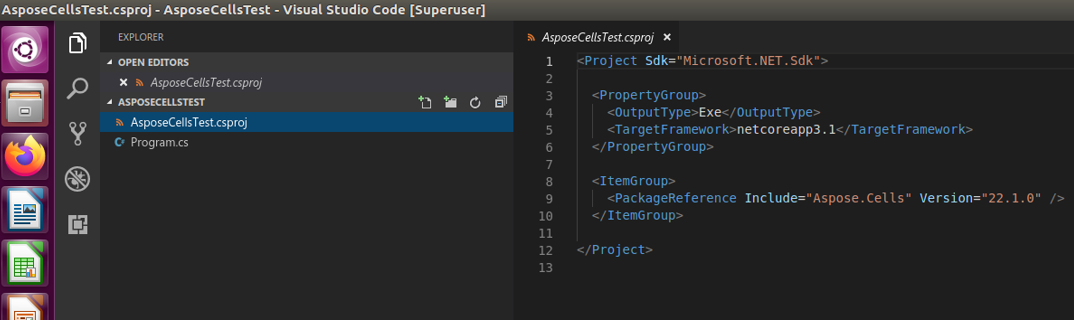
Note: Aspose.Cells for .NET Standard can support your requirement on Linux.
Applies to: .NET Standard 2.0, .NET Core 2.1, .NET Core 3.1, .NET 5.0, .NET 6.0 and later versions.
In this example, I use macOS High Sierra to show how to start using Aspose.Cells on macOS.
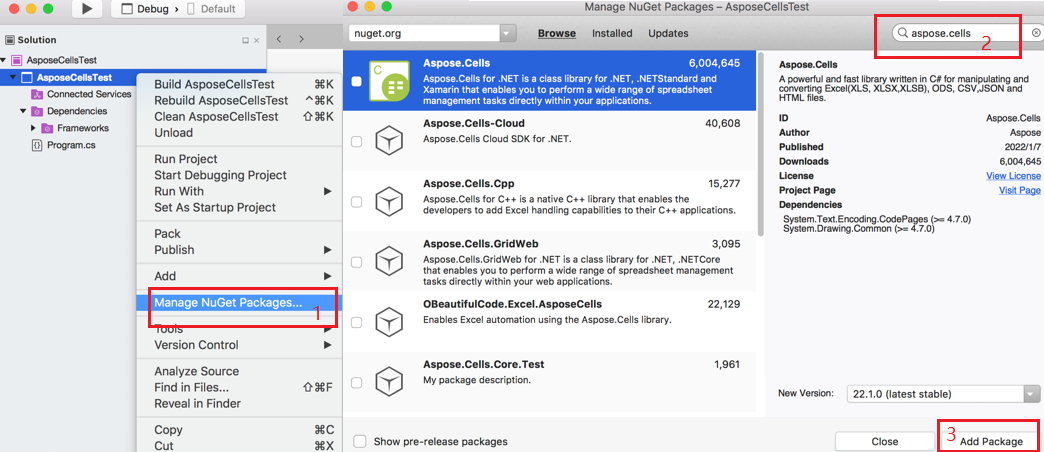
Note: Aspose.Cells for .NET Standard can support your requirement on macOS.
Applies to: .NET Standard 2.0, .NET Core 2.1, .NET Core 3.1, .NET 5.0, .NET 6.0 and later versions.
Aspose.Cells for .NET 6 now uses SkiaSharp as the graphics library, as recommended in the official Microsoft statement. For more details about using Aspose.Cells with .NET 6, please see How to Run Aspose.Cells for .NET 6.
The steps below create the Hello World application using the Aspose.Cells API:
The implementation of the above steps is demonstrated in the examples below.
The following example creates a new workbook from scratch, inserts Hello World! into cell A1 in the first worksheet, and saves it as an Excel file.
The following example opens an existing Microsoft Excel template file Sample.xlsx, inserts Hello World! into cell A1 in the first worksheet, and saves it as an Excel file.
Analyzing your prompt, please hold on...
An error occurred while retrieving the results. Please refresh the page and try again.