How to Run Aspose.Cells in Blazor
Overview
To run Aspose.Cells in Blazor, you need the .NET6 (or later) platforms, compare to previous platforms (.netcore31 or before), an important difference is about the graphics library. In this official Microsoft Document, it explains for .NET6 or later releases the graphics library “System.Drawing.Common” will be only supported on Windows, and gives recommendations to replace the graphics library.
For Apose.Cells product, we have conducted the evaluation and have completed the migration of the graphics library. We use SkiaSharp instead of System.Drawing.Common in non-Windows systems, as suggested in Microsoft’s official documentation. Please note that this critical change will take effect in Aspose.Cells 22.10.1 or later for .Net6.
Blazor Server Application with Aspose.Cells
In this example, you create a simple blazor server application that adds some data and graphics, and render them into images to display on the webpage. During the project creation process, you can configure options according to your own needs. For example, when you check the “Enable Docker” option, the blazor application can then be built and run in Docker..
Create Blazor Server Application
Let’s use the VS2022 tool as an example to create the first blazor application with Aspose.Cells, follow the steps below:
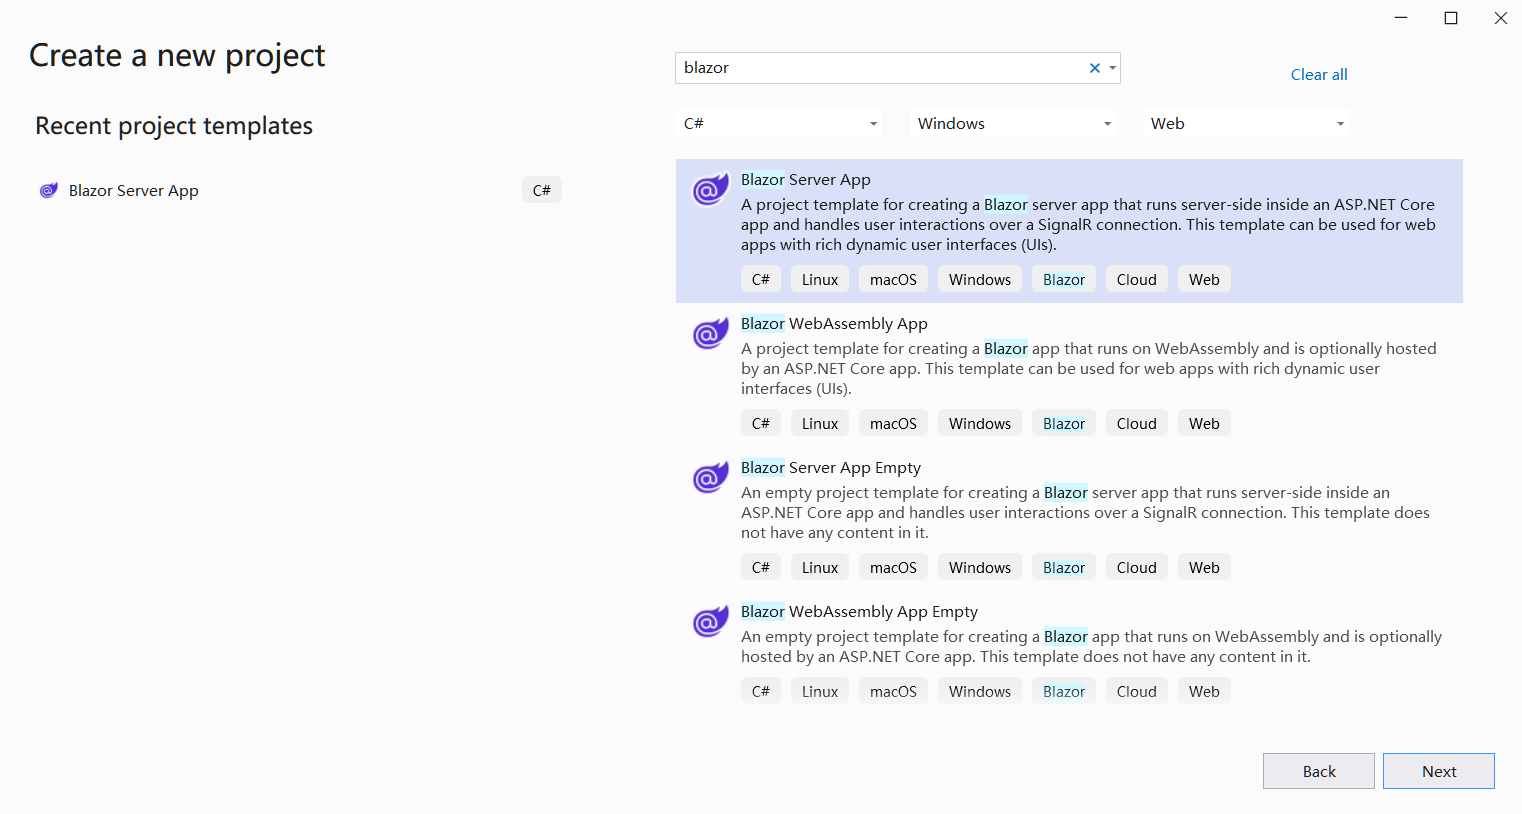
- Select File ->New ->Project and filter using the blazer keyword to select the corresponding project template.
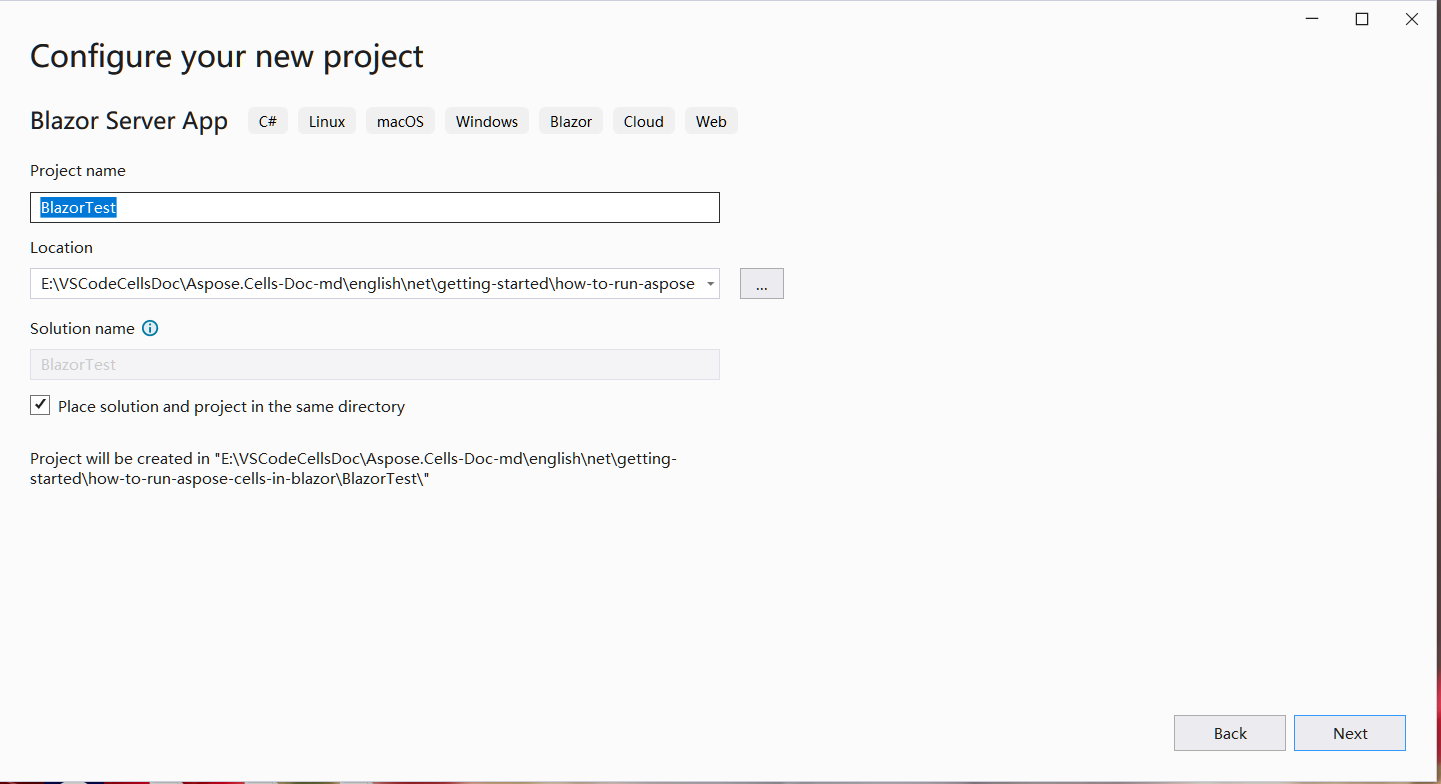
- Set the project name to “BlazorTest” and select the path.
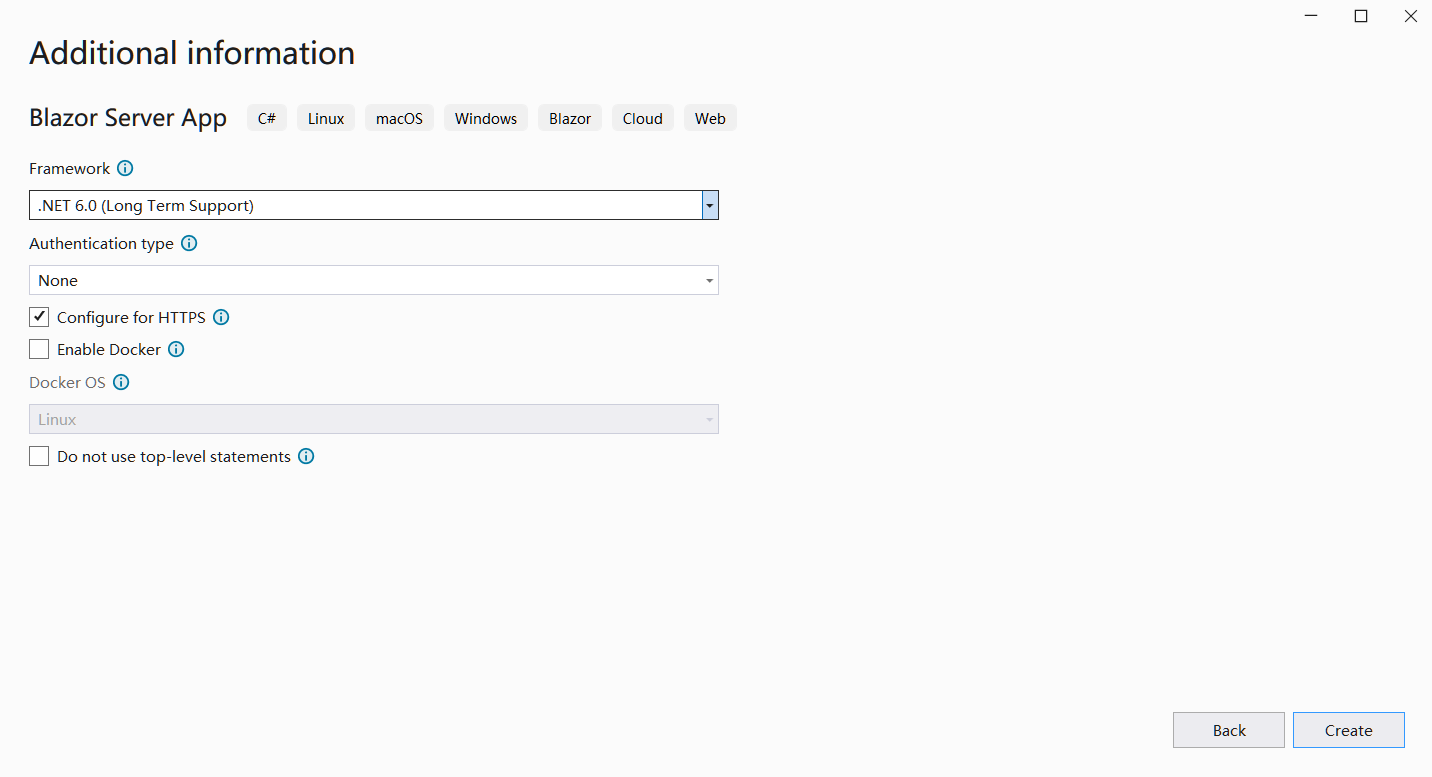
- Configure the libraries and other options used in the project. Finally, click the “Create” button to generate your first blazer project.
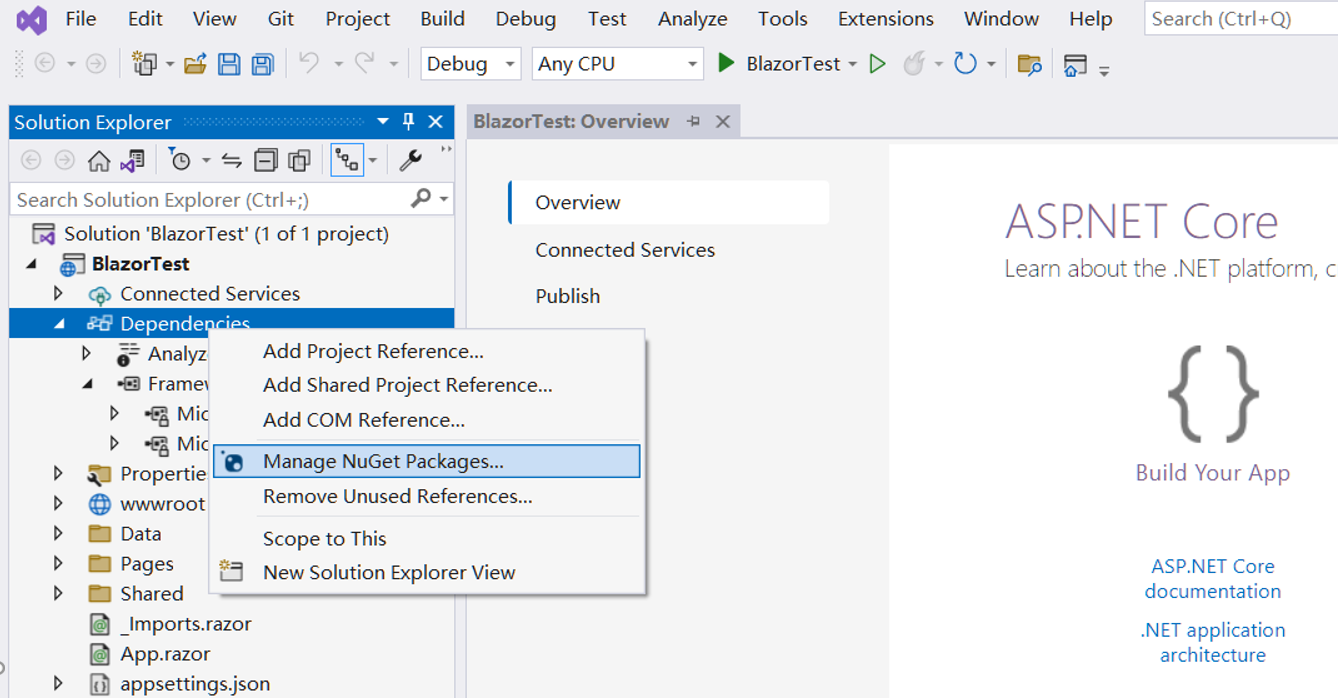
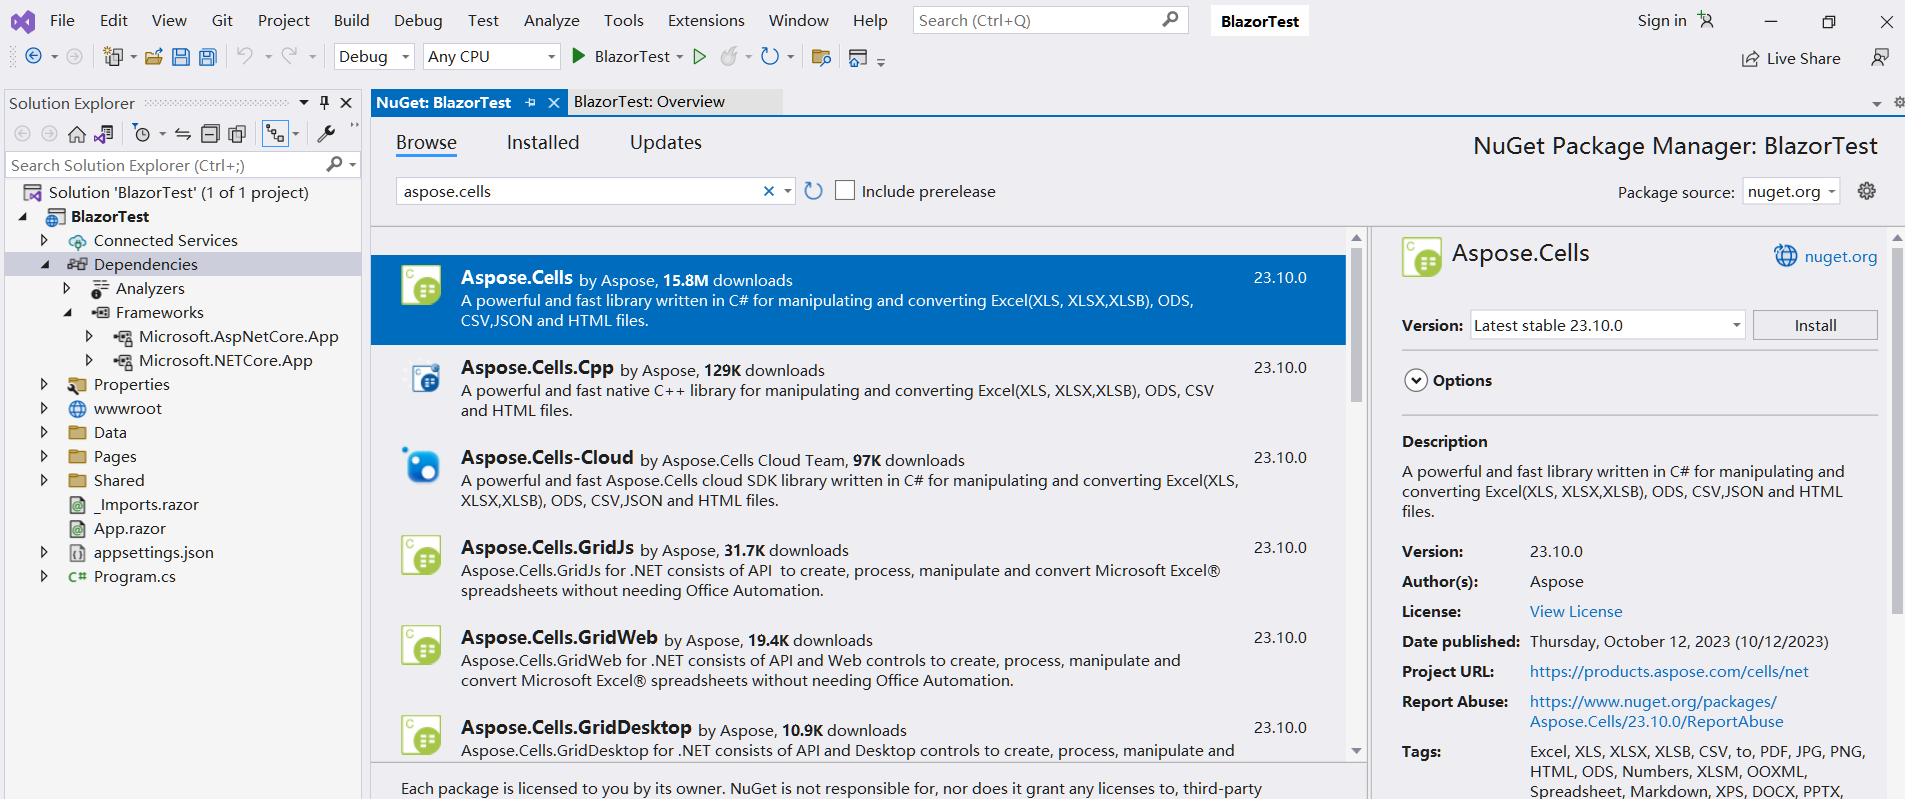
- After entering the project, click the “Dependencies” under the project and select the “Manage NuGet Packages…” to add the Aspose.Cells library.
- Enter keywords for filtering and install the latest Aspose.Cells library. Simultaneously dependent libraries such as SkiaSharp will also be installed together.
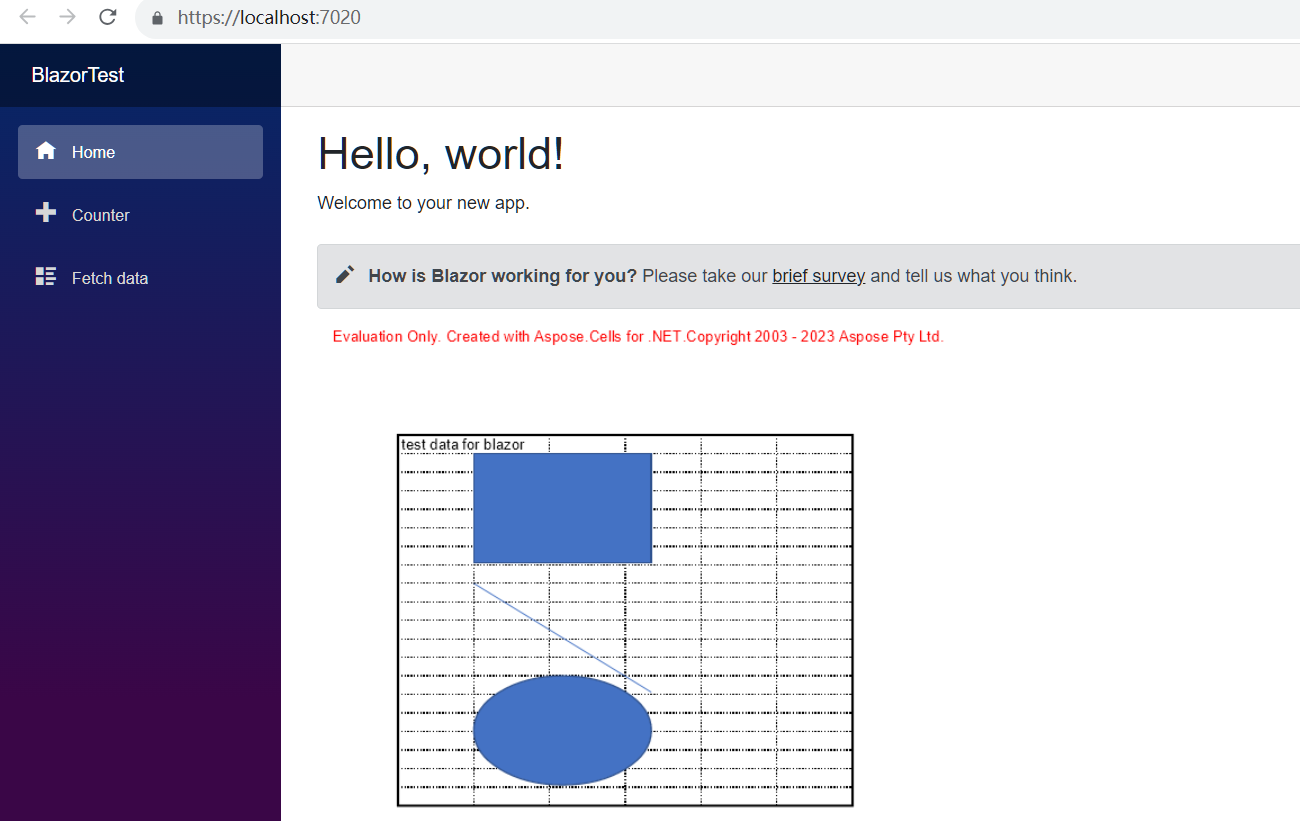
- Double click on the “Index.razor” file to edit and import the required library. Add some data and graphics, and render them into graphics for display.
- Compile and run the project, and you will get the following results.
Sample Code in Blazor Sever Application
The following sample code is included in the Index.razor file:
@page "/"
@using SkiaSharp;
@using Aspose.Cells;
@using Aspose.Cells.Drawing;
@using Aspose.Cells.Rendering;


<PageTitle>Index</PageTitle>

<h1>Hello, world!</h1>

Welcome to your new app.

<SurveyPrompt Title="How is Blazor working for you?" />

<img src="@imageSrc" />

@code
{
    private string imageSrc;

    public Index()
    {
        imageSrc = "data:image/png;base64, " + Convert.ToBase64String(CreateFile());
    }

    private byte[] CreateFile()
    {
        Workbook workbook = new Workbook();
        Worksheet sheet = workbook.Worksheets[0];
        sheet.Cells["A1"].Value = "test data for blazor";

        sheet.PageSetup.PrintGridlines = true;
        sheet.PageSetup.PrintArea = "A1:F20";

        ShapeCollection shapes = sheet.Shapes;

        //Add rectangle shape
        shapes.AddRectangle(1, 0, 1, 0, 100, 150);

        //Add line shape
        shapes.AddLine(8, 0, 1, 0, 100, 150);

        //Add oval shape
        shapes.AddOval(13, 0, 1, 0, 100, 150);

        using MemoryStream ms = new();

        SheetRender render = new SheetRender(sheet, new ImageOrPrintOptions());
        render.ToImage(0, ms);

        return ms.ToArray();
    }
}