
Installation
Overview
Aspose.Slides for C++ is distributed in two forms:
| Form | Use it for | Where to get it |
|---|---|---|
| NuGet packages: Aspose.Slides.Cpp (64-bit) and Aspose.Slides.Cpp.x86 (32-bit) | Visual Studio C++ projects on Windows | NuGet |
| ZIP packages for Windows, Linux, and macOS | Builds without NuGet, such as CMake projects | The download page |
This article shows how to install the NuGet package in Visual Studio on Windows and how to use the ZIP package with CMake on Linux. Both routes end with the same check: build and run the first example in Create Presentations.
Windows
On Windows, add the NuGet package to a Visual Studio C++ project. The package also installs its dependency, CodePorting.Translator.Cs2Cpp.Framework, and copies the DLLs that your program needs to the build output folder.
Choose the package by the platform you build for: Aspose.Slides.Cpp for x64, and Aspose.Slides.Cpp.x86 for Win32 (x86). The Aspose.Slides.Cpp package is not applied to a Win32 build, so the compiler cannot find its headers there.
A Windows ZIP package is also available from the download page.
Method 1: Install or Update Aspose.Slides from the NuGet Package Manager
- Open Microsoft Visual Studio.
- Create a C++ Console App project, or open an existing project.
- In Solution Explorer, right-click the project and select Manage NuGet Packages (or go to Project > Manage NuGet Packages).
- Under Browse, search for Aspose.Slides.Cpp.
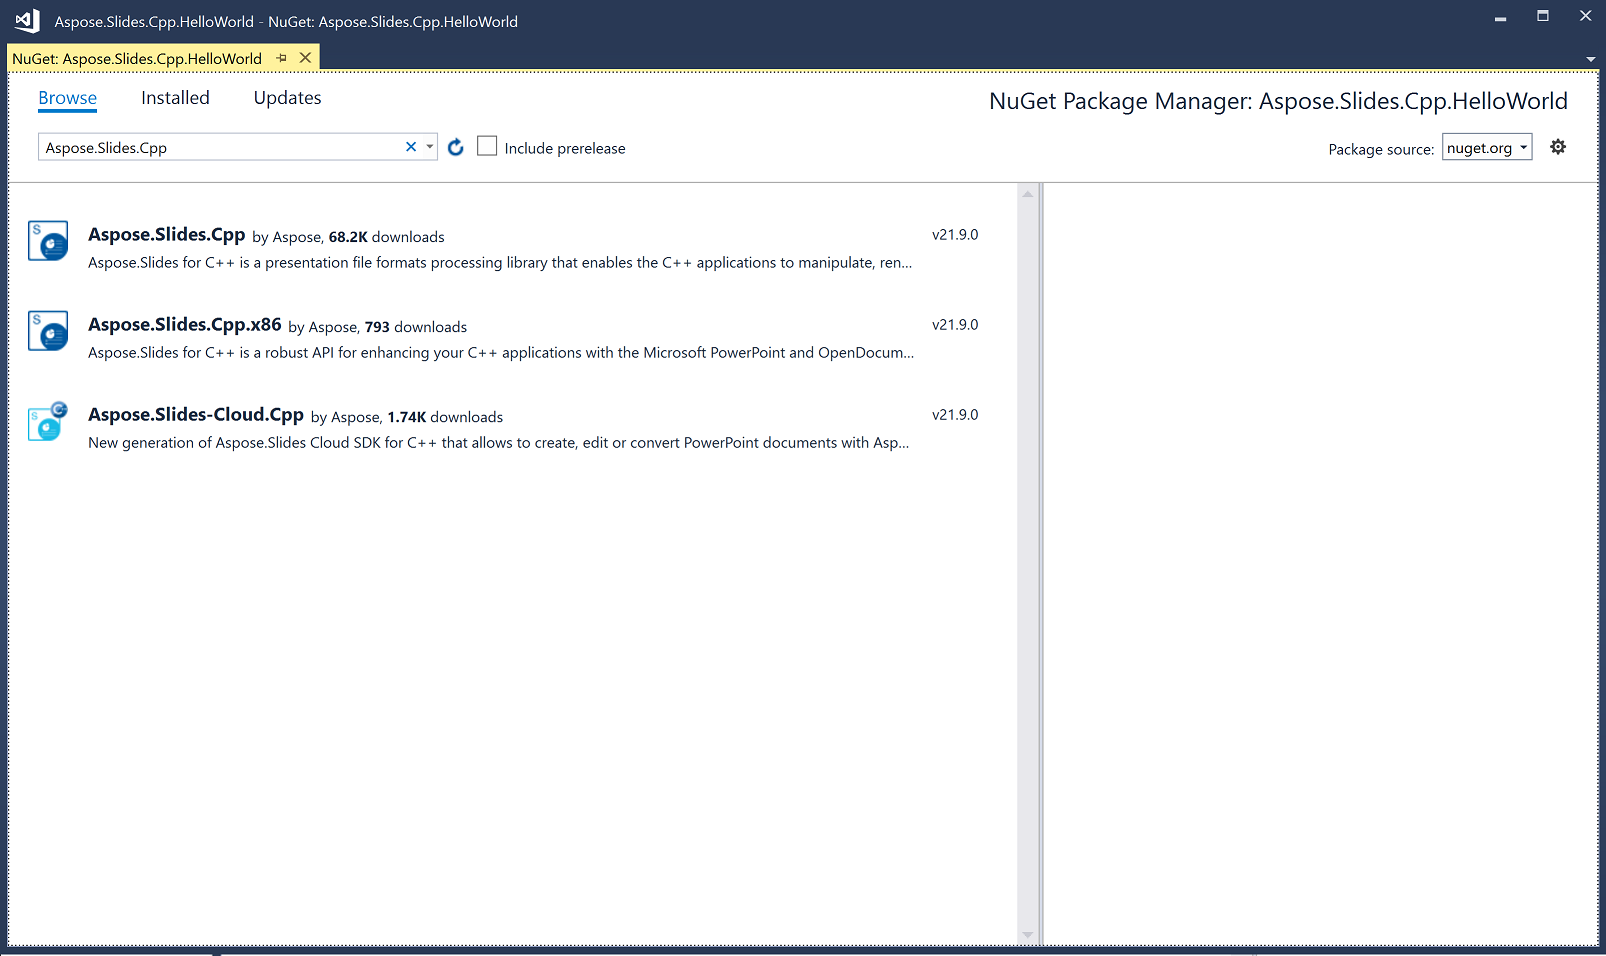
- Click Aspose.Slides.Cpp (or Aspose.Slides.Cpp.x86 for a 32-bit build) and then click Install.
- If you already installed Aspose.Slides and want to update it, click Update instead.
The package is downloaded and referenced in your project.
Method 2: Install or Update Aspose.Slides Through the Package Manager Console
-
Open Microsoft Visual Studio.
-
Create a C++ Console App project, or open an existing project.
-
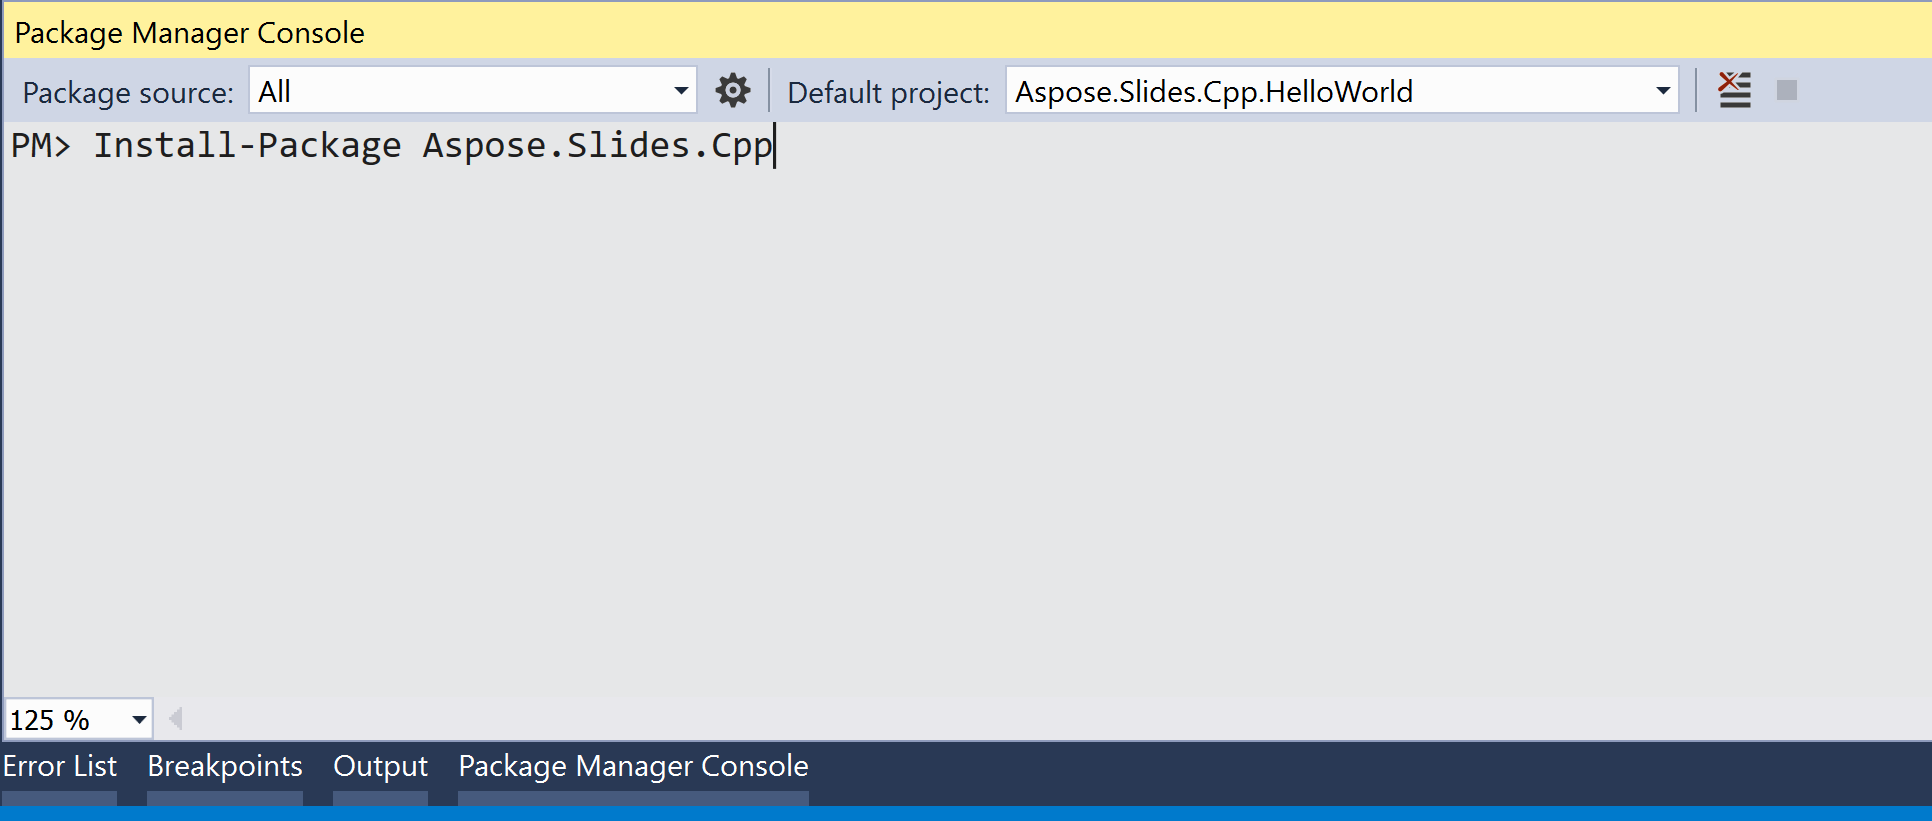
Go to Tools > NuGet Package Manager > Package Manager Console.

-
Run this command:
Install-Package Aspose.Slides.CppFor a 32-bit (Win32) build, install the x86 package instead:
Install-Package Aspose.Slides.Cpp.x86
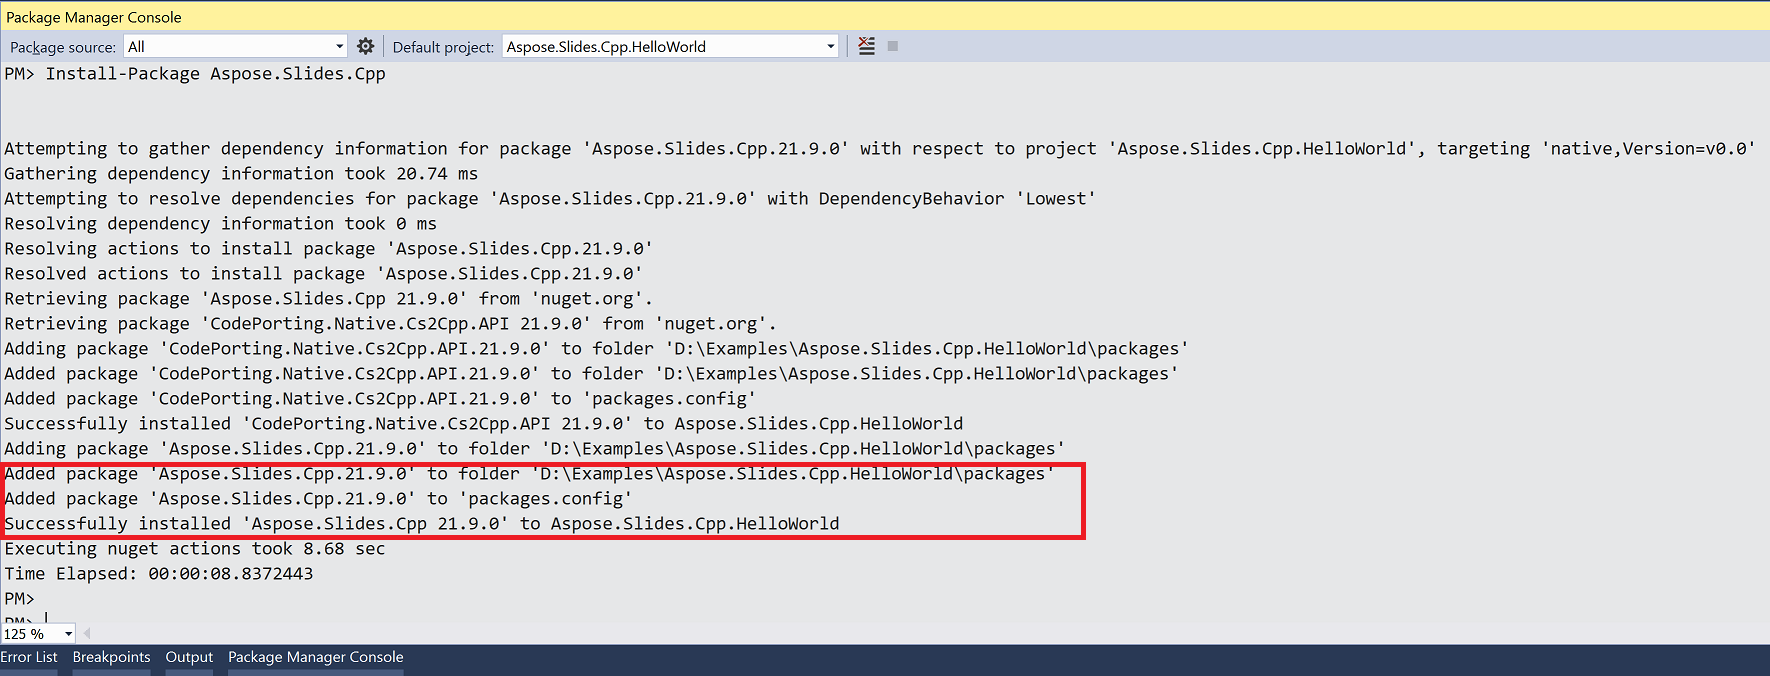
When the installation completes, confirmation messages appear. The package is distributed under the Aspose EULA.
To update the package, run Update-Package Aspose.Slides.Cpp (or Update-Package Aspose.Slides.Cpp.x86) in the Package Manager Console.
Check the Installation
- Replace the contents of the project’s main .cpp file (the file that contains
main) with the first example in Create Presentations. - In the toolbar, select the x64 platform, or x86 if you installed Aspose.Slides.Cpp.x86.
- Press Ctrl+F5 to build and run the program.
The program saves hello.pptx in the project folder, which is the default working directory when Visual Studio runs a program.
Linux
On Linux, use the Linux ZIP package with CMake. It contains the Aspose.Slides library, its dependency CodePorting.Translator.Cs2Cpp.Framework, and a CMake configuration file for each of them. The libraries are built for x86_64 Linux with glibc 2.23 or later.
-
Install a C++ compiler, make, CMake, unzip, and the fontconfig library, which the Aspose.Slides libraries depend on. On Debian and Ubuntu:
sudo apt-get update && sudo apt-get install -y g++ make cmake unzip libfontconfig1 -
Create a project folder and go to it:
mkdir hello-slides cd hello-slides -
Download the Linux ZIP (Aspose.Slides for C++ Linux) from the download page to the project folder, and unzip it into the aspose-slides-cpp subfolder:
unzip aspose-slides-cpp-linux-*.zip -d aspose-slides-cpp -
Create a file named CMakeLists.txt in the project folder with this content:
cmake_minimum_required(VERSION 3.13)
project(HelloSlides CXX)

set(CMAKE_CXX_STANDARD 14)
set(CMAKE_CXX_STANDARD_REQUIRED ON)

set(ASPOSE_SLIDES_DIR "${CMAKE_CURRENT_SOURCE_DIR}/aspose-slides-cpp")
find_package(CodePorting.Translator.Cs2Cpp.Framework REQUIRED CONFIG PATHS "${ASPOSE_SLIDES_DIR}" NO_DEFAULT_PATH)
find_package(Aspose.Slides.Cpp REQUIRED CONFIG PATHS "${ASPOSE_SLIDES_DIR}" NO_DEFAULT_PATH)

add_executable(hello main.cpp)
target_link_libraries(hello PRIVATE Aspose.Slides.Cpp)
The two
find_packagecalls load the CMake configuration files from the unzipped package. The framework is found first because Aspose.Slides depends on it. Linking theAspose.Slides.Cpptarget adds the include folders and both libraries to the build. -
Save the first example in Create Presentations as main.cpp in the project folder.
-
Build and run the program:
cmake -S . -B build -DCMAKE_BUILD_TYPE=Release
cmake --build build
./build/hello
The program saves hello.pptx in the current folder. CMake records the location of the libraries in the program, so you do not need to set LD_LIBRARY_PATH while the aspose-slides-cpp folder stays in place.
The fonts used in your presentations, or suitable substitutes, must be installed on the system for text to render correctly when you convert slides to PDF or images.
FAQ
Is there a free version or trial limitation?
Yes. Without a license, Aspose.Slides runs in evaluation mode: it adds an evaluation watermark to every slide it saves and truncates text read from presentations. To remove these limitations, apply a valid license.
Why does the compiler report that it cannot open DOM/Presentation.h?
The installed package does not match the platform you build. Aspose.Slides.Cpp applies only to x64 builds, and Aspose.Slides.Cpp.x86 only to Win32 builds. Select the matching platform in Visual Studio, or install the other package.