Analyzing your prompt, please hold on...
An error occurred while retrieving the results. Please refresh the page and try again.
When you want to set the border for a range, you don’t need to set each cell individually. You can set the border on the range. Aspose.Cells offers this feature.
This article provides a sample code that uses Aspose.Cells to set range border.
To set the border of a range in Excel, you can follow these steps:
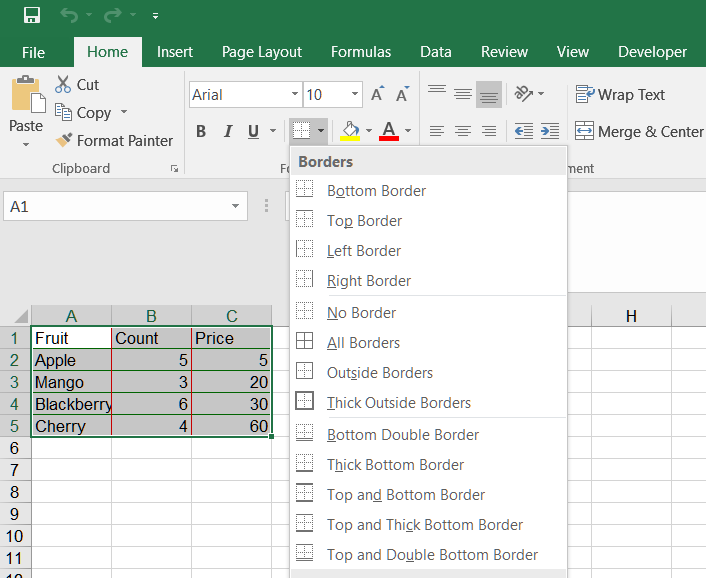
This example shows how to:
Analyzing your prompt, please hold on...
An error occurred while retrieving the results. Please refresh the page and try again.