
ตั้งค่าการบันทึกกิจกรรมของ SMTP Client ใน .NET Core
การบันทึกกิจกรรมใช้สำหรับการดีบัก รวมถึงการเก็บและวิเคราะห์ข้อมูลการทำงานของ SMTP client
เปิดใช้งานการบันทึกกิจกรรม
ใช้ไฟล์ appsettings.json เพื่อเปิดใช้งานการบันทึกกิจกรรม
หมายเหตุ: ตัวเลือกนี้แนะนำสำหรับแอปพลิเคชัน .NET Core.
การบันทึก SmtpClient สามารถเปิดใช้งานได้ด้วยขั้นตอนและตัวอย่างโค้ดต่อไปนี้:
-
เพิ่มไฟล์การกำหนดค่า appsettings.json ไปยังโครงการ C# หากยังไม่ได้เพิ่มมาก่อน
-
ตรวจสอบให้แน่ใจว่าไฟล์โครงการมีบรรทัดต่อไปนี้ในส่วน ItemGroup.
<Content Include="appsettings.json"> <CopyToOutputDirectory>Always</CopyToOutputDirectory> </Content> -
จากนั้นเพิ่มเนื้อหาต่อไปนี้ลงในไฟล์ appsettings.json.
   {
     "SmtpDiagnosticLog": "smtp.log",
     "SmtpDiagnosticLog_UseDate": true
   }
สองคุณสมบัติที่กล่าวถึงข้างต้นคือ:
-
SmtpDiagnosticLog - ระบุพาธสัมพันธ์หรือพาธเต็มของไฟล์บันทึก
-
SmtpDiagnosticLog_UseDate - ระบุว่าจะเพิ่มสตริงที่แสดงวันที่ปัจจุบันลงในชื่อไฟล์บันทึกหรือไม่
เปิดใช้งานการบันทึกกิจกรรมในโค้ดโปรแกรม
คุณยังสามารถเปิดการบันทึกได้ทันทีในโค้ด.
หมายเหตุ: แม้ว่าคุณจะเปิดการบันทึกแล้วโดยใช้ไฟล์การกำหนดค่า ตัวเลือกนี้ยังคงถูกนำไปใช้.
การบันทึก SmtpClient สามารถเปิดใช้งานได้ด้วยขั้นตอนและตัวอย่างโค้ดต่อไปนี้:
- สร้าง SmtpClient.
- ตั้งค่าพาธไปยังไฟล์บันทึกโดยใช้ LogFileName คุณสมบัติ.
- ตั้งค่า UseDateInLogFileName คุณสมบัติหากจำเป็น.
   using (var client = new SmtpClient("your smtp server"))
   {
       // Set username, password, port, and security options
       client.Username = "your username";
       client.Password = "your password";
       client.Port = 465;
       client.SecurityOptions = SecurityOptions.SSLImplicit;

       // Set the path to the log file using the LogFileName property.
       client.LogFileName = @"C:\Aspose.Email.Smtp.log";

       // Set the UseDateInLogFileName property if it is necessary.
       client.UseDateInLogFileName = false;

       var eml = new MailMessage("from address", "to address", "this is a test subject", "this is a test body");

       client.Send(eml);
   }
ใช้ไฟล์ App.config เพื่อเปิดใช้งานการบันทึกกิจกรรม
กิจกรรมของ SMTP client สามารถบันทึกได้โดยการแก้ไข configSections ในไฟล์ config การบันทึกการวินิจฉัยสามารถทำได้ตามขั้นตอนต่อไปนี้:
- เพิ่มกลุ่มส่วนที่ชื่อว่า "applicationSettings".
- เพิ่มส่วนที่ชื่อว่า "Aspose.Email.Properties.Settings".
- รวมการตั้งค่าชื่อ SmtpDiagonosticLog ที่ซึ่งชื่อไฟล์ถูกกำหนดใน applicationSettings/Aspose.Email.Properties.Settings
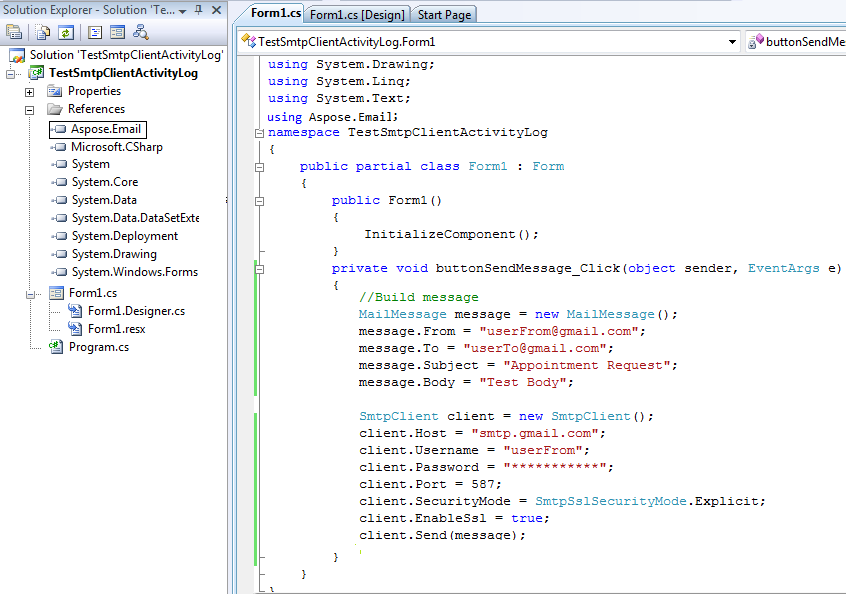
นี่คือตัวอย่างแอปพลิเคชันแบบฟอร์มที่ใช้ SmtpClient เพื่อส่งอีเมล กิจกรรมทั้งหมดนี้จะถูกบันทึกโดยการแก้ไขไฟล์ App.config สร้างแอปพลิเคชันฟอร์มที่มีปุ่มเดียวบนฟอร์ม เพิ่มโค้ดต่อไปนี้สำหรับเหตุการณ์คลิกของปุ่ม:
// Build message
MailMessage message = new MailMessage();

// Set email address for From and TO
message.From = "userFrom@gmail.com";
message.To = "userTo@gmail.com";

// Set Subject and Body
message.Subject = "Appointment Request";
message.Body = "Test Body";

// Initialize SmtpClient and Set valid user name and password, Port and SecurityOptions
SmtpClient client = new SmtpClient();
client.Host = "smtp.gmail.com";
client.Username = "userFrom";
client.Password = "***********";
client.Port = 587;
client.SecurityOptions = SecurityOptions.SSLExplicit;
try
{
    client.Send(message);
}
catch(Exception ex)
{
    Console.WriteLine(ex.Message);
}
- เพิ่มการอ้างอิงไปยัง Aspose.Email.
 |
|---|
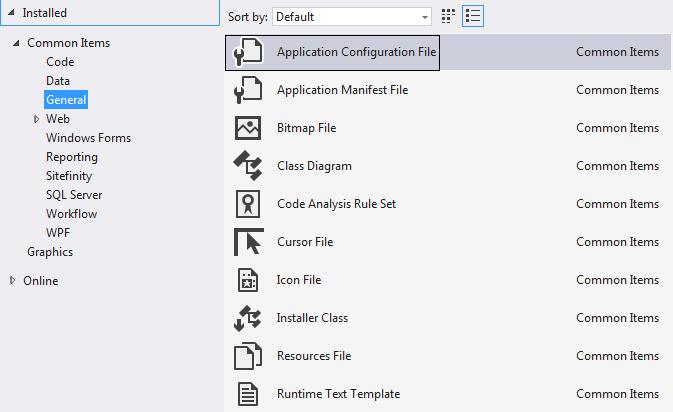
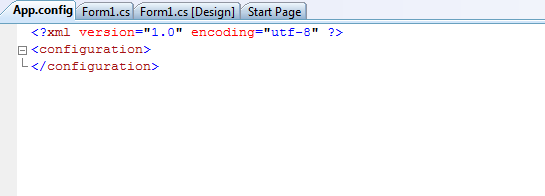
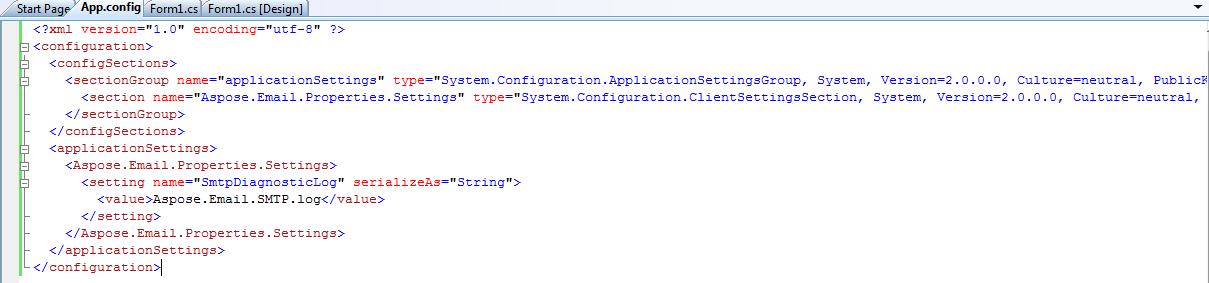
- เพิ่มไฟล์ App.Config และแก้ไขให้เนื้อหาไฟล์เป็นดังต่อไปนี้
<configuration>
   <configSections>
    <sectionGroup name="applicationSettings" type="System.Configuration.ApplicationSettingsGroup, System, Version=2.0.0.0, Culture=neutral, PublicKeyToken=b77a5c561934e089" >
      <section name="Aspose.Email.Properties.Settings" type="System.Configuration.ClientSettingsSection, System, Version=2.0.0.0, Culture=neutral, PublicKeyToken=b77a5c561934e089" requirePermission="false" />
    </sectionGroup>
  </configSections>
  <applicationSettings>
    <Aspose.Email.Properties.Settings>
      <setting name="SmtpDiagnosticLog" serializeAs="String">
        <value>Aspose.Email.SMTP.log</value>
      </setting>
    </Aspose.Email.Properties.Settings>
</applicationSettings>
</configuration>
- สำหรับ C# .NET ใช้ตัวเลือกต่อไปนี้
 |
|---|
- สำหรับ VB .NET ใช้ตัวเลือกต่อไปนี้
|
 |
|---|
 |
|---|
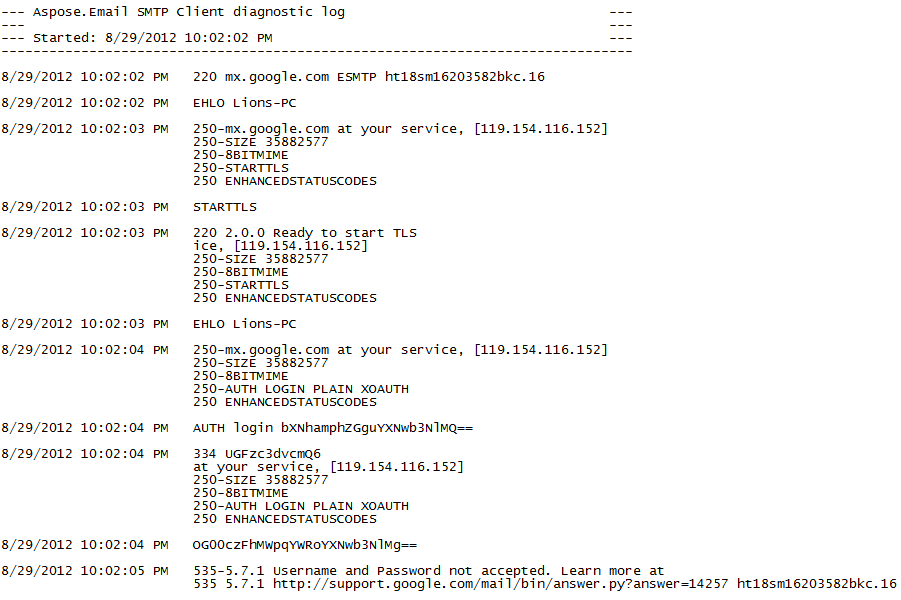
- รันโค้ดแล้วตรวจสอบโฟลเดอร์ debug ไฟล์ต่อไปนี้จะถูกสร้างขึ้น
 |
|---|