Python에서 Tagged PDF 생성
Tagged PDF를 생성한다는 것은 문서에 특정 요소를 추가(또는 생성)하여 PDF/UA 요구 사항에 따라 문서를 검증할 수 있게 만드는 것을 의미합니다. 이러한 요소는 흔히 Structure Elements라고 불립니다.
태그된 PDF 만들기 (간단한 시나리오)
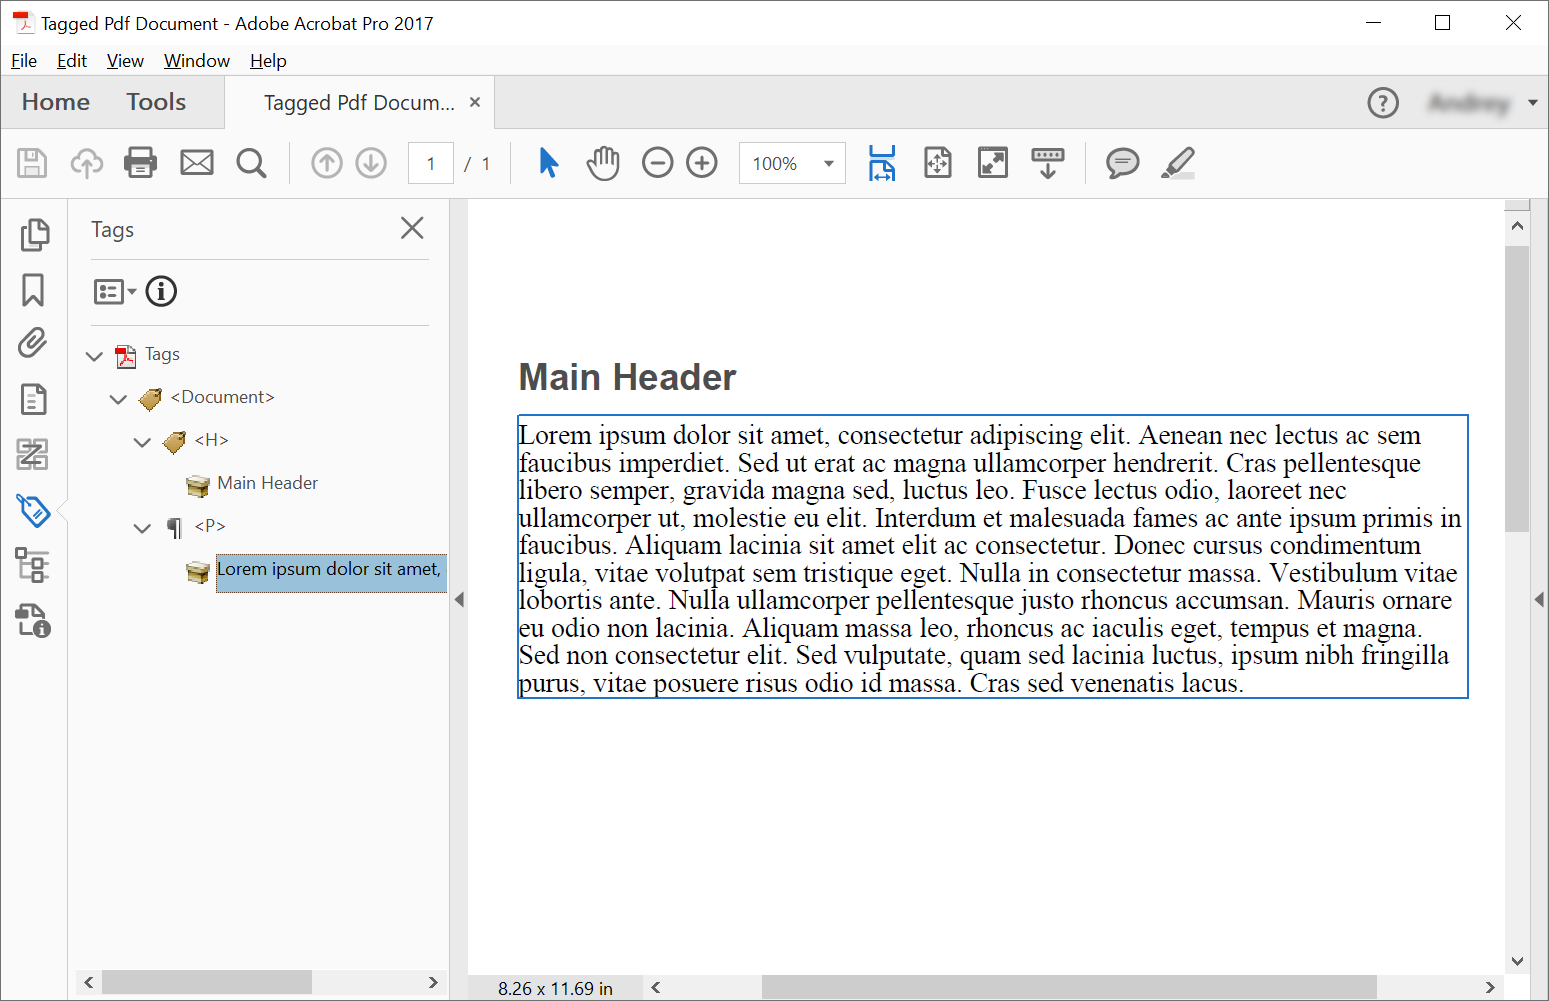
Tagged PDF 문서에서 구조 요소를 만들기 위해, Aspose.PDF는 구조 요소를 만들기 위한 메서드를 제공한다 using the ITaggedContent 인터페이스. 이 예제는 의미 구조를 가진 Tagged PDF 문서를 생성합니다 — 의미 구조를 갖는 PDF로, 접근성을 높이고 PDF/UA와 같은 표준을 준수합니다. 다음 코드 스니펫은 헤더와 단락이라는 2개의 요소를 포함하는 Tagged PDF를 만드는 방법을 보여줍니다.
import aspose.pdf as ap
import sys
from os import path

def create_tagged_pdf_document_simple(outfile):

    # Create PDF Document
    with ap.Document() as document:
        # Get Content for working with TaggedPdf
        tagged_content = document.tagged_content
        root_element = tagged_content.root_element

        # Set Title and Language for Document
        tagged_content.set_title("Tagged Pdf Document")
        tagged_content.set_language("en-US")
        main_header = tagged_content.create_header_element()
        main_header.set_text("Main Header")
        paragraph_element = tagged_content.create_paragraph_element()
        paragraph_element.set_text(
            "Lorem ipsum dolor sit amet, consectetur adipiscing elit. "
            + "Aenean nec lectus ac sem faucibus imperdiet. Sed ut erat ac magna ullamcorper hendrerit. "
            + "Cras pellentesque libero semper, gravida magna sed, luctus leo. Fusce lectus odio, laoreet "
            + "nec ullamcorper ut, molestie eu elit. Interdum et malesuada fames ac ante ipsum primis in faucibus. "
            + "Aliquam lacinia sit amet elit ac consectetur. Donec cursus condimentum ligula, vitae volutpat "
            + "sem tristique eget. Nulla in consectetur massa. Vestibulum vitae lobortis ante. Nulla ullamcorper "
            + "pellentesque justo rhoncus accumsan. Mauris ornare eu odio non lacinia. Aliquam massa leo, rhoncus "
            + "ac iaculis eget, tempus et magna. Sed non consectetur elit. Sed vulputate, quam sed lacinia luctus, "
            + "ipsum nibh fringilla purus, vitae posuere risus odio id massa. Cras sed venenatis lacus."
        )
        root_element.append_child(main_header, True)
        root_element.append_child(paragraph_element, True)

        # Save Tagged PDF Document
        document.save(outfile)
Tagged PDF 만들기 (고급)
import aspose.pdf as ap
import sys
from os import path

def create_tagged_pdf_document_adv(outfile):
    # Create PDF Document
    with ap.Document() as document:
        # Get Content for working with TaggedPdf
        tagged_content = document.tagged_content
        root_element = tagged_content.root_element

        # Set Title and Language for Document
        tagged_content.set_title("Tagged Pdf Document")
        tagged_content.set_language("en-US")

        # Create Header Level 1
        header1 = tagged_content.create_header_element(1)
        header1.set_text("Header Level 1")

        # Create Paragraph with Quotes
        paragraph_with_quotes = tagged_content.create_paragraph_element()
        paragraph_with_quotes.structure_text_state.font = (
            ap.text.FontRepository.find_font("Arial")
        )
        position_settings = ap.tagged.PositionSettings()
        position_settings.margin = ap.MarginInfo(10, 5, 10, 5)
        paragraph_with_quotes.adjust_position(position_settings)

        # Create Span Element
        span_element1 = tagged_content.create_span_element()
        span_element1.set_text(
            "Lorem ipsum dolor sit amet, consectetur adipiscing elit. Aenean nec lectus ac sem faucibus imperdiet. "
            "Sed ut erat ac magna ullamcorper hendrerit. Cras pellentesque libero semper, gravida magna sed, "
            "luctus leo. Fusce lectus odio, laoreet nec ullamcorper ut, molestie eu elit. Interdum et malesuada "
            "fames ac ante ipsum primis in faucibus. Aliquam lacinia sit amet elit ac consectetur. Donec cursus "
            "condimentum ligula, vitae volutpat sem tristique eget. Nulla in consectetur massa. Vestibulum vitae "
            "lobortis ante. Nulla ullamcorper pellentesque justo rhoncus accumsan. Mauris ornare eu odio non "
            "lacinia. Aliquam massa leo, rhoncus ac iaculis eget, tempus et magna. Sed non consectetur elit."
        )

        # Create Quote Element
        quote_element = tagged_content.create_quote_element()
        quote_element.set_text(
            "Sed vulputate, quam sed lacinia luctus, ipsum nibh fringilla purus, vitae posuere risus odio id massa."
        )
        quote_element.structure_text_state.font_style = (
            ap.text.FontStyles.BOLD | ap.text.FontStyles.ITALIC
        )

        # Create Another Span Element
        span_element2 = tagged_content.create_span_element()
        span_element2.set_text(" Sed non consectetur elit.")

        # Append Children to Paragraph
        paragraph_with_quotes.append_child(span_element1, True)
        paragraph_with_quotes.append_child(quote_element, True)
        paragraph_with_quotes.append_child(span_element2, True)

        # Append Header and Paragraph to Root Element
        root_element.append_child(header1, True)
        root_element.append_child(paragraph_with_quotes, True)

        # Save Tagged PDF Document
        document.save(outfile)
생성 후 다음 문서를 얻게 됩니다:
텍스트 구조 스타일링
Tagged PDFs는 콘텐츠에 접근성 기능 및 의미론적 의미를 제공하는 구조화된 문서입니다.
이 예제는 태그된 콘텐츠 구조를 사용하여 접근성 기능이 포함된 PDF 문서를 생성합니다. 맞춤 스타일링과 적절한 문서 메타데이터를 사용하여 단락 요소를 만드는 방법을 보여줍니다.
import aspose.pdf as ap
import sys
from os import path

def add_style(outfile):

    # Create PDF Document
    with ap.Document() as document:
        # Get Content for work with TaggedPdf
        tagged_content = document.tagged_content

        # Set Title and Language for Document
        tagged_content.set_title("Tagged Pdf Document")
        tagged_content.set_language("en-US")

        paragraph_element = tagged_content.create_paragraph_element()
        tagged_content.root_element.append_child(paragraph_element, True)

        paragraph_element.structure_text_state.font_size = 18.0
        paragraph_element.structure_text_state.foreground_color = ap.Color.red
        paragraph_element.structure_text_state.font_style = ap.text.FontStyles.ITALIC

        paragraph_element.set_text("Red italic text.")

        # Save Tagged PDF Document
        document.save(outfile)
구조 요소 설명
Tagged PDF는 접근성 규정 준수를 위해 필수적이며, 화면 리더 및 기타 보조 기술이 올바르게 해석할 수 있는 구조화된 콘텐츠를 제공합니다. 다음 코드 스니펫은 임베드된 이미지를 포함한 태그된 PDF 문서를 만드는 방법을 보여줍니다:
- 이미지가 포함된 태그된 PDF 만들기.
- 문서를 구성합니다.
- 그림을 만들고 구성합니다.
- 위치를 설정합니다.
- 문서를 저장합니다.
import aspose.pdf as ap
import sys
from os import path

def illustrate_structure_elements(imagefile, outfile):
    # Create PDF Document
    with ap.Document() as document:
        # Get Content for work with TaggedPdf
        tagged_content = document.tagged_content

        # Set Title and Language for Document
        tagged_content.set_title("Tagged Pdf Document")
        tagged_content.set_language("en-US")
        figure1 = tagged_content.create_figure_element()
        tagged_content.root_element.append_child(figure1, True)
        figure1.alternative_text = "Figure One"
        figure1.title = "Image 1"
        figure1.set_tag("Fig1")
        figure1.set_image(imagefile, 300)
        # Adjust position
        position_settings = ap.tagged.PositionSettings()
        margin_info = ap.MarginInfo()
        margin_info.left = 50
        margin_info.top = 20
        position_settings.margin = margin_info
        figure1.adjust_position(position_settings)

        # Save Tagged PDF Document
        document.save(outfile)
Tagged PDF 검증
Aspose.PDF for Python via .NET은 PDF/UA Tagged PDF Document를 검증하는 기능을 제공합니다. ‘validate_tagged_pdf’ 메서드는 PDF 문서를 PDF/UA-1 표준에 따라 검증하는데, 이는 접근 가능한 PDF 문서를 위한 ISO 14289 사양의 일부입니다. 이를 통해 PDF가 장애인 및 보조 기술을 사용하는 사용자에게 접근 가능하도록 보장합니다.
- 문서 구조. 적절한 의미 태깅 및 논리적 구조.
- 대체 텍스트. 이미지 및 비텍스트 요소에 대한 Alt 텍스트.
- 읽기 순서. 화면 판독기를 위한 논리적 순서.
- 색상 및 대비. 충분한 대비 비율.
- Forms. 접근 가능한 FormField 및 레이블.
- 탐색. 적절한 북마크 및 탐색 구조.
import aspose.pdf as ap
import sys
from os import path

def validate_tagged_pdf(infile, logfile):
    # Open PDF document
    with ap.Document(infile) as document:
        is_valid = document.validate(logfile, ap.PdfFormat.PDF_UA_1)
    print(f"Is Valid: {is_valid}")
텍스트 구조의 위치 조정
다음 코드 조각은 Tagged PDF 문서에서 텍스트 구조 위치를 조정하는 방법을 보여줍니다:
import aspose.pdf as ap
import sys
from os import path

def adjust_position(outfile):
    # Create PDF Document
    with ap.Document() as document:
        # Get Content for work with TaggedPdf
        tagged_content = document.tagged_content

        # Set Title and Language for Document
        tagged_content.set_title("Tagged Pdf Document")
        tagged_content.set_language("en-US")

        # Create paragraph
        paragraph = tagged_content.create_paragraph_element()
        tagged_content.root_element.append_child(paragraph, True)
        paragraph.set_text("Text.")

        # Adjust position
        position_settings = ap.tagged.PositionSettings()
        margin_info = ap.MarginInfo()
        margin_info.left = 300
        margin_info.top = 20
        margin_info.right = 0
        margin_info.bottom = 0
        position_settings.margin = margin_info
        position_settings.horizontal_alignment = ap.HorizontalAlignment.NONE
        position_settings.vertical_alignment = ap.VerticalAlignment.NONE
        position_settings.is_first_paragraph_in_column = False
        position_settings.is_kept_with_next = False
        position_settings.is_in_new_page = False
        position_settings.is_in_line_paragraph = False
        paragraph.adjust_position(position_settings)

        # Save Tagged PDF Document
        document.save(outfile)
PDF를 자동 태깅으로 PDF/UA-1로 변환
이 코드 조각은 Aspose.PDF for Python via .NET을 사용하여 표준 PDF를 PDF/UA-1(Universal Accessibility) 준수 파일로 변환하는 방법을 설명합니다.
PDF/UA는 문서가 장애가 있는 사용자에게 접근 가능하고 화면 낭독기와 같은 보조 기술과 호환되도록 보장합니다. 변환 중에 라이브러리는 내장 자동 태깅 및 제목 인식을 사용하여 논리 구조 트리를 자동으로 생성하고 의미 태그를 적용할 수 있습니다.
PdfFormatConversionOptions를 구성하고 AutoTaggingSettings를 활성화하면 구조를 수동으로 편집하지 않고도 기존 PDF를 효율적으로 접근 가능한 문서로 변환할 수 있습니다.
- 소스 문서를 로드합니다.
- PDF/UA 변환 옵션을 생성합니다.
- 자동 태깅을 활성화합니다.
- 헤딩 인식을 구성합니다.
- 태깅 구성을 변환 옵션에 첨부하십시오.
- 변환 프로세스를 실행하십시오.
- 접근 가능한 PDF를 저장하십시오.
import aspose.pdf as ap
import sys
from os import path

def convert_to_pdf_ua_with_automatic_tagging(infile, outfile, logfile):
    # Create PDF Document
    with ap.Document(infile) as document:
        # Create conversion options
        options = ap.PdfFormatConversionOptions(
            logfile, ap.PdfFormat.PDF_UA_1, ap.ConvertErrorAction.DELETE
        )
        # Create auto-tagging settings
        # aspose.pdf.AutoTaggingSettings.default may be used to set the same settings as given below
        auto_tagging_settings = ap.AutoTaggingSettings()
        # Enable auto-tagging during the conversion process
        auto_tagging_settings.enable_auto_tagging = True
        # Use the heading recognition strategy that's optimal for the given document structure
        auto_tagging_settings.heading_recognition_strategy = (
            ap.HeadingRecognitionStrategy.AUTO
        )
        # Assign auto-tagging settings to be used during the conversion process
        options.auto_tagging_settings = auto_tagging_settings
        # During the conversion, the document logical structure will be automatically created
        document.convert(options)
        # Save PDF document
        document.save(outfile)
접근 가능한 서명 양식 필드가 있는 태그된 PDF 만들기
- 새 PDF 문서를 만듭니다.
- 태그가 지정된 콘텐츠에 액세스합니다.
- 서명 Form 필드를 생성합니다.
- 필드를 AcroForm에 추가하십시오.
- 태그 구조에 폼 요소를 생성하십시오.
- Structure element를 Form field에 연결합니다.
- Form 요소를 논리 구조 트리에 추가합니다.
- 문서를 저장합니다.
import aspose.pdf as ap
import sys
from os import path

def create_pdf_with_tagged_form_field(outfile):
    # Create PDF document
    with ap.Document() as document:
        document.pages.add()
        # Get Content for work with TaggedPdf
        tagged_content = document.tagged_content
        root_element = tagged_content.root_element
        # Create a visible signature form field (AcroForm)
        signature_field = ap.forms.SignatureField(
            document.pages[1], ap.Rectangle(50, 50, 100, 100, True)
        )
        signature_field.partial_name = "Signature1"
        signature_field.alternate_name = "signature 1"

        # Add the signature field to the document's AcroForm
        document.form.add(signature_field)

        # Create a /Form structure element in the tag tree
        form = tagged_content.create_form_element()
        form.alternative_text = "form 1"

        # Link the /Form tag to the signature field via an /OBJR reference
        form.tag(signature_field)

        # Add the /Form structure element to the document’s logical structure tree
        root_element.append_child(form, True)

        # Save PDF document
        document.save(outfile)
목차(TOC) 페이지가 포함된 태그된 PDF 만들기
이 예제에서는 Aspose.PDF for Python via .NET을 사용하여 구조화된 Table of Contents (TOC) 페이지가 포함된 Tagged PDF 문서를 만드는 방법을 보여줍니다.
- 새 PDF 문서를 만듭니다.
- 전용 목차 페이지를 생성하십시오.
- 논리 구조 트리에서 TOC 요소를 생성하고 등록합니다.
- 콘텐츠 페이지를 추가합니다.
- 헤더 요소를 생성합니다.
- /TOCI 요소를 생성합니다.
- 헤더를 TOC에 연결합니다.
- 문서를 저장합니다.
import aspose.pdf as ap
import sys
from os import path

def create_pdf_with_toc_page(outfile):
    # Create PDF document
    with ap.Document() as document:
        # Get tagged content for the PDF structure
        content = document.tagged_content
        root_element = content.root_element
        content.set_language("en-US")
        # Add the table of contents (TOC) page
        toc_page = document.pages.add()
        toc_page.toc_info = ap.TocInfo()
        # Create a TOC structure element
        toc_element = content.create_toc_element()
        # Add the TOC element to the document structure tree
        root_element.append_child(toc_element, True)
        # Add a content page
        document.pages.add()
        # Create a header element and set its text
        header = content.create_header_element(1)
        header.set_text("1. Header")
        # Add the header to the document structure
        root_element.append_child(header, True)
        # Create a TOC item (TOCI) element
        toci = content.create_toci_element()
        # Add the TOCI element to the TOC element
        toc_element.append_child(toci, True)
        # Add an entry to the TOC page and link it to the TOCI element
        header.add_entry_to_toc_page(toc_page, toci)
        # Add a logical reference to the header within the TOCI element
        toci.add_ref(header)
        # Save PDF document
        document.save(outfile)
계층형 목차(TOC)가 포함된 고급 태그 PDF 만들기
Aspose.PDF for Python via .NET를 사용하면 구조화되고 계층적인 목차(TOC)가 포함된 고급 완전 태그된 PDF 문서를 만들 수 있습니다.
- 문서를 생성하고 Tagged 콘텐츠를 활성화합니다.
- TOC 페이지를 추가하고 구성합니다.
- /TOC 구조 요소를 생성합니다.
- 목차 페이지 제목을 헤더 요소에 연결합니다.
- 주요 내용 페이지와 첫 번째 헤더를 추가합니다.
- 헤더에 대한 TOC 항목을 생성하십시오.
- 목록 구조로 중첩된 하위 섹션을 만들기.
- 두 번째 최상위 섹션을 추가합니다.
- 문서를 저장합니다.
import aspose.pdf as ap
import sys
from os import path

def create_pdf_with_toc_page_advanced(outfile):
    # Create PDF document
    with ap.Document() as document:
        # Get tagged content for the PDF structure
        content = document.tagged_content
        root_element = content.root_element
        content.set_language("en-US")
        # Add the table of contents (TOC) page
        toc_page = document.pages.add()
        toc_page.toc_info = ap.TocInfo()
        toc_page.toc_info.title = ap.text.TextFragment("Table of Contents")
        # Create a TOC structure element
        toc_element = content.create_toc_element()
        # Create a header element for the TOC page title
        header_for_toc_page_title = content.create_header_element(1)
        toc_element.link_toc_page_title_to_header_element(
            toc_page, header_for_toc_page_title
        )
        # Add the TOC page title header and TOC element to the document structure tree
        root_element.append_child(header_for_toc_page_title, True)
        root_element.append_child(toc_element, True)
        # Add a content page
        document.pages.add()
        # Create a header element and set its text
        header = content.create_header_element(1)
        header.set_text("1. Header")
        # Add the header to the document structure
        root_element.append_child(header, True)
        # Create a TOC item (TOCI) element
        toci = content.create_toci_element()
        # Add the TOCI element to the TOC element
        toc_element.append_child(toci, True)
        # Add an entry to the TOC page and link it to the TOCI element
        header.add_entry_to_toc_page(toc_page, toci)
        # Add a logical reference to the header within the TOCI element
        toci.add_ref(header)
        # Create a list element for TOCI subitems
        list_element = content.create_list_element()
        for i in range(1, 4):
            # Create a list item (LI) element
            li = content.create_list_li_element()
            # Add the list item to the list element
            list_element.append_child(li, True)
            # Create a sub-header element and set its properties
            sub_header = content.create_header_element(2)
            sub_header.structure_text_state.font_size = 14
            sub_header.language = "en-US"
            sub_header.set_text(f"1.{i} subheader ")
            # Add an entry to the TOC page and link it to the LI element
            sub_header.add_entry_to_toc_page(toc_page, li)
            # Add a logical reference to the subheader element
            li.add_ref(sub_header)
            # Create a paragraph element and set its text and language
            p = content.create_paragraph_element()
            p.set_text(
                "Lorem ipsum dolor sit amet, consectetur adipiscing elit, sed do eiusmod tempor incididunt ut labore et dolore magna aliqua. Ut enim ad minim veniam, quis nostrud exercitation ullamco laboris nisi ut aliquip ex ea commodo consequat. Duis aute irure dolor in reprehenderit in voluptate velit esse cillum dolore eu fugiat nulla pariatur. Excepteur sint occaecat cupidatat non proident, sunt in culpa qui officia deserunt mollit anim id est laborum."
            )
            p.language = "en-US"
            # Add the sub-header and paragraph to the document structure
            root_element.append_child(sub_header, True)
            root_element.append_child(p, True)
        # Add the list element as a child to the TOCI element
        toci.append_child(list_element, True)
        # --- Additional TOC header example ---
        # Create a second header element (see comments above for header 1)
        header2 = content.create_header_element(1)
        header2.set_text("2. Header")
        root_element.append_child(header2, True)

        toci2 = content.create_toci_element()
        toc_element.append_child(toci2, True)

        header2.add_entry_to_toc_page(toc_page, toci2)
        toci2.add_ref(header2)
        # Save the PDF document
        document.save(outfile)
관련 Tagged PDF 주제
- Tagged PDF에서 태그된 콘텐츠 추출 생성 후 논리 구조 트리를 검사하기 위해
- 구조 요소 속성 설정 제목, 언어, 대체 텍스트 및 확장 텍스트를 다듬기 위해.
- 태그된 PDF에서 테이블 작업 접근 가능한 문서에 구조화된 표가 포함된 경우.