
WordArt-Effekte auf Android erstellen und anwenden
Übersicht
WordArt‑Effekte ermöglichen das Gestalten von Text mit Füllungen, Konturen, Schatten, Reflexionen, Leuchten, Transformationen und 3D‑Formatierung. Dieser Artikel erklärt, wie diese Effekte in PowerPoint‑Präsentationen mit Aspose.Slides für Android via Java erstellt und angepasst werden, ohne dass Microsoft Office installiert sein muss.
Erstellen einer einfachen WordArt‑Vorlage und Anwenden auf Text
Die folgenden Beispiele erstellen einen einfachen WordArt‑Stil, indem sie den Text, die Schrift, die Musternfüllung und die Kontur festlegen.
Jedes Beispiel erstellt eine neue Präsentation und fügt ihrer ersten Folie ein Rechteck hinzu; eine Eingabedatei ist nicht erforderlich. Das erste Beispiel setzt den Text auf “Aspose.Slides”. Die Position und Abmessungen der Form werden in Punkten gemessen:
import com.aspose.slides.*;

Presentation presentation = new Presentation();
try {
    ISlide slide = presentation.getSlides().get_Item(0);

    IAutoShape autoShape = slide.getShapes().addAutoShape(ShapeType.Rectangle, 20, 20, 400, 200);
    ITextFrame textFrame = autoShape.getTextFrame();

    IPortion portion = textFrame.getParagraphs().get_Item(0).getPortions().get_Item(0);
    portion.setText("Aspose.Slides");
} finally {
    presentation.dispose();
}
Setzen Sie die Schrift auf Arial Black mit 36 Punkten, um die Formatierung deutlicher zu machen:
import com.aspose.slides.*;

Presentation presentation = new Presentation();
try {
    ISlide slide = presentation.getSlides().get_Item(0);

    IAutoShape autoShape = slide.getShapes().addAutoShape(ShapeType.Rectangle, 20, 20, 400, 200);

    IPortion portion = autoShape.getTextFrame().getParagraphs().get_Item(0).getPortions().get_Item(0);
    portion.setText("Aspose.Slides");
    FontData font = new FontData("Arial Black");
    portion.getPortionFormat().setLatinFont(font);
    portion.getPortionFormat().setFontHeight(36);
} finally {
    presentation.dispose();
}
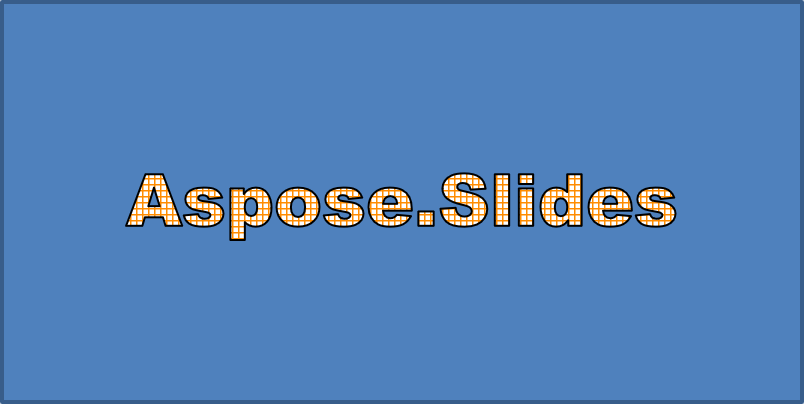
Wenden Sie ein SmallGrid‑Muster mit einem dunkelorangefarbenen Vordergrund und einem weißen Hintergrund an und fügen Sie dann eine schwarze Textkontur mit einer Breite von 1 Punkt hinzu:
import com.aspose.slides.*;
import android.graphics.Color;

Presentation presentation = new Presentation();
try {
    ISlide slide = presentation.getSlides().get_Item(0);

    IAutoShape autoShape = slide.getShapes().addAutoShape(ShapeType.Rectangle, 20, 20, 400, 200);

    IPortion portion = autoShape.getTextFrame().getParagraphs().get_Item(0).getPortions().get_Item(0);
    portion.setText("Aspose.Slides");
    FontData font = new FontData("Arial Black");
    portion.getPortionFormat().setLatinFont(font);
    portion.getPortionFormat().setFontHeight(36);

    portion.getPortionFormat().getFillFormat().setFillType(FillType.Pattern);
    int darkOrange = Color.rgb(255, 140, 0);
    portion.getPortionFormat().getFillFormat().getPatternFormat().getForeColor().setColor(darkOrange);
    portion.getPortionFormat().getFillFormat().getPatternFormat().getBackColor().setColor(Color.WHITE);
    portion.getPortionFormat().getFillFormat().getPatternFormat().setPatternStyle(PatternStyle.SmallGrid);

    portion.getPortionFormat().getLineFormat().setWidth(1);
    portion.getPortionFormat().getLineFormat().getFillFormat().setFillType(FillType.Solid);
    portion.getPortionFormat().getLineFormat().getFillFormat().getSolidFillColor().setColor(Color.BLACK);
} finally {
    presentation.dispose();
}
Der resultierende Text:
Weitere WordArt‑Effekte anwenden
Die folgenden Beispiele demonstrieren, wie Schatten, Reflexionen, Leuchten, Transformationen und 3D‑Effekte auf Text angewendet werden.
Äußere Schatteneffekte anwenden
Ein äußerer Schatten verleiht Tiefe, indem er hinter dem Text platziert wird. Sie können seine Farbe, Richtung, Entfernung, Unschärferadius, Skalierung und Schrägstellung anpassen.
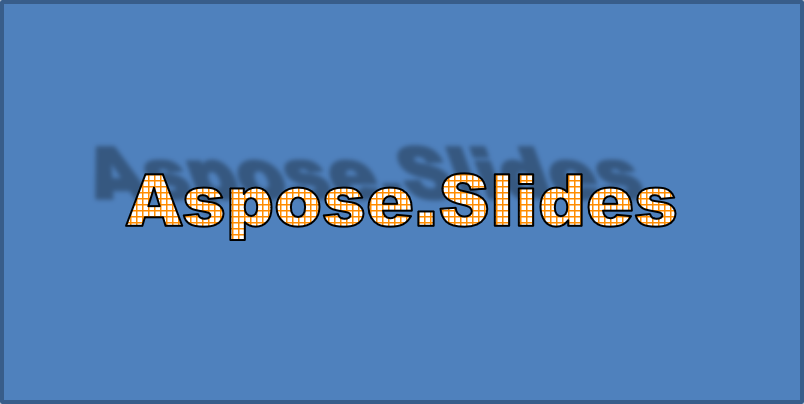
Dieses Beispiel ruft enableOuterShadowEffect auf und setzt einen schwarzen Schatten mit einem Unschärferadius von 4 Punkten, einer Richtung von 230 Grad und einer Entfernung von 30 Punkten. Skalierungswerte von 100 erhalten die Schattengröße, während eine horizontale Schrägstellung ihn um 20 Grad neigt. Die Alpha‑Transformation setzt die Deckkraft auf 32 %:
import com.aspose.slides.*;
import android.graphics.Color;

Presentation presentation = new Presentation();
try {
    ISlide slide = presentation.getSlides().get_Item(0);

    IAutoShape autoShape = slide.getShapes().addAutoShape(ShapeType.Rectangle, 20, 20, 400, 200);

    IPortion portion = autoShape.getTextFrame().getParagraphs().get_Item(0).getPortions().get_Item(0);
    portion.setText("Aspose.Slides");
    FontData font = new FontData("Arial Black");
    portion.getPortionFormat().setLatinFont(font);
    portion.getPortionFormat().setFontHeight(36);

    portion.getPortionFormat().getEffectFormat().enableOuterShadowEffect();
    portion.getPortionFormat().getEffectFormat().getOuterShadowEffect().getShadowColor().setColor(Color.BLACK);
    portion.getPortionFormat().getEffectFormat().getOuterShadowEffect().setScaleHorizontal(100);
    portion.getPortionFormat().getEffectFormat().getOuterShadowEffect().setScaleVertical(100);
    portion.getPortionFormat().getEffectFormat().getOuterShadowEffect().setBlurRadius(4);
    portion.getPortionFormat().getEffectFormat().getOuterShadowEffect().setDirection(230);
    portion.getPortionFormat().getEffectFormat().getOuterShadowEffect().setDistance(30);
    portion.getPortionFormat().getEffectFormat().getOuterShadowEffect().setSkewHorizontal(20);
    portion.getPortionFormat().getEffectFormat().getOuterShadowEffect().setSkewVertical(0);
    portion.getPortionFormat().getEffectFormat().getOuterShadowEffect().getShadowColor().getColorTransform().add(ColorTransformOperation.SetAlpha, 0.32f);
} finally {
    presentation.dispose();
}
Der resultierende Text:
Note
- Wenn äußere und vordefinierte Schatten zusammen verwendet werden, wird nur der äußere Schatten angewendet.
- Wenn äußere und innere Schatten gleichzeitig verwendet werden, hängt der resultierende Effekt von der PowerPoint‑Version ab. Beispielsweise wird der Effekt in PowerPoint 2013 verdoppelt, während in PowerPoint 2007 nur der äußere Schatten angewendet wird.
Reflexionseffekte anwenden
Eine Reflexion erzeugt eine gespiegelte Kopie des Textes. Passen Sie Position, Skalierung, Unschärfe und Deckkraft an, um das Aussehen zu steuern.
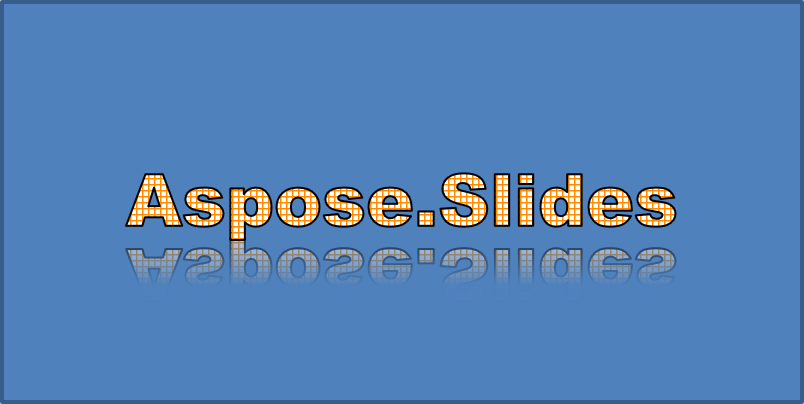
Dieses Beispiel ruft enableReflectionEffect auf und spiegelt die Reflexion vertikal mit einer Skalierung von -100 %. Es verwendet einen Unschärferadius von 0,5 Punkten und eine Entfernung von 4,72 Punkten. Die Deckkraft sinkt von 60 % auf 0,9 % zwischen den Positionen 0 % und 60 % entlang der Reflexion:
import com.aspose.slides.*;

Presentation presentation = new Presentation();
try {
    ISlide slide = presentation.getSlides().get_Item(0);

    IAutoShape autoShape = slide.getShapes().addAutoShape(ShapeType.Rectangle, 20, 20, 400, 200);

    IPortion portion = autoShape.getTextFrame().getParagraphs().get_Item(0).getPortions().get_Item(0);
    portion.setText("Aspose.Slides");
    FontData font = new FontData("Arial Black");
    portion.getPortionFormat().setLatinFont(font);
    portion.getPortionFormat().setFontHeight(36);

    portion.getPortionFormat().getEffectFormat().enableReflectionEffect();
    portion.getPortionFormat().getEffectFormat().getReflectionEffect().setBlurRadius(0.5);
    portion.getPortionFormat().getEffectFormat().getReflectionEffect().setDistance(4.72);
    portion.getPortionFormat().getEffectFormat().getReflectionEffect().setStartPosAlpha(0f);
    portion.getPortionFormat().getEffectFormat().getReflectionEffect().setEndPosAlpha(60f);
    portion.getPortionFormat().getEffectFormat().getReflectionEffect().setDirection(90);
    portion.getPortionFormat().getEffectFormat().getReflectionEffect().setScaleHorizontal(100);
    portion.getPortionFormat().getEffectFormat().getReflectionEffect().setScaleVertical(-100);
    portion.getPortionFormat().getEffectFormat().getReflectionEffect().setStartReflectionOpacity(60f);
    portion.getPortionFormat().getEffectFormat().getReflectionEffect().setEndReflectionOpacity(0.9f);
    portion.getPortionFormat().getEffectFormat().getReflectionEffect().setRectangleAlign(RectangleAlignment.BottomLeft);
} finally {
    presentation.dispose();
}
Der resultierende Text:
Leuchteffekte anwenden
Ein Leuchten fügt dem Text eine weiche farbige Kontur hinzu. Passen Sie Farbe, Deckkraft und Radius an, um den Effekt zu steuern.
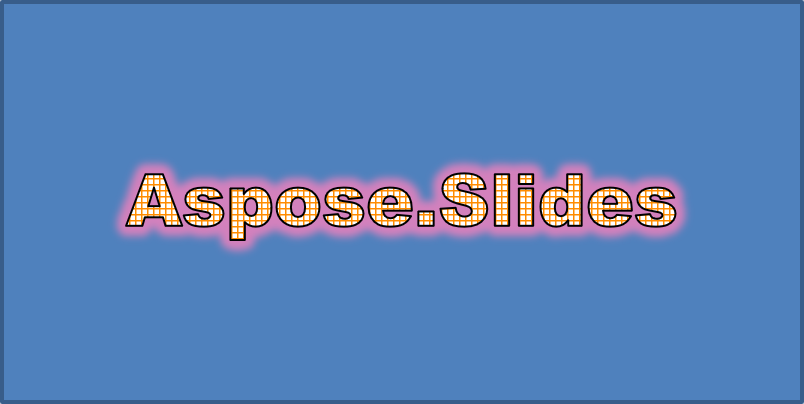
Dieses Beispiel ruft enableGlowEffect auf und wendet ein rotes Leuchten mit 54 % Deckkraft und einem Radius von 7 Punkten an:
import com.aspose.slides.*;
import android.graphics.Color;

Presentation presentation = new Presentation();
try {
    ISlide slide = presentation.getSlides().get_Item(0);

    IAutoShape autoShape = slide.getShapes().addAutoShape(ShapeType.Rectangle, 20, 20, 400, 200);

    IPortion portion = autoShape.getTextFrame().getParagraphs().get_Item(0).getPortions().get_Item(0);
    portion.setText("Aspose.Slides");
    FontData font = new FontData("Arial Black");
    portion.getPortionFormat().setLatinFont(font);
    portion.getPortionFormat().setFontHeight(36);

    portion.getPortionFormat().getEffectFormat().enableGlowEffect();
    portion.getPortionFormat().getEffectFormat().getGlowEffect().getColor().setColor(Color.RED);
    portion.getPortionFormat().getEffectFormat().getGlowEffect().getColor().getColorTransform().add(ColorTransformOperation.SetAlpha, 0.54f);
    portion.getPortionFormat().getEffectFormat().getGlowEffect().setRadius(7);
} finally {
    presentation.dispose();
}
Der resultierende Text:
WordArt‑Transformationen anwenden
WordArt‑Transformationen biegen, strecken oder verzerren einen Textblock.
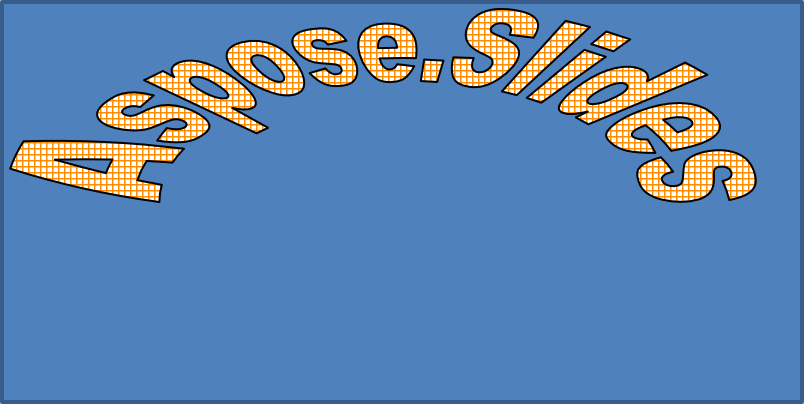
Setzen Sie setTransform auf ArchUpPour, um den gesamten Textrahmen nach oben zu krümmen:
import com.aspose.slides.*;

Presentation presentation = new Presentation();
try {
    ISlide slide = presentation.getSlides().get_Item(0);

    IAutoShape autoShape = slide.getShapes().addAutoShape(ShapeType.Rectangle, 20, 20, 400, 200);

    ITextFrame textFrame = autoShape.getTextFrame();
    textFrame.setText("Aspose.Slides");
    textFrame.getTextFrameFormat().setTransform(TextShapeType.ArchUpPour);
} finally {
    presentation.dispose();
}
Der resultierende Text:
Note
Aspose.Slides für Android via Java bietet eine Reihe vordefinierter Transformationsarten.3D‑Effekte auf Formen und Text anwenden
Sie können 3D‑Effekte sowohl auf eine Form als auch auf deren Text anwenden. Abschrägungen, Extrusion, Beleuchtung und Kameraeinstellungen steuern das Ergebnis.
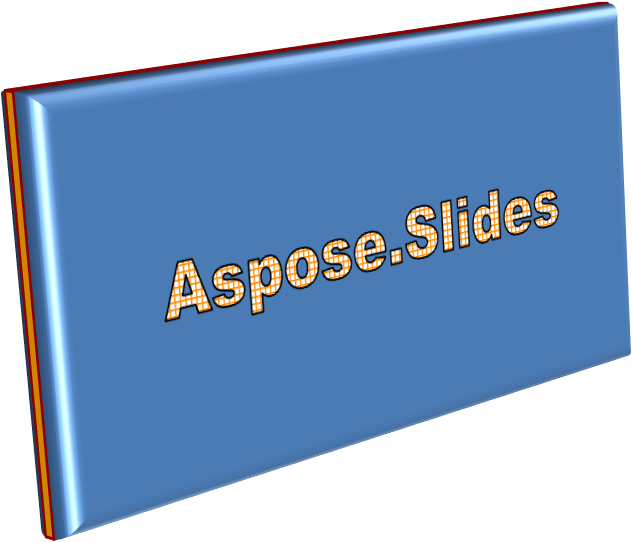
Das folgende Beispiel verwendet ThreeDFormat, um dem Rechteck runde Abschrägungen, orangefarbene Extrusion und eine dunkelrote Kontur hinzuzufügen. Abschrägungsabmessungen, Extrusionshöhe, Konturbreite und Tiefe werden in Punkten gemessen. Ein Kunststoffmaterial, ausgewogene Beleuchtung, um 40 Grad um die Z‑Achse gedreht, und eine Perspektivkamera definieren das Aussehen:
import com.aspose.slides.*;
import android.graphics.Color;

Presentation presentation = new Presentation();
try {
    ISlide slide = presentation.getSlides().get_Item(0);

    IAutoShape autoShape = slide.getShapes().addAutoShape(ShapeType.Rectangle, 20, 20, 400, 200);
    autoShape.getTextFrame().setText("Aspose.Slides");

    autoShape.getThreeDFormat().getBevelBottom().setBevelType(BevelPresetType.Circle);
    autoShape.getThreeDFormat().getBevelBottom().setHeight(10.5);
    autoShape.getThreeDFormat().getBevelBottom().setWidth(10.5);

    autoShape.getThreeDFormat().getBevelTop().setBevelType(BevelPresetType.Circle);
    autoShape.getThreeDFormat().getBevelTop().setHeight(12.5);
    autoShape.getThreeDFormat().getBevelTop().setWidth(11);

    int orange = Color.rgb(255, 165, 0);
    autoShape.getThreeDFormat().getExtrusionColor().setColor(orange);
    autoShape.getThreeDFormat().setExtrusionHeight(6);

    int darkRed = Color.rgb(139, 0, 0);
    autoShape.getThreeDFormat().getContourColor().setColor(darkRed);
    autoShape.getThreeDFormat().setContourWidth(1.5);

    autoShape.getThreeDFormat().setDepth(3);

    autoShape.getThreeDFormat().setMaterial(MaterialPresetType.Plastic);

    autoShape.getThreeDFormat().getLightRig().setDirection(LightingDirection.Top);
    autoShape.getThreeDFormat().getLightRig().setLightType(LightRigPresetType.Balanced);
    autoShape.getThreeDFormat().getLightRig().setRotation(0, 0, 40);

    autoShape.getThreeDFormat().getCamera().setCameraType(CameraPresetType.PerspectiveContrastingRightFacing);
} finally {
    presentation.dispose();
}
Die resultierende Form:
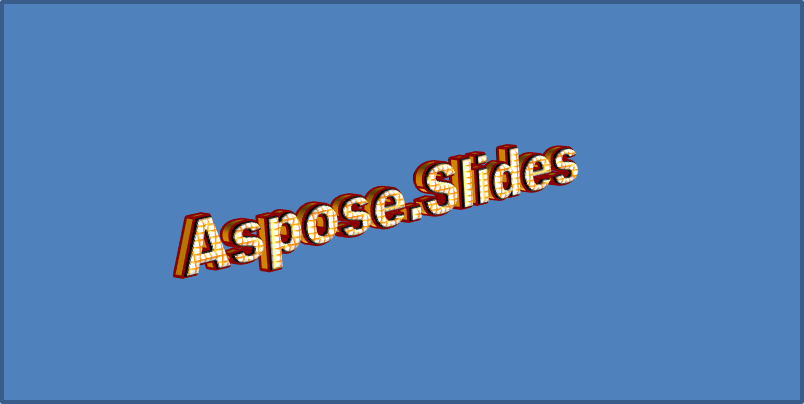
Dieses Beispiel wendet eine ähnliche 3D‑Formatierung auf den Text über TextFrameFormat.getThreeDFormat an. Kleinere Abschrägungen formen die Buchstabenränder, während Extrusion und Beleuchtung dem Text Tiefe verleihen:
import com.aspose.slides.*;
import android.graphics.Color;

Presentation presentation = new Presentation();
try {
    ISlide slide = presentation.getSlides().get_Item(0);

    IAutoShape autoShape = slide.getShapes().addAutoShape(ShapeType.Rectangle, 20, 20, 400, 200);
    ITextFrame textFrame = autoShape.getTextFrame();
    textFrame.setText("Aspose.Slides");

    textFrame.getTextFrameFormat().getThreeDFormat().getBevelBottom().setBevelType(BevelPresetType.Circle);
    textFrame.getTextFrameFormat().getThreeDFormat().getBevelBottom().setHeight(3.5);
    textFrame.getTextFrameFormat().getThreeDFormat().getBevelBottom().setWidth(3.5);

    textFrame.getTextFrameFormat().getThreeDFormat().getBevelTop().setBevelType(BevelPresetType.Circle);
    textFrame.getTextFrameFormat().getThreeDFormat().getBevelTop().setHeight(4);
    textFrame.getTextFrameFormat().getThreeDFormat().getBevelTop().setWidth(4);

    int orange = Color.rgb(255, 165, 0);
    textFrame.getTextFrameFormat().getThreeDFormat().getExtrusionColor().setColor(orange);
    textFrame.getTextFrameFormat().getThreeDFormat().setExtrusionHeight(6);

    int darkRed = Color.rgb(139, 0, 0);
    textFrame.getTextFrameFormat().getThreeDFormat().getContourColor().setColor(darkRed);
    textFrame.getTextFrameFormat().getThreeDFormat().setContourWidth(1.5);

    textFrame.getTextFrameFormat().getThreeDFormat().setDepth(3);

    textFrame.getTextFrameFormat().getThreeDFormat().setMaterial(MaterialPresetType.Plastic);

    textFrame.getTextFrameFormat().getThreeDFormat().getLightRig().setDirection(LightingDirection.Top);
    textFrame.getTextFrameFormat().getThreeDFormat().getLightRig().setLightType(LightRigPresetType.Balanced);
    textFrame.getTextFrameFormat().getThreeDFormat().getLightRig().setRotation(0, 0, 40);

    textFrame.getTextFrameFormat().getThreeDFormat().getCamera().setCameraType(CameraPresetType.PerspectiveContrastingRightFacing);
} finally {
    presentation.dispose();
}
Der resultierende Text:
Note
Die Anwendung von 3D‑Effekten auf Text oder deren Formen – und die Wechselwirkung zwischen diesen Effekten – wird durch spezifische Regeln bestimmt. Betrachten Sie eine Szene, die sowohl Text als auch die ihn enthaltende Form umfasst. Ein 3D‑Effekt beinhaltet die 3D‑Darstellung des Objekts und die Szene, in der es platziert ist.
- Ist für sowohl die Form als auch den Text eine Szene festgelegt, hat die Szene der Form Vorrang und die Szene des Textes wird ignoriert.
- Fehlt der Form eine eigene Szene, besitzt sie aber eine 3D‑Darstellung, wird die Szene des Textes verwendet.
- Hat die Form überhaupt keinen 3D‑Effekt, wird sie als flach behandelt und der 3D‑Effekt nur auf den Text angewendet.
Diese Verhaltensweisen beziehen sich auf die Methoden ThreeDFormat.getLightRig und ThreeDFormat.getCamera.
Um Text flach und lesbar zu halten, während die 3D‑Formatierung der Form beibehalten wird, siehe Keep Text Flat on a 3D Shape für einen Vergleich beider Einstellungen und ein vollständiges Java‑Beispiel.
FAQ
Kann ich WordArt‑Effekte mit verschiedenen Schriftarten oder Skripten (z. B. Arabisch, Chinesisch) verwenden?
Ja, Aspose.Slides für Android via Java unterstützt Unicode und funktioniert mit allen gängigen Schriftarten und Skripten. WordArt‑Effekte wie Schatten, Füllung und Kontur können unabhängig von der Sprache angewendet werden, obwohl die Verfügbarkeit und das Rendern von Schriftarten vom System abhängen können.
Kann ich WordArt‑Effekte auf Elemente der Folienmaster anwenden?
Ja, Sie können WordArt‑Effekte auf Formen in Master‑Folien anwenden, einschließlich Titel‑Platzhaltern, Fußzeilen oder Hintergrundtext. Änderungen am Master‑Layout werden in allen zugehörigen Folien übernommen.
Beeinflussen WordArt‑Effekte die Dateigröße der Präsentation?
Ein wenig. WordArt‑Effekte wie Schatten, Leuchten und Farbverläufe können die Dateigröße leicht erhöhen, da zusätzliche Formatierungsmetadaten hinzugefügt werden, aber der Unterschied ist in der Regel vernachlässigbar.
Kann ich das Ergebnis von WordArt‑Effekten anzeigen, ohne die Präsentation zu speichern?
Ja, Sie können Folien, die WordArt enthalten, in Bilder (z. B. PNG, JPEG) rendern über ISlide.getImage, oder einzelne Formen über IShape.getImage. Damit können Sie das Ergebnis im Speicher oder auf dem Bildschirm überprüfen, bevor Sie die gesamte Präsentation speichern oder exportieren.