
Buat dan Terapkan Efek WordArt di Python
Gambaran Umum
Efek WordArt memungkinkan Anda memberi gaya pada teks dengan isi, garis tepi, bayangan, refleksi, cahaya, transformasi, dan pemformatan 3D. Artikel ini menjelaskan cara membuat dan menyesuaikan efek-efek tersebut dalam presentasi PowerPoint menggunakan Aspose.Slides untuk Python via .NET, tanpa perlu menginstal Microsoft Office.
Buat Template WordArt Sederhana dan Terapkan ke Teks
Contoh‑contoh berikut membuat gaya WordArt sederhana dengan mengatur teks, font, pola isi, dan garis tepi.
Setiap contoh membuat presentasi baru dan menambahkan sebuah persegi panjang pada slide pertama; tidak diperlukan file masukan. Contoh pertama mengatur teks menjadi “Aspose.Slides”. Posisi dan dimensi bentuk diukur dalam poin:
import aspose.slides as slides

with slides.Presentation() as presentation:
    slide = presentation.slides[0]

    auto_shape = slide.shapes.add_auto_shape(slides.ShapeType.RECTANGLE, 20, 20, 400, 200)
    text_frame = auto_shape.text_frame

    portion = text_frame.paragraphs[0].portions[0]
    portion.text = "Aspose.Slides"
Atur font menjadi Arial Black dengan ukuran 36 poin agar pemformatan lebih jelas:
import aspose.slides as slides

with slides.Presentation() as presentation:
    slide = presentation.slides[0]

    auto_shape = slide.shapes.add_auto_shape(slides.ShapeType.RECTANGLE, 20, 20, 400, 200)

    portion = auto_shape.text_frame.paragraphs[0].portions[0]
    portion.text = "Aspose.Slides"
    portion.portion_format.latin_font = slides.FontData("Arial Black")
    portion.portion_format.font_height = 36
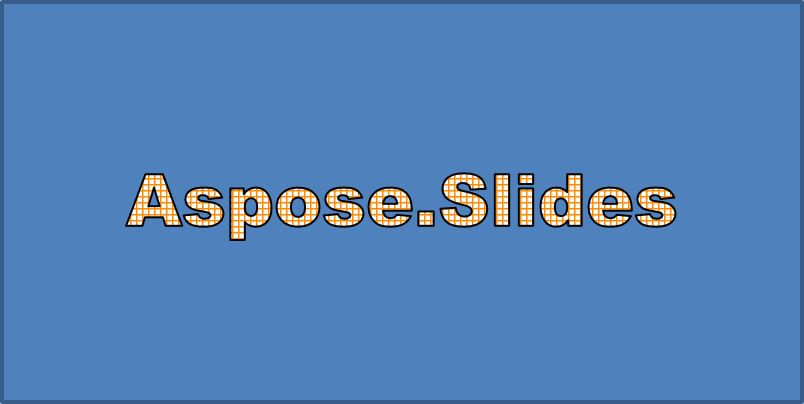
Terapkan pola SMALL_GRID dengan latar depan oranye tua dan latar belakang putih, lalu tambahkan garis tepi teks berwarna hitam dengan lebar 1 poin:
import aspose.slides as slides
import aspose.pydrawing as draw

with slides.Presentation() as presentation:
    slide = presentation.slides[0]

    auto_shape = slide.shapes.add_auto_shape(slides.ShapeType.RECTANGLE, 20, 20, 400, 200)

    portion = auto_shape.text_frame.paragraphs[0].portions[0]
    portion.text = "Aspose.Slides"
    portion.portion_format.latin_font = slides.FontData("Arial Black")
    portion.portion_format.font_height = 36

    portion.portion_format.fill_format.fill_type = slides.FillType.PATTERN
    portion.portion_format.fill_format.pattern_format.fore_color.color = draw.Color.dark_orange
    portion.portion_format.fill_format.pattern_format.back_color.color = draw.Color.white
    portion.portion_format.fill_format.pattern_format.pattern_style = slides.PatternStyle.SMALL_GRID

    portion.portion_format.line_format.width = 1
    portion.portion_format.line_format.fill_format.fill_type = slides.FillType.SOLID
    portion.portion_format.line_format.fill_format.solid_fill_color.color = draw.Color.black
Teks yang dihasilkan:
Terapkan Efek WordArt Lainnya
Contoh‑contoh berikut menunjukkan cara menerapkan bayangan, refleksi, cahaya, transformasi, dan efek 3D pada teks.
Terapkan Efek Bayangan Luar
Bayangan luar menambahkan kedalaman dengan menempatkan bayangan di belakang teks. Anda dapat menyesuaikan warna, arah, jarak, radius blur, skala, dan skew.
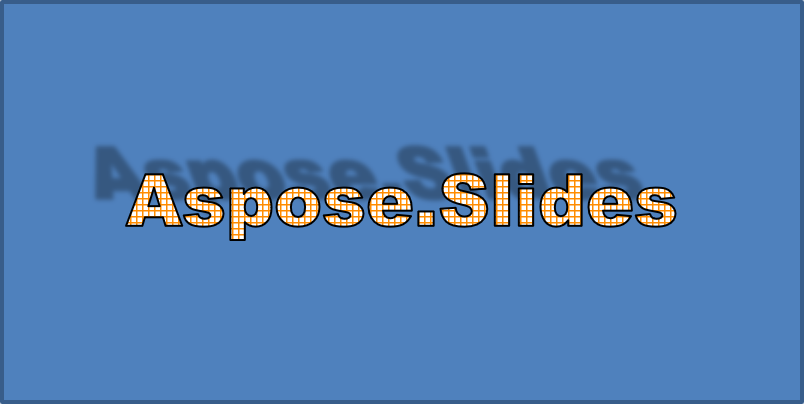
Contoh ini memanggil enable_outer_shadow_effect dan mengatur bayangan hitam dengan radius blur 4 poin, arah 230 derajat, serta jarak 30 poin. Nilai skala 100 mempertahankan ukuran bayangan, sementara skew horizontal memiringkannya 20 derajat. Transformasi alfa mengatur opasitas menjadi 32%:
import aspose.slides as slides
import aspose.pydrawing as draw

with slides.Presentation() as presentation:
    slide = presentation.slides[0]

    auto_shape = slide.shapes.add_auto_shape(slides.ShapeType.RECTANGLE, 20, 20, 400, 200)

    portion = auto_shape.text_frame.paragraphs[0].portions[0]
    portion.text = "Aspose.Slides"
    portion.portion_format.latin_font = slides.FontData("Arial Black")
    portion.portion_format.font_height = 36

    portion.portion_format.effect_format.enable_outer_shadow_effect()
    portion.portion_format.effect_format.outer_shadow_effect.shadow_color.color = draw.Color.black
    portion.portion_format.effect_format.outer_shadow_effect.scale_horizontal = 100
    portion.portion_format.effect_format.outer_shadow_effect.scale_vertical = 100
    portion.portion_format.effect_format.outer_shadow_effect.blur_radius = 4
    portion.portion_format.effect_format.outer_shadow_effect.direction = 230
    portion.portion_format.effect_format.outer_shadow_effect.distance = 30
    portion.portion_format.effect_format.outer_shadow_effect.skew_horizontal = 20
    portion.portion_format.effect_format.outer_shadow_effect.skew_vertical = 0
    portion.portion_format.effect_format.outer_shadow_effect.shadow_color.color_transform.add(slides.ColorTransformOperation.SET_ALPHA, 0.32)
Teks yang dihasilkan:
Note
- When outer and preset shadows are used together, only the outer shadow is applied.
- If outer and inner shadows are used simultaneously, the resulting effect depends on the PowerPoint version. For example, in PowerPoint 2013, the effect is doubled, whereas in PowerPoint 2007, only the outer shadow is applied.
Terapkan Efek Refleksi
Refleksi menciptakan salinan yang terpantul dari teks. Sesuaikan posisi, skala, blur, dan opasitas untuk mengendalikan penampilannya.
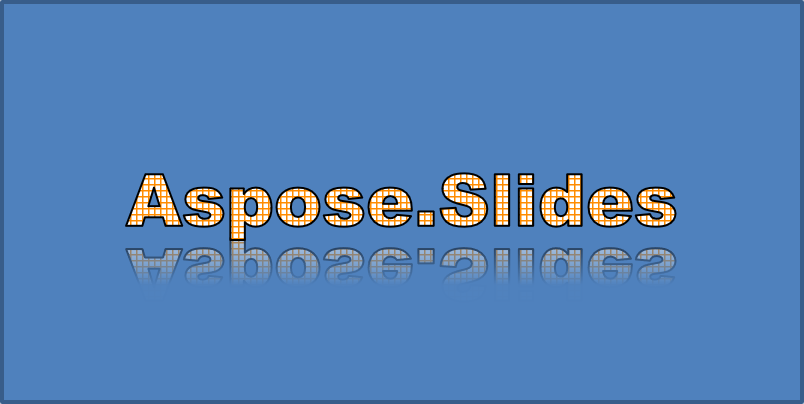
Contoh ini memanggil enable_reflection_effect dan membalik refleksi secara vertikal dengan skala -100%. Ia menggunakan radius blur 0,5 poin dan jarak 4,72 poin. Opasitas menurun dari 60% menjadi 0,9% antara posisi 0% dan 60% sepanjang refleksi:
import aspose.slides as slides

with slides.Presentation() as presentation:
    slide = presentation.slides[0]

    auto_shape = slide.shapes.add_auto_shape(slides.ShapeType.RECTANGLE, 20, 20, 400, 200)

    portion = auto_shape.text_frame.paragraphs[0].portions[0]
    portion.text = "Aspose.Slides"
    portion.portion_format.latin_font = slides.FontData("Arial Black")
    portion.portion_format.font_height = 36

    portion.portion_format.effect_format.enable_reflection_effect()
    portion.portion_format.effect_format.reflection_effect.blur_radius = 0.5
    portion.portion_format.effect_format.reflection_effect.distance = 4.72
    portion.portion_format.effect_format.reflection_effect.start_pos_alpha = 0
    portion.portion_format.effect_format.reflection_effect.end_pos_alpha = 60
    portion.portion_format.effect_format.reflection_effect.direction = 90
    portion.portion_format.effect_format.reflection_effect.scale_horizontal = 100
    portion.portion_format.effect_format.reflection_effect.scale_vertical = -100
    portion.portion_format.effect_format.reflection_effect.start_reflection_opacity = 60
    portion.portion_format.effect_format.reflection_effect.end_reflection_opacity = 0.9
    portion.portion_format.effect_format.reflection_effect.rectangle_align = slides.RectangleAlignment.BOTTOM_LEFT
Teks yang dihasilkan:
Terapkan Efek Sinar
Sinar menambahkan garis tepi berwarna lembut di sekitar teks. Sesuaikan warna, opasitas, dan radius untuk mengendalikan efek.
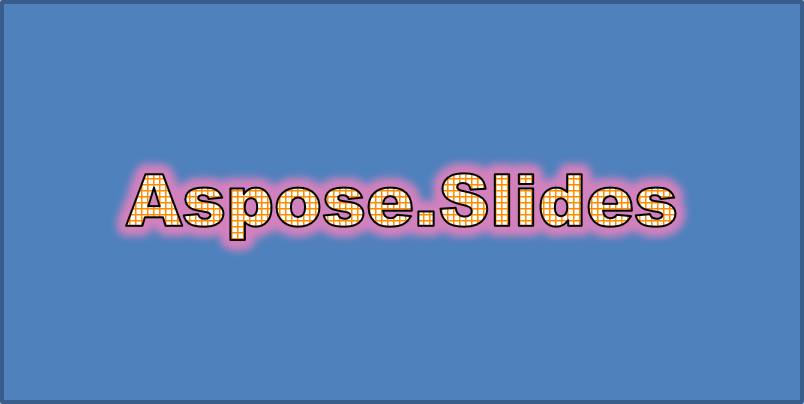
Contoh ini memanggil enable_glow_effect dan menerapkan sinar merah dengan opasitas 54% serta radius 7 poin:
import aspose.slides as slides
import aspose.pydrawing as draw

with slides.Presentation() as presentation:
    slide = presentation.slides[0]

    auto_shape = slide.shapes.add_auto_shape(slides.ShapeType.RECTANGLE, 20, 20, 400, 200)

    portion = auto_shape.text_frame.paragraphs[0].portions[0]
    portion.text = "Aspose.Slides"
    portion.portion_format.latin_font = slides.FontData("Arial Black")
    portion.portion_format.font_height = 36

    portion.portion_format.effect_format.enable_glow_effect()
    portion.portion_format.effect_format.glow_effect.color.color = draw.Color.red
    portion.portion_format.effect_format.glow_effect.color.color_transform.add(slides.ColorTransformOperation.SET_ALPHA, 0.54)
    portion.portion_format.effect_format.glow_effect.radius = 7
Teks yang dihasilkan:
Terapkan Transformasi WordArt
Transformasi WordArt membengkokkan, meregangkan, atau memutar blok teks.
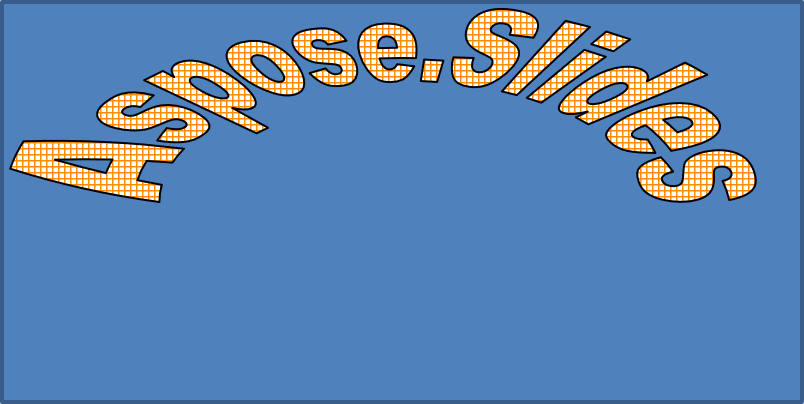
Atur transform ke ARCH_UP_POUR untuk melengkungkan seluruh frame teks ke atas:
import aspose.slides as slides

with slides.Presentation() as presentation:
    slide = presentation.slides[0]

    auto_shape = slide.shapes.add_auto_shape(slides.ShapeType.RECTANGLE, 20, 20, 400, 200)

    text_frame = auto_shape.text_frame
    text_frame.text = "Aspose.Slides"
    text_frame.text_frame_format.transform = slides.TextShapeType.ARCH_UP_POUR
Teks yang dihasilkan:
Note
Aspose.Slides for Python via .NET provides a set of predefined transformation types.Terapkan Efek 3D pada Bentuk dan Teks
Anda dapat menerapkan efek 3D pada sebuah bentuk atau pada teksnya. Bevel, ekstrusi, pencahayaan, dan pengaturan kamera mengontrol tampilan akhir.
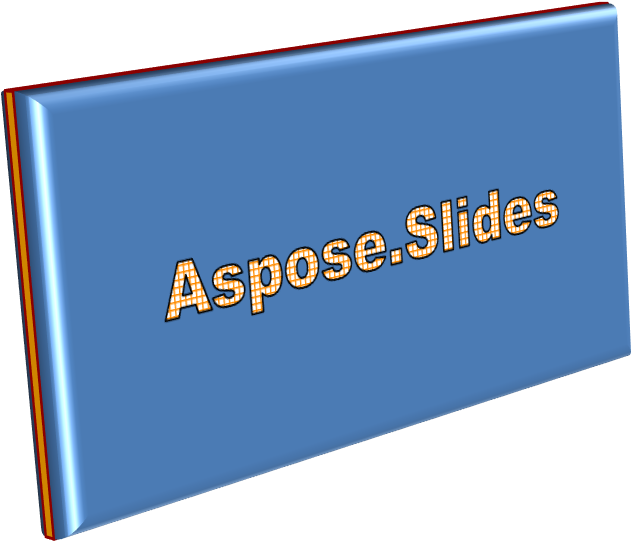
Contoh berikut menggunakan ThreeDFormat untuk menambahkan bevel melingkar, ekstrusi oranye, dan kontur merah tua pada persegi panjang. Dimensi bevel, tinggi ekstrusi, lebar kontur, dan kedalaman diukur dalam poin. Bahan plastik, pencahayaan seimbang berputar 40 derajat sekitar sumbu Z, serta kamera perspektif menentukan tampilannya:
import aspose.slides as slides
import aspose.pydrawing as draw

with slides.Presentation() as presentation:
    slide = presentation.slides[0]

    auto_shape = slide.shapes.add_auto_shape(slides.ShapeType.RECTANGLE, 20, 20, 400, 200)
    auto_shape.text_frame.text = "Aspose.Slides"

    auto_shape.three_d_format.bevel_bottom.bevel_type = slides.BevelPresetType.CIRCLE
    auto_shape.three_d_format.bevel_bottom.height = 10.5
    auto_shape.three_d_format.bevel_bottom.width = 10.5

    auto_shape.three_d_format.bevel_top.bevel_type = slides.BevelPresetType.CIRCLE
    auto_shape.three_d_format.bevel_top.height = 12.5
    auto_shape.three_d_format.bevel_top.width = 11

    auto_shape.three_d_format.extrusion_color.color = draw.Color.orange
    auto_shape.three_d_format.extrusion_height = 6

    auto_shape.three_d_format.contour_color.color = draw.Color.dark_red
    auto_shape.three_d_format.contour_width = 1.5

    auto_shape.three_d_format.depth = 3

    auto_shape.three_d_format.material = slides.MaterialPresetType.PLASTIC

    auto_shape.three_d_format.light_rig.direction = slides.LightingDirection.TOP
    auto_shape.three_d_format.light_rig.light_type = slides.LightRigPresetType.BALANCED
    auto_shape.three_d_format.light_rig.set_rotation(0, 0, 40)

    auto_shape.three_d_format.camera.camera_type = slides.CameraPresetType.PERSPECTIVE_CONTRASTING_RIGHT_FACING
Bentuk yang dihasilkan:
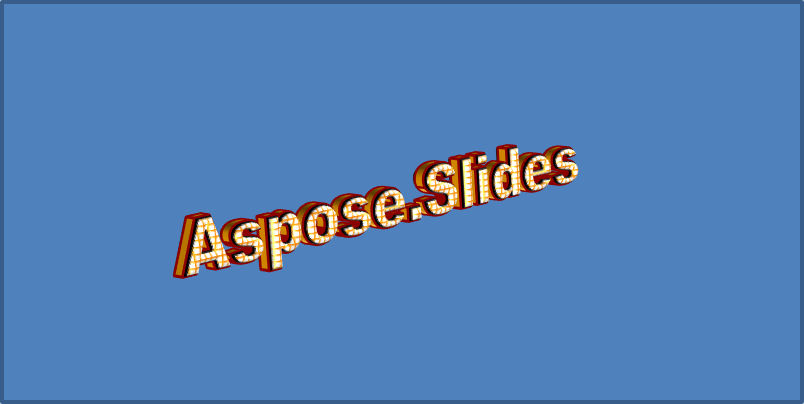
Contoh ini menerapkan pemformatan 3D serupa pada teks melalui TextFrameFormat.three_d_format. Bevel yang lebih kecil membentuk tepi huruf, sementara ekstrusi dan pencahayaan memberikan kedalaman pada teks:
import aspose.slides as slides
import aspose.pydrawing as draw

with slides.Presentation() as presentation:
    slide = presentation.slides[0]

    auto_shape = slide.shapes.add_auto_shape(slides.ShapeType.RECTANGLE, 20, 20, 400, 200)
    text_frame = auto_shape.text_frame
    text_frame.text = "Aspose.Slides"

    text_frame.text_frame_format.three_d_format.bevel_bottom.bevel_type = slides.BevelPresetType.CIRCLE
    text_frame.text_frame_format.three_d_format.bevel_bottom.height = 3.5
    text_frame.text_frame_format.three_d_format.bevel_bottom.width = 3.5

    text_frame.text_frame_format.three_d_format.bevel_top.bevel_type = slides.BevelPresetType.CIRCLE
    text_frame.text_frame_format.three_d_format.bevel_top.height = 4
    text_frame.text_frame_format.three_d_format.bevel_top.width = 4

    text_frame.text_frame_format.three_d_format.extrusion_color.color = draw.Color.orange
    text_frame.text_frame_format.three_d_format.extrusion_height = 6

    text_frame.text_frame_format.three_d_format.contour_color.color = draw.Color.dark_red
    text_frame.text_frame_format.three_d_format.contour_width = 1.5

    text_frame.text_frame_format.three_d_format.depth = 3

    text_frame.text_frame_format.three_d_format.material = slides.MaterialPresetType.PLASTIC

    text_frame.text_frame_format.three_d_format.light_rig.direction = slides.LightingDirection.TOP
    text_frame.text_frame_format.three_d_format.light_rig.light_type = slides.LightRigPresetType.BALANCED
    text_frame.text_frame_format.three_d_format.light_rig.set_rotation(0, 0, 40)

    text_frame.text_frame_format.three_d_format.camera.camera_type = slides.CameraPresetType.PERSPECTIVE_CONTRASTING_RIGHT_FACING
Teks yang dihasilkan:
Note
The application of 3D effects to text or their shapes—and the interaction between these effects—is governed by specific rules. Consider a scene involving both text and the shape containing it. A 3D effect includes the object’s 3D representation and the scene in which it is placed.
- If a scene is set for both the shape and the text, the shape’s scene takes priority and the text’s scene is ignored.
- If the shape lacks its own scene but has a 3D representation, the text’s scene is used.
- If the shape has no 3D effect at all, it is treated as flat, and the 3D effect is applied only to the text.
These behaviors relate to the ThreeDFormat.light_rig and ThreeDFormat.camera properties.
Untuk menjaga teks tetap datar dan dapat dibaca sambil mempertahankan pemformatan 3D bentuknya, lihat Keep Text Flat on a 3D Shape untuk perbandingan kedua pengaturan serta contoh lengkap Python.
FAQ
Apakah saya dapat menggunakan efek WordArt dengan berbagai font atau skrip (mis., Arab, Cina)?
Ya, Aspose.Slides untuk Python via .NET mendukung Unicode dan dapat bekerja dengan semua font dan skrip utama. Efek WordArt seperti bayangan, isi, dan garis tepi dapat diterapkan terlepas dari bahasa, meskipun ketersediaan font dan proses rendering dapat bergantung pada font sistem.
Apakah saya dapat menerapkan efek WordArt pada elemen master slide?
Ya, Anda dapat menerapkan efek WordArt pada bentuk di master slide, termasuk placeholder judul, footer, atau teks latar belakang. Perubahan pada tata letak master akan tercermin di semua slide terkait.
Apakah efek WordArt memengaruhi ukuran file presentasi?
Sedikit. Efek WordArt seperti bayangan, cahaya, dan isian gradien dapat sedikit meningkatkan ukuran file karena penambahan metadata format, tetapi perbedaannya biasanya dapat diabaikan.
Apakah saya dapat melihat pratinjau hasil efek WordArt tanpa menyimpan presentasi?
Ya, Anda dapat merender slide yang berisi WordArt menjadi gambar (mis., PNG, JPEG) menggunakan Slide.get_image, atau merender bentuk individual menggunakan Shape.get_image. Ini memungkinkan Anda melihat pratinjau hasil di memori atau layar sebelum menyimpan atau mengekspor presentasi lengkap.