
创建并在 Python 中应用 WordArt 效果
概述
WordArt 效果可让您使用填充、轮廓、阴影、反射、辉光、变换和 3D 格式化来美化文本。本文介绍如何在 PowerPoint 演示文稿中使用 Aspose.Slides for Python via .NET(无需安装 Microsoft Office)创建和自定义这些效果。
创建简单的 WordArt 模板并将其应用于文本
以下示例通过设置文本、字体、图案填充和轮廓来构建简单的 WordArt 样式。
每个示例都会创建一个新演示文稿并在其第一张幻灯片上添加一个矩形;不需要输入文件。第一个示例将文本设置为 “Aspose.Slides”。形状的位置和尺寸以点为单位测量:
import aspose.slides as slides

with slides.Presentation() as presentation:
    slide = presentation.slides[0]

    auto_shape = slide.shapes.add_auto_shape(slides.ShapeType.RECTANGLE, 20, 20, 400, 200)
    text_frame = auto_shape.text_frame

    portion = text_frame.paragraphs[0].portions[0]
    portion.text = "Aspose.Slides"
将字体设置为 Arial Black,大小为 36 点,以使格式更明显:
import aspose.slides as slides

with slides.Presentation() as presentation:
    slide = presentation.slides[0]

    auto_shape = slide.shapes.add_auto_shape(slides.ShapeType.RECTANGLE, 20, 20, 400, 200)

    portion = auto_shape.text_frame.paragraphs[0].portions[0]
    portion.text = "Aspose.Slides"
    portion.portion_format.latin_font = slides.FontData("Arial Black")
    portion.portion_format.font_height = 36
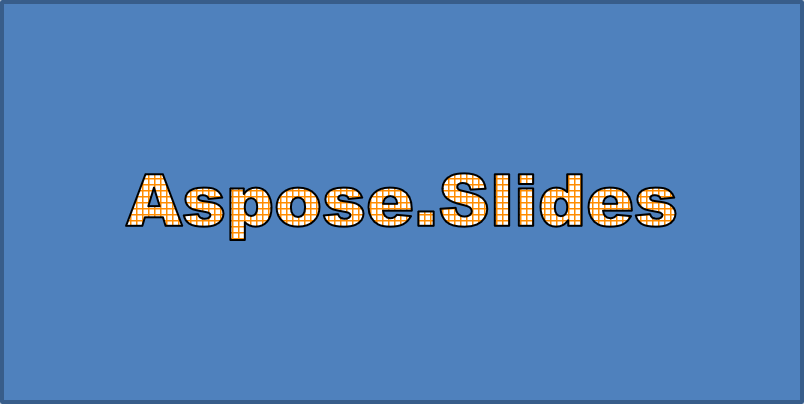
应用带有深橙色前景和白色背景的 SMALL_GRID 图案,然后添加宽度为 1 点的黑色文本轮廓:
import aspose.slides as slides
import aspose.pydrawing as draw

with slides.Presentation() as presentation:
    slide = presentation.slides[0]

    auto_shape = slide.shapes.add_auto_shape(slides.ShapeType.RECTANGLE, 20, 20, 400, 200)

    portion = auto_shape.text_frame.paragraphs[0].portions[0]
    portion.text = "Aspose.Slides"
    portion.portion_format.latin_font = slides.FontData("Arial Black")
    portion.portion_format.font_height = 36

    portion.portion_format.fill_format.fill_type = slides.FillType.PATTERN
    portion.portion_format.fill_format.pattern_format.fore_color.color = draw.Color.dark_orange
    portion.portion_format.fill_format.pattern_format.back_color.color = draw.Color.white
    portion.portion_format.fill_format.pattern_format.pattern_style = slides.PatternStyle.SMALL_GRID

    portion.portion_format.line_format.width = 1
    portion.portion_format.line_format.fill_format.fill_type = slides.FillType.SOLID
    portion.portion_format.line_format.fill_format.solid_fill_color.color = draw.Color.black
生成的文本:
应用其他 WordArt 效果
以下示例演示如何对文本应用阴影、反射、辉光、变换和 3D 效果。
应用外部阴影效果
外部阴影通过在文本后面放置阴影来增加深度。您可以自定义其颜色、方向、距离、模糊半径、比例和倾斜。
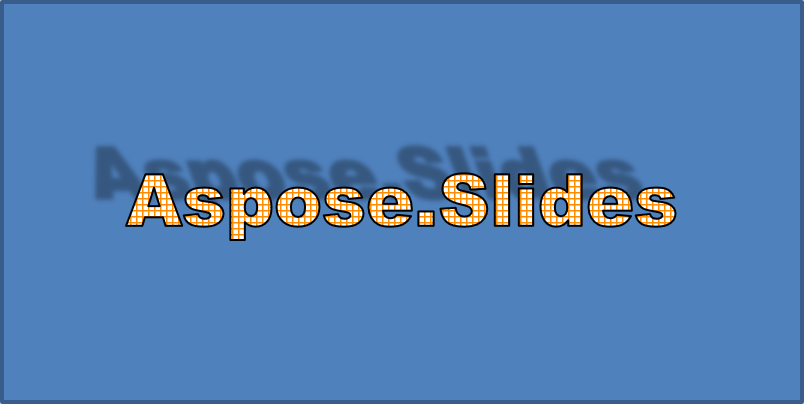
此示例调用 enable_outer_shadow_effect 并设置黑色阴影,模糊半径为 4 点,方向为 230 度,距离为 30 点。比例值为 100 保持阴影大小不变,而水平倾斜将其倾斜 20 度。Alpha 变换将不透明度设置为 32%:
import aspose.slides as slides
import aspose.pydrawing as draw

with slides.Presentation() as presentation:
    slide = presentation.slides[0]

    auto_shape = slide.shapes.add_auto_shape(slides.ShapeType.RECTANGLE, 20, 20, 400, 200)

    portion = auto_shape.text_frame.paragraphs[0].portions[0]
    portion.text = "Aspose.Slides"
    portion.portion_format.latin_font = slides.FontData("Arial Black")
    portion.portion_format.font_height = 36

    portion.portion_format.effect_format.enable_outer_shadow_effect()
    portion.portion_format.effect_format.outer_shadow_effect.shadow_color.color = draw.Color.black
    portion.portion_format.effect_format.outer_shadow_effect.scale_horizontal = 100
    portion.portion_format.effect_format.outer_shadow_effect.scale_vertical = 100
    portion.portion_format.effect_format.outer_shadow_effect.blur_radius = 4
    portion.portion_format.effect_format.outer_shadow_effect.direction = 230
    portion.portion_format.effect_format.outer_shadow_effect.distance = 30
    portion.portion_format.effect_format.outer_shadow_effect.skew_horizontal = 20
    portion.portion_format.effect_format.outer_shadow_effect.skew_vertical = 0
    portion.portion_format.effect_format.outer_shadow_effect.shadow_color.color_transform.add(slides.ColorTransformOperation.SET_ALPHA, 0.32)
生成的文本:
Note
- 当外部阴影和预设阴影同时使用时,仅应用外部阴影。
- 如果同时使用外部阴影和内部阴影,结果效果取决于 PowerPoint 版本。例如,在 PowerPoint 2013 中,效果会加倍,而在 PowerPoint 2007 中仅应用外部阴影。
应用反射效果
反射会创建文本的镜像副本。调整其位置、比例、模糊和不透明度以控制外观。
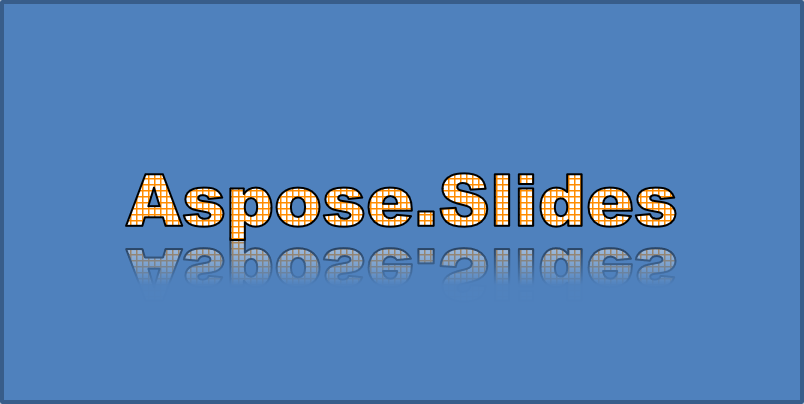
此示例调用 enable_reflection_effect 并将反射垂直翻转,比例为 -100%。使用 0.5 点的模糊半径和 4.72 点的距离。不透明度在反射的 0% 到 60% 位置之间从 60% 下降到 0.9%:
import aspose.slides as slides

with slides.Presentation() as presentation:
    slide = presentation.slides[0]

    auto_shape = slide.shapes.add_auto_shape(slides.ShapeType.RECTANGLE, 20, 20, 400, 200)

    portion = auto_shape.text_frame.paragraphs[0].portions[0]
    portion.text = "Aspose.Slides"
    portion.portion_format.latin_font = slides.FontData("Arial Black")
    portion.portion_format.font_height = 36

    portion.portion_format.effect_format.enable_reflection_effect()
    portion.portion_format.effect_format.reflection_effect.blur_radius = 0.5
    portion.portion_format.effect_format.reflection_effect.distance = 4.72
    portion.portion_format.effect_format.reflection_effect.start_pos_alpha = 0
    portion.portion_format.effect_format.reflection_effect.end_pos_alpha = 60
    portion.portion_format.effect_format.reflection_effect.direction = 90
    portion.portion_format.effect_format.reflection_effect.scale_horizontal = 100
    portion.portion_format.effect_format.reflection_effect.scale_vertical = -100
    portion.portion_format.effect_format.reflection_effect.start_reflection_opacity = 60
    portion.portion_format.effect_format.reflection_effect.end_reflection_opacity = 0.9
    portion.portion_format.effect_format.reflection_effect.rectangle_align = slides.RectangleAlignment.BOTTOM_LEFT
生成的文本:
应用辉光效果
辉光在文本周围添加柔和的彩色轮廓。调整其颜色、不透明度和半径以控制效果。
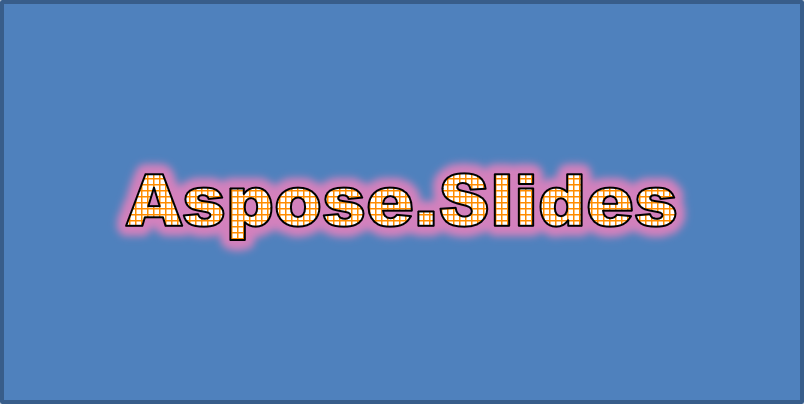
此示例调用 enable_glow_effect 并应用红色辉光,透明度为 54%,半径为 7 点:
import aspose.slides as slides
import aspose.pydrawing as draw

with slides.Presentation() as presentation:
    slide = presentation.slides[0]

    auto_shape = slide.shapes.add_auto_shape(slides.ShapeType.RECTANGLE, 20, 20, 400, 200)

    portion = auto_shape.text_frame.paragraphs[0].portions[0]
    portion.text = "Aspose.Slides"
    portion.portion_format.latin_font = slides.FontData("Arial Black")
    portion.portion_format.font_height = 36

    portion.portion_format.effect_format.enable_glow_effect()
    portion.portion_format.effect_format.glow_effect.color.color = draw.Color.red
    portion.portion_format.effect_format.glow_effect.color.color_transform.add(slides.ColorTransformOperation.SET_ALPHA, 0.54)
    portion.portion_format.effect_format.glow_effect.radius = 7
生成的文本:
应用 WordArt 变换
WordArt 变换可以弯曲、拉伸或扭曲一段文本。
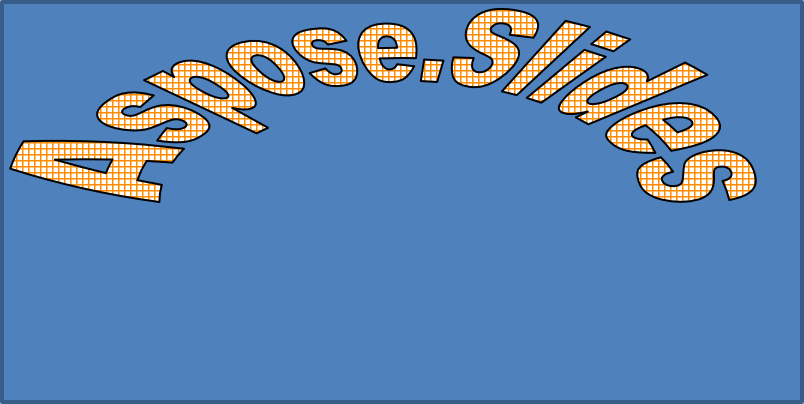
将 transform 设置为 ARCH_UP_POUR,以向上弯曲整个文本框:
import aspose.slides as slides

with slides.Presentation() as presentation:
    slide = presentation.slides[0]

    auto_shape = slide.shapes.add_auto_shape(slides.ShapeType.RECTANGLE, 20, 20, 400, 200)

    text_frame = auto_shape.text_frame
    text_frame.text = "Aspose.Slides"
    text_frame.text_frame_format.transform = slides.TextShapeType.ARCH_UP_POUR
生成的文本:
Note
Aspose.Slides for Python via .NET 提供了一组预定义的 变换类型。对形状和文本应用 3D 效果
您可以对形状或其文本应用 3D 效果。斜角、拉伸、光照和相机设置决定最终外观。
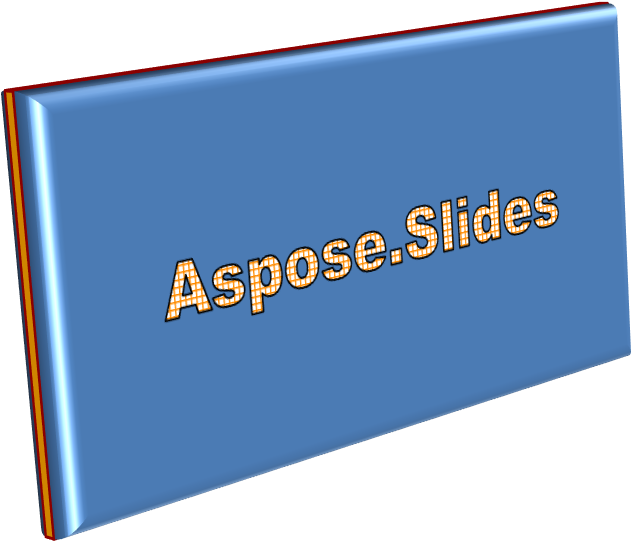
以下示例使用 ThreeDFormat 为矩形添加圆形斜角、橙色拉伸和深红色轮廓。斜角尺寸、拉伸高度、轮廓宽度和深度均以点为单位。塑料材质、围绕 Z 轴旋转 40 度的平衡光照以及透视相机定义了其外观:
import aspose.slides as slides
import aspose.pydrawing as draw

with slides.Presentation() as presentation:
    slide = presentation.slides[0]

    auto_shape = slide.shapes.add_auto_shape(slides.ShapeType.RECTANGLE, 20, 20, 400, 200)
    auto_shape.text_frame.text = "Aspose.Slides"

    auto_shape.three_d_format.bevel_bottom.bevel_type = slides.BevelPresetType.CIRCLE
    auto_shape.three_d_format.bevel_bottom.height = 10.5
    auto_shape.three_d_format.bevel_bottom.width = 10.5

    auto_shape.three_d_format.bevel_top.bevel_type = slides.BevelPresetType.CIRCLE
    auto_shape.three_d_format.bevel_top.height = 12.5
    auto_shape.three_d_format.bevel_top.width = 11

    auto_shape.three_d_format.extrusion_color.color = draw.Color.orange
    auto_shape.three_d_format.extrusion_height = 6

    auto_shape.three_d_format.contour_color.color = draw.Color.dark_red
    auto_shape.three_d_format.contour_width = 1.5

    auto_shape.three_d_format.depth = 3

    auto_shape.three_d_format.material = slides.MaterialPresetType.PLASTIC

    auto_shape.three_d_format.light_rig.direction = slides.LightingDirection.TOP
    auto_shape.three_d_format.light_rig.light_type = slides.LightRigPresetType.BALANCED
    auto_shape.three_d_format.light_rig.set_rotation(0, 0, 40)

    auto_shape.three_d_format.camera.camera_type = slides.CameraPresetType.PERSPECTIVE_CONTRASTING_RIGHT_FACING
生成的形状:
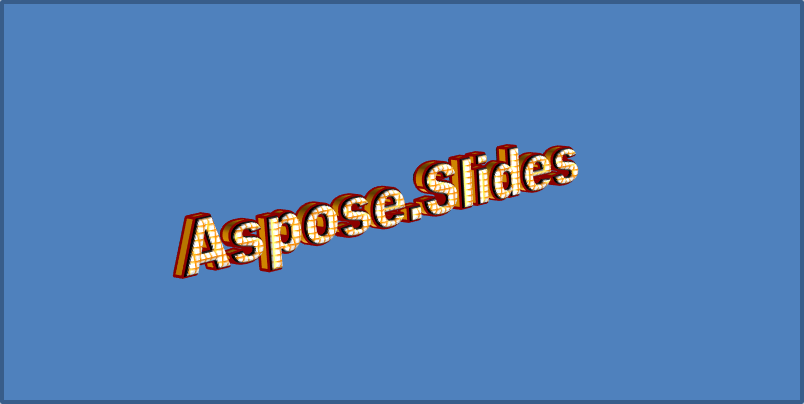
此示例通过 TextFrameFormat.three_d_format 对文本应用类似的 3D 格式。更小的斜角塑造字母边缘,而拉伸和光照为文本提供深度:
import aspose.slides as slides
import aspose.pydrawing as draw

with slides.Presentation() as presentation:
    slide = presentation.slides[0]

    auto_shape = slide.shapes.add_auto_shape(slides.ShapeType.RECTANGLE, 20, 20, 400, 200)
    text_frame = auto_shape.text_frame
    text_frame.text = "Aspose.Slides"

    text_frame.text_frame_format.three_d_format.bevel_bottom.bevel_type = slides.BevelPresetType.CIRCLE
    text_frame.text_frame_format.three_d_format.bevel_bottom.height = 3.5
    text_frame.text_frame_format.three_d_format.bevel_bottom.width = 3.5

    text_frame.text_frame_format.three_d_format.bevel_top.bevel_type = slides.BevelPresetType.CIRCLE
    text_frame.text_frame_format.three_d_format.bevel_top.height = 4
    text_frame.text_frame_format.three_d_format.bevel_top.width = 4

    text_frame.text_frame_format.three_d_format.extrusion_color.color = draw.Color.orange
    text_frame.text_frame_format.three_d_format.extrusion_height = 6

    text_frame.text_frame_format.three_d_format.contour_color.color = draw.Color.dark_red
    text_frame.text_frame_format.three_d_format.contour_width = 1.5

    text_frame.text_frame_format.three_d_format.depth = 3

    text_frame.text_frame_format.three_d_format.material = slides.MaterialPresetType.PLASTIC

    text_frame.text_frame_format.three_d_format.light_rig.direction = slides.LightingDirection.TOP
    text_frame.text_frame_format.three_d_format.light_rig.light_type = slides.LightRigPresetType.BALANCED
    text_frame.text_frame_format.three_d_format.light_rig.set_rotation(0, 0, 40)

    text_frame.text_frame_format.three_d_format.camera.camera_type = slides.CameraPresetType.PERSPECTIVE_CONTRASTING_RIGHT_FACING
生成的文本:
Note
将 3D 效果应用于文本或其形状以及这些效果之间的交互受特定规则约束。考虑同时涉及文本及其所在形状的场景。3D 效果包括对象的 3D 表现以及其所在的场景。
- 如果形状和文本都设置了场景,形状的场景优先,文本的场景被忽略。
- 如果形状没有自己的场景但有 3D 表现,则使用文本的场景。
- 如果形状根本没有 3D 效果,则视为平面,仅对文本应用 3D 效果。
这些行为与 ThreeDFormat.light_rig 和 ThreeDFormat.camera 属性有关。
若要在保持形状 3D 格式的同时保持文本平面且可读,请参阅 在 3D 形状上保持文本平面 ,了解两种设置的比较以及完整的 Python 示例。
常见问题
我可以在不同的字体或脚本(例如阿拉伯语、中文)中使用 WordArt 效果吗?
是的,Aspose.Slides for Python via .NET 支持 Unicode,并可与所有主流字体和脚本一起使用。无论语言为何,皆可应用阴影、填充和轮廓等 WordArt 效果,尽管字体的可用性和渲染可能取决于系统字体。
我可以将 WordArt 效果应用于幻灯片母版元素吗?
可以,您可以对母版幻灯片上的形状(包括标题占位符、页脚或背景文本)应用 WordArt 效果。对母版布局所做的更改会在所有关联的幻灯片中生效。
WordArt 效果会影响演示文稿文件大小吗?
会略有影响。阴影、辉光和渐变填充等 WordArt 效果可能会因额外的格式化元数据而略微增加文件大小,但通常差异可以忽略不计。
我可以在不保存演示文稿的情况下预览 WordArt 效果的结果吗?
可以,您可以使用 Slide.get_image 将包含 WordArt 的幻灯片渲染为图像(如 PNG、JPEG),或使用 Shape.get_image 渲染单个形状。这使您能够在内存中或屏幕上预览效果,而无需保存或导出完整的演示文稿。