Python で PDF にアークシェイプを追加する方法
Contents
[
Hide
]
Arc オブジェクトを追加
.NET 経由の Python 用 Aspose.PDF では追加できます 円弧 を使用して図形を PDF ページに変換する グラフ クラス。図やテクニカルイラストレーション用に、輪郭を描く円弧や塗りつぶした円弧セグメントを描くことができます。
以下の手順に従ってください。
- 作成 文書 インスタンス。
- 作成 グラフオブジェクト 特定の寸法で。
- セット 境界 グラフオブジェクト用。
- 対応する arc オブジェクトを作成します。
- このオブジェクトをグラフオブジェクトの Shapes コレクションに追加します。
- 追加 グラフ ページの段落コレクションにオブジェクトを追加します。
- PDF ファイルを保存します。
次のコードスニペットは、を追加する方法を示しています。 円弧 対象。
import aspose.pdf as ap
import aspose.pdf.drawing as drawing

def add_arc(outfile: str):
    document = ap.Document()
    page = document.pages.add()
    graph = drawing.Graph(400, 400)
    graph.border = ap.BorderInfo(ap.BorderSide.ALL, ap.Color.green)

    arc1 = drawing.Arc(100, 100, 95, 0, 90)
    arc1.graph_info.color = ap.Color.green_yellow
    graph.shapes.add(arc1)

    arc2 = drawing.Arc(100, 100, 90, 70, 180)
    arc2.graph_info.color = ap.Color.dark_blue
    graph.shapes.add(arc2)

    arc3 = drawing.Arc(100, 100, 85, 120, 210)
    arc3.graph_info.color = ap.Color.red
    graph.shapes.add(arc3)

    page.paragraphs.add(graph)
    document.save(outfile)
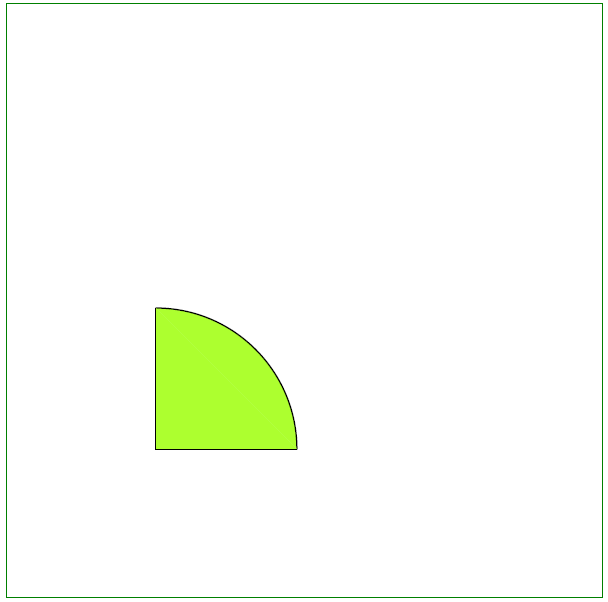
塗りつぶされた円弧オブジェクトを作成
この例は、色で塗りつぶされた円弧セグメントを追加する方法を示しています。
import aspose.pdf as ap
import aspose.pdf.drawing as drawing

def add_arc_filled(outfile: str):
    document = ap.Document()
    page = document.pages.add()
    graph = drawing.Graph(400, 400)
    graph.border = ap.BorderInfo(ap.BorderSide.ALL, ap.Color.green)

    arc = drawing.Arc(100, 100, 95, 0, 90)

    arc.graph_info.fill_color = ap.Color.green_yellow
    graph.shapes.add(arc)

    line = drawing.Line([195, 100, 100, 100, 100, 195])
    line.graph_info.fill_color = ap.Color.green_yellow
    graph.shapes.add(line)

    page.paragraphs.add(graph)
    document.save(outfile)
塗りつぶされた円弧を追加した結果: