Installation
Overview
This article explains how to install Aspose.Slides for .NET on Windows and macOS. It focuses on NuGet-based installation and shows how to add the library to a Visual Studio project either through the NuGet Package Manager or the Package Manager Console on Windows. It also describes how to update the package and install prerelease builds when needed.
Windows
NuGet provides the easiest path to downloading and installing Aspose APIs for .NET on PCs.
Method 1: Install or Update Aspose.Slides from the NuGet Package Manager
- Open Microsoft Visual Studio.
- Create a simple console app or open an existing project.
- Go through Tools > NuGet package manager.
- Under Browse, search for Aspose Slides in the text field.
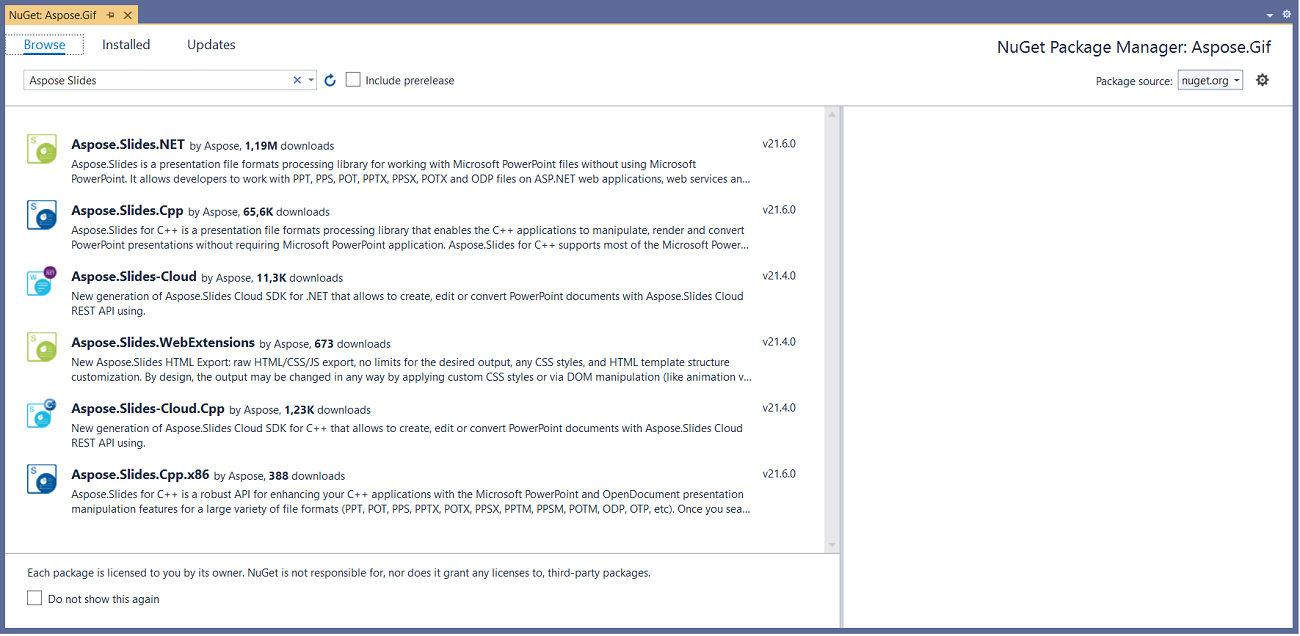
- Click Aspose.Slides.NET and then click Install.
- If you want to update Aspose.Slides—assuming you installed it already—click Update instead.
The selected API gets downloaded and referenced in your project.
Method 2: Install or Update Aspose.Slides Through the Package Manager Console
This is how you reference Aspose.Slides API through the package manager console:
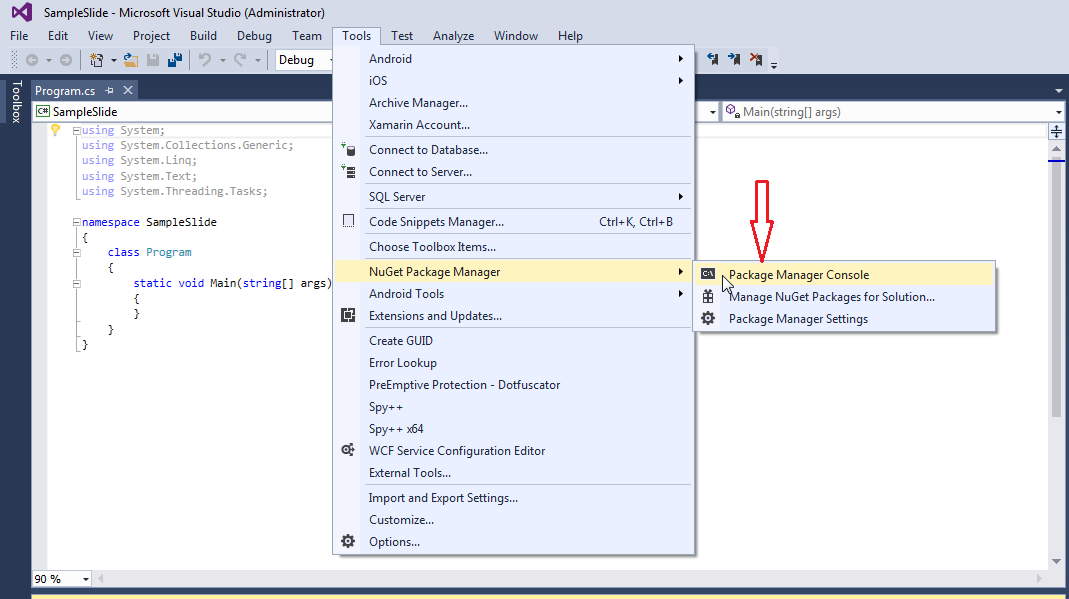
- Open Microsoft Visual Studio.
- Create a simple console app or open an existing project.
- Go through Tools > Library Package Manager > Package Manager Console.
- Run this command:
Install-Package Aspose.Slides.NET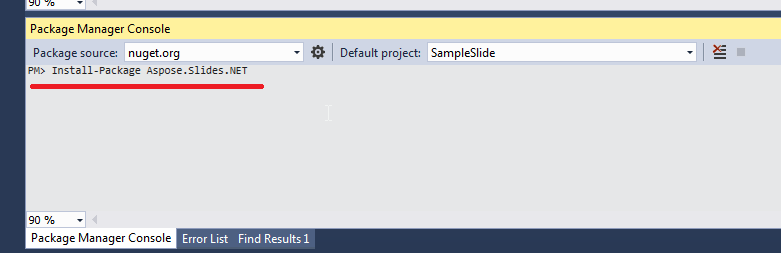 The latest full release gets installed in your application.
- Alternatively, you can add the
-prereleasesuffix to the command to specify that the latest release (hotfixes included) must be installed as well.
The Installing Aspose.Slides.NET tip appears around the bottom of the window.
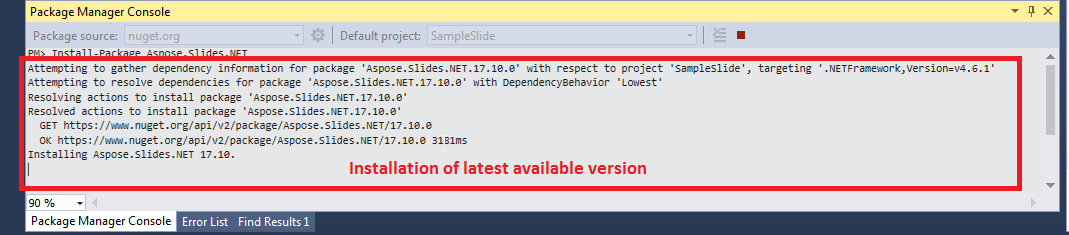
Once the download reaches completion, you should see some confirmation messages.
If you are not familiar with Aspose EULA, then you may want to read the license referenced in the URL.
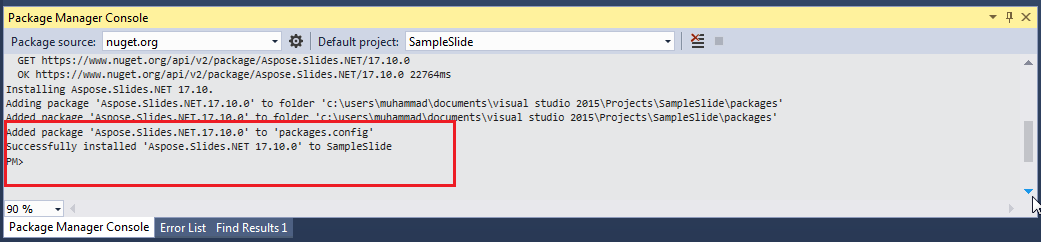
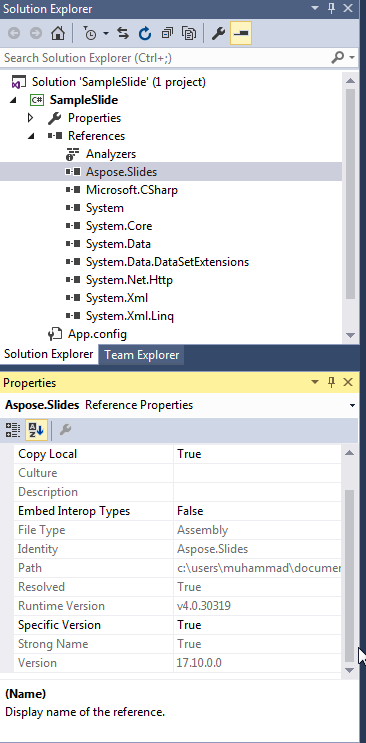
In your application, you should see that Aspose.Slides has been successfully added and referenced.
In the Package Manager Console, you can run the Update-Package Aspose.Slides.NET command to check for updates to the Aspose.Slides package. Updates (if found) get installed automatically. You can also use the -prerelease suffix to update the latest release.
Considerations When Running on a Shared Server Environment
We strongly recommend you run all Aspose .NET components with the Full Trust permission set because Aspose components sometimes need to access registry settings and files located in places other than the virtual directory—for example, when Aspose components have to read fonts.
Furthermore, Aspose.NET components are based on the core .NET system classes—and some of those classes also require Full Trust permission for operations in certain cases.
Internet Service Providers, which host multiple applications from different companies, mostly enforce the Medium Trust security level. In .NET 2.0 case, such a security level may result in constraints that affect Aspose.Slides' operations:
- RegistryPermission is not available. This means you cannot access the registry, which is required to enumerate installed fonts when rendering documents.
- FileIOPermission is restricted. This means you can only access files in your application’s virtual directory hierarchy. This also potentially means fonts cannot be read during export operations.
For the reasons above, we strongly recommend that you run Aspose.Slides on Full Trust permissions. If you use Medium trust, you might experience inconsistencies—some library features (rendering, for example) might not work when you perform certain tasks.
macOS
NuGet provides the easiest path to downloading and installing Aspose.Slides for .NET on macs.
Install Prerequisite
The System.Drawing namespace operates differently in macOS, so you have to install mono-libgdiplus.
In .NET 5 and previous versions, the System.Drawing.Common NuGet package works on Windows, Linux, and macOS. However, there are some platform differences. On Linux and macOS, the GDI+ functionality is implemented by the libgdiplus) library. This library is not installed by default in most Linux distributions and doesn’t support all the functionality of GDI+ on Windows and macOS. There are also platforms where libgdiplus is not available at all. To use types from the System.Drawing.Common package on Linux and macOS, you must install libgdiplus separately. For more information, see Install .NET on Linux or Install .NET on macOS.s
To install mono-libgdiplus separately on your mac, see this article from .NET documentation.
Install Aspose.Slides
- Open Visual Studio.
- Create a simple console app or open an existing project.
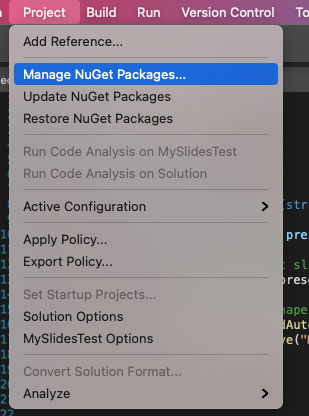
- Go through Project > Manage NuGet Packages…
- Type Aspose.Slides into the text field.
- Click Aspose.Slides for .NET and then click Add Package.
- Add a simple code snippet.
- You can copy the code on this page.
- Run the app.
- Open your project’s folder/bin/Debug/presentation_file_name.
FAQ
Is there a free version or trial limitation?
Yes, by default, Aspose.Slides runs in evaluation mode, which places watermarks and may have other limitations. To remove restrictions, you need to apply a valid license.